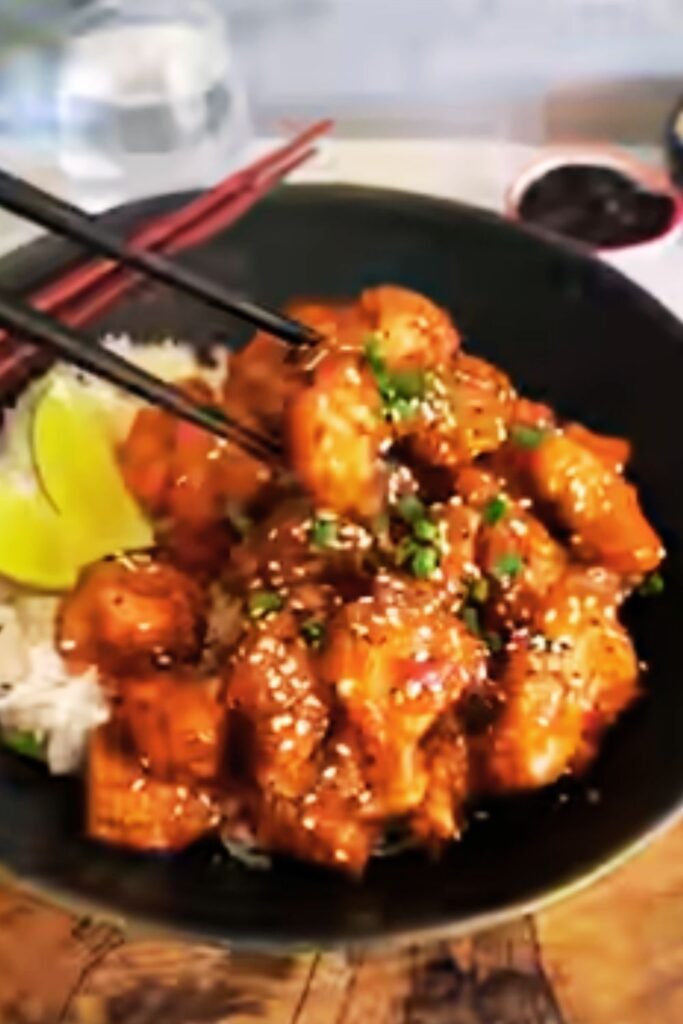
Have you ever found yourself staring blankly into your refrigerator at 5:30 PM, wondering what on earth you’re going to make for dinner? I’ve been there more times than I care to admit. That’s exactly why this Easy & Quick Honey Garlic Chicken recipe has become my absolute lifesaver on busy weeknights. In just about 30 minutes, you can transform a few simple ingredients into a restaurant-quality meal that will have everyone at your table asking for seconds.
I discovered this recipe during a particularly hectic period in my life when I was juggling a demanding job, evening classes, and trying to feed my family something other than takeout five nights a week. What started as a desperate experiment has evolved into our family’s most requested dinner, and I’m thrilled to share it with you today.
What Makes This Honey Garlic Chicken Special?
Before diving into the recipe, let me tell you why this particular honey garlic chicken stands out from others you might have tried:
- It uses simple pantry staples that you likely already have on hand
- The entire dish comes together in just 30 minutes
- The sauce achieves that perfect balance of sweet, savory, and slightly tangy
- It’s incredibly versatile and pairs with almost any side dish
- Leftovers (if you have any!) taste even better the next day
Ingredients You’ll Need
I’m a firm believer that delicious food doesn’t require complicated or hard-to-find ingredients. Here’s everything you’ll need to make this honey garlic chicken:
| Ingredient | Amount | Notes |
|---|---|---|
| Boneless, skinless chicken thighs | 1.5 pounds (about 6-8 thighs) | Thighs stay juicier than breasts, but you can substitute if preferred |
| All-purpose flour | 3 tablespoons | For dredging the chicken |
| Salt | 1 teaspoon | Kosher or sea salt works best |
| Black pepper | 1/2 teaspoon | Freshly ground if possible |
| Garlic powder | 1 teaspoon | For the flour mixture |
| Olive oil | 2 tablespoons | For sautéing |
| Butter | 2 tablespoons | Adds richness to the sauce |
| Garlic cloves | 6 large cloves, minced | Yes, it’s a lot, and yes, it’s necessary! |
| Honey | 1/3 cup | Pure, not honey-flavored syrup |
| Soy sauce | 1/4 cup | Low-sodium recommended |
| Rice vinegar | 1 tablespoon | Adds brightness |
| Red pepper flakes | 1/4 teaspoon (optional) | For a touch of heat |
| Green onions | 3-4, sliced | For garnish |
| Sesame seeds | 1 tablespoon | For garnish |
Kitchen Equipment Required
One of the reasons I love this recipe is that it doesn’t require any fancy equipment. Here’s what you’ll need:
- Large skillet or frying pan (12-inch is ideal)
- Mixing bowl for the flour mixture
- Measuring cups and spoons
- Tongs for flipping the chicken
- Sharp knife for cutting the chicken and mincing garlic
- Cutting board
- Small bowl for mixing the sauce ingredients
Step-by-Step Cooking Instructions
Now, let’s get cooking! I’ll break this down into simple, manageable steps so you can follow along easily.
Preparation Phase
- Prepare the chicken: Pat the chicken thighs dry with paper towels. This step is crucial for getting a nice sear on the meat. If the thighs are very large, cut them into more manageable pieces.
- Mix the dredging ingredients: In a shallow bowl, combine the flour, salt, pepper, and garlic powder.
- Prepare the sauce mixture: In a separate small bowl, whisk together the honey, soy sauce, and rice vinegar until well combined. Set aside.
- Prep your garlic and garnishes: Mince the garlic cloves and slice the green onions. Have these ready to go because once you start cooking, things move quickly!
Cooking Phase
- Dredge the chicken: Lightly coat each piece of chicken in the flour mixture, shaking off any excess. The thin coating will help the sauce cling to the chicken and will also help thicken the sauce.
- Heat your pan: Heat the olive oil in your skillet over medium-high heat until it shimmers.
- Cook the chicken: Add the chicken to the pan in a single layer, being careful not to overcrowd (work in batches if necessary). Cook for 4-5 minutes on each side until golden brown and cooked through to an internal temperature of 165°F (75°C). Transfer the cooked chicken to a plate and set aside.
- Make the sauce: In the same pan, reduce heat to medium and add the butter. Once melted, add the minced garlic and cook for 30 seconds until fragrant, being careful not to burn it.
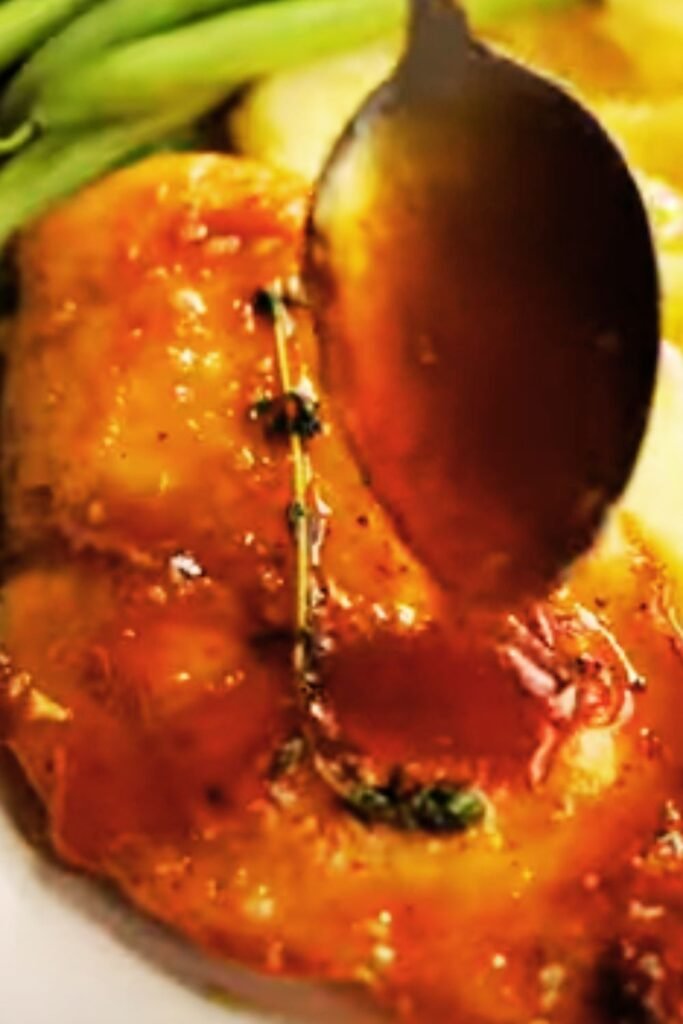
- Add the sauce mixture: Pour in the honey-soy mixture and stir, scraping up any browned bits from the bottom of the pan. These bits are full of flavor!
- Simmer and reduce: Let the sauce simmer for 2-3 minutes until it begins to thicken slightly.
- Return the chicken: Place the chicken back into the pan, turning to coat each piece thoroughly in the sauce. Allow everything to simmer together for another 2 minutes, spooning the sauce over the chicken occasionally.
Final Touches
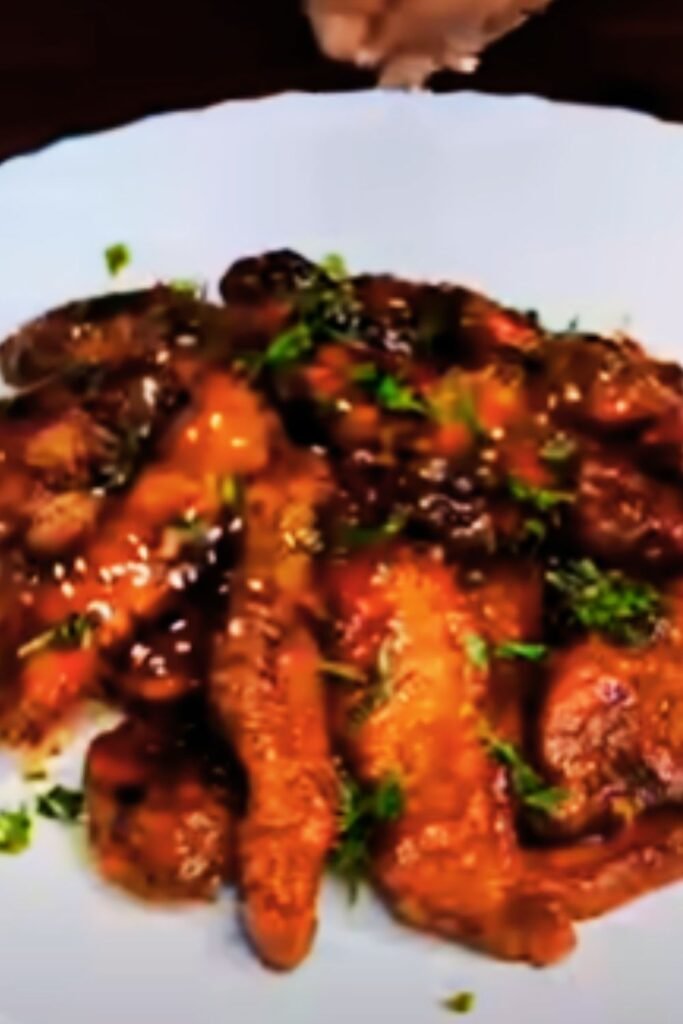
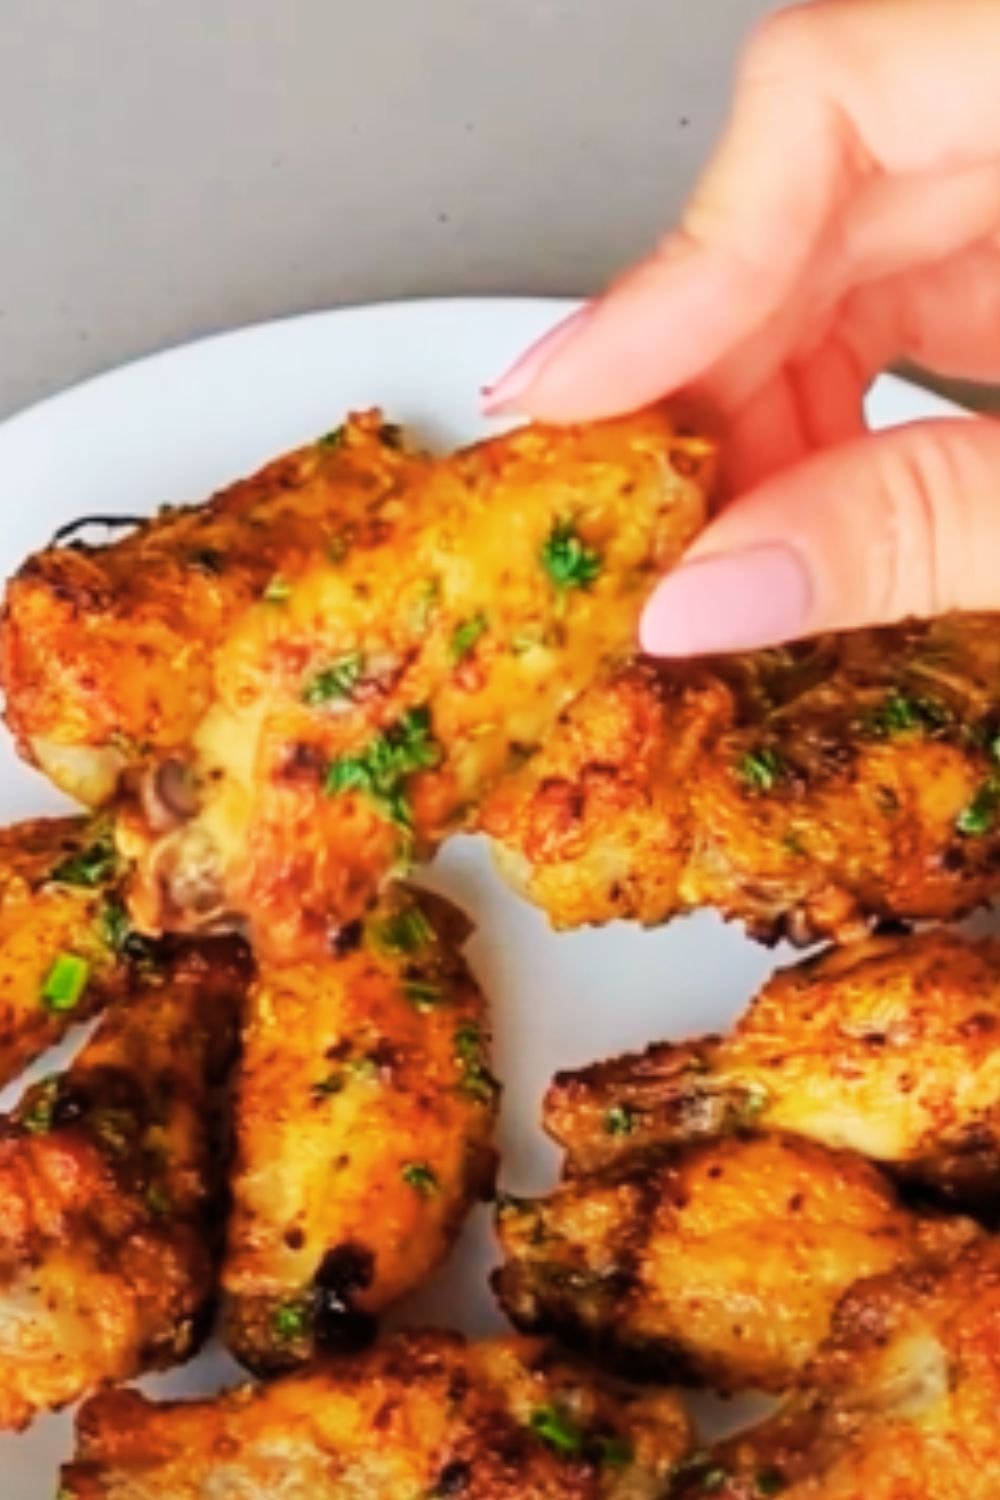
- Garnish: Sprinkle the sliced green onions and sesame seeds over the chicken.
- Rest: Allow the dish to rest for about 2 minutes before serving. This lets the flavors settle and the sauce thicken a bit more.
Common Mistakes to Avoid
I’ve made this recipe dozens of times, and through trial and error, I’ve identified some common pitfalls you’ll want to avoid:
- Not patting the chicken dry: Wet chicken won’t brown properly, so take the time to dry it thoroughly.
- Overcrowding the pan: If you try to cook too much chicken at once, it will steam rather than sear. Work in batches if needed.
- Burning the garlic: Garlic can go from perfect to burnt in seconds, so watch it closely and have your sauce mixture ready to go.
- Using cold honey: Cold honey doesn’t mix well with other ingredients. If your honey has crystallized, warm it slightly before combining it with the soy sauce.
- Not reducing the sauce enough: The sauce should coat the back of a spoon when it’s ready. If it’s too thin, let it simmer a bit longer.
Variation Ideas
What I adore about this recipe is how adaptable it is. Here are some of my favorite variations:
Spicy Honey Garlic Chicken
Increase the red pepper flakes to 1/2 teaspoon and add 1 tablespoon of sriracha to the sauce for a spicier kick.
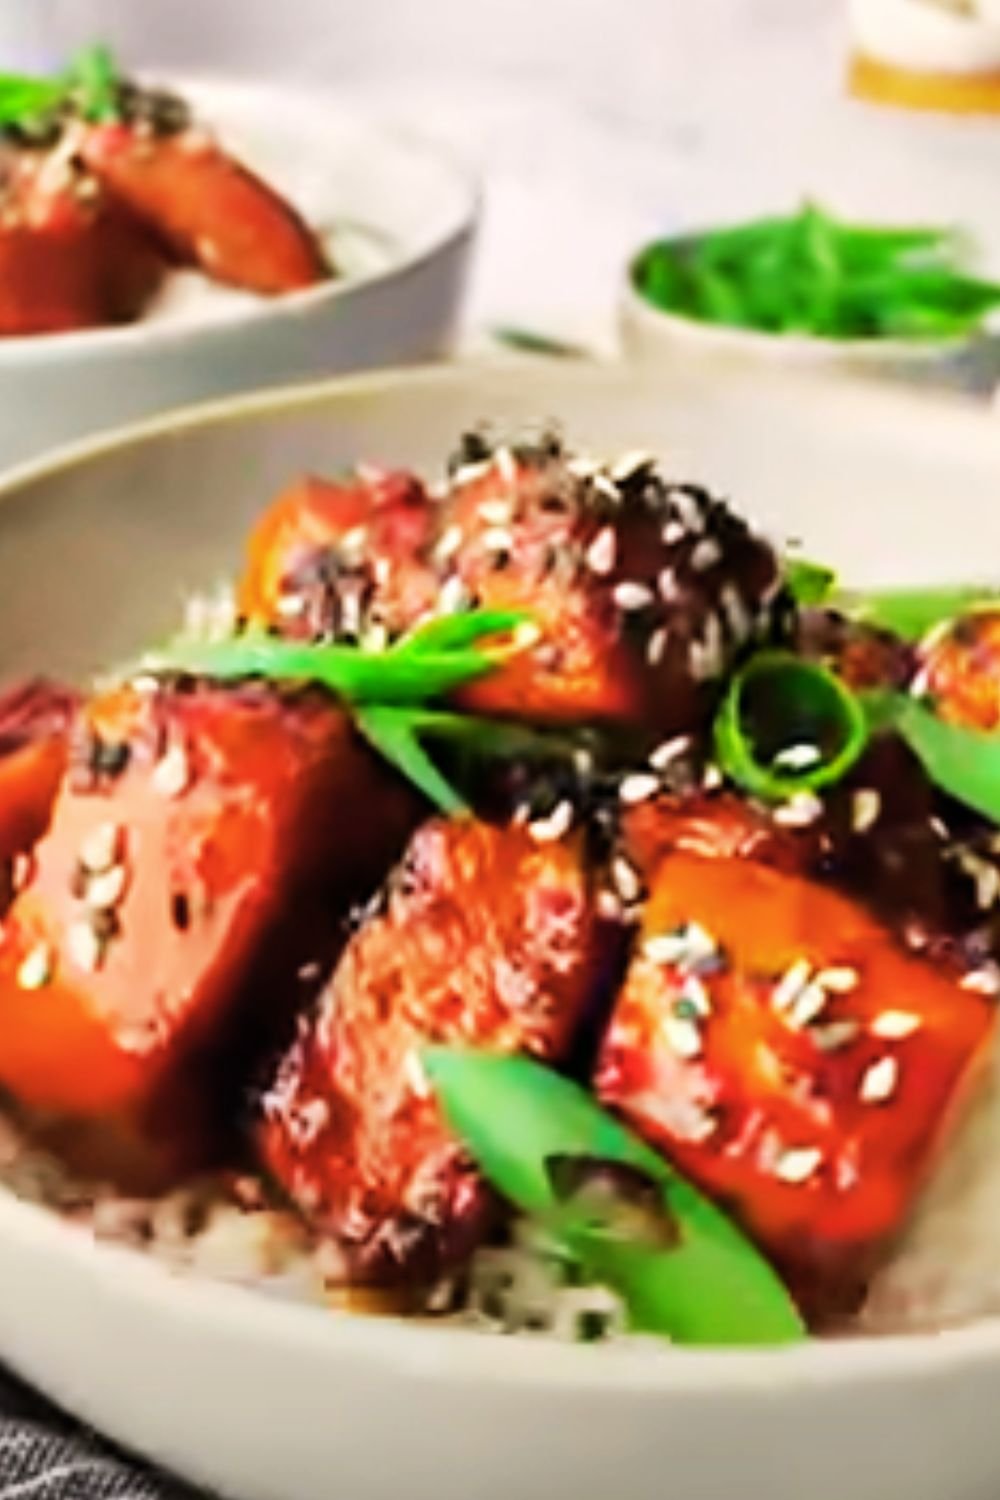
Honey Garlic Chicken with Vegetables
Add bell peppers, broccoli, snap peas, or carrots to the pan after removing the chicken and before making the sauce. Sauté until crisp-tender, then proceed with the sauce as directed. Return the chicken at the end as usual.
Honey Garlic Chicken Stir-Fry
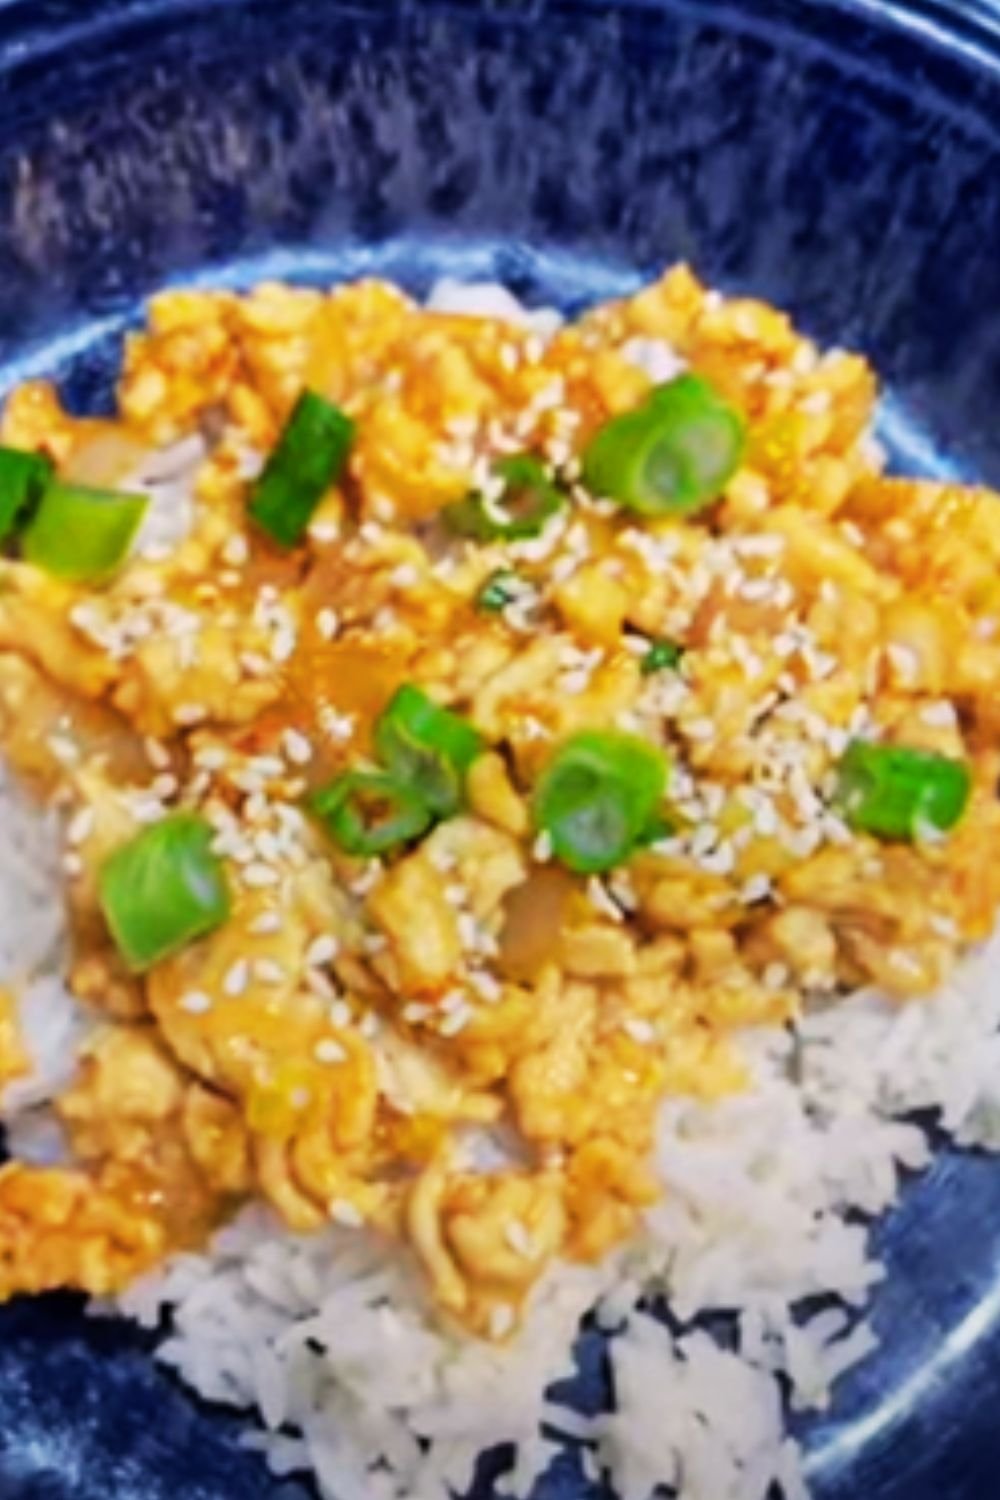
Cut the chicken into smaller, bite-sized pieces before dredging and cooking. This is perfect for serving over rice.
Citrus Honey Garlic Chicken
Add the zest and juice of one orange or lemon to the sauce for a bright, citrusy twist.
Nutritional Information
For those who are tracking their nutritional intake, here’s the approximate breakdown per serving (assuming 4 servings from this recipe):
| Nutrient | Amount |
|---|---|
| Calories | 425 kcal |
| Protein | 32g |
| Carbohydrates | 24g |
| – of which sugars | 19g |
| Fat | 22g |
| – of which saturated | 7g |
| Fiber | 0.5g |
| Sodium | 820mg |
Note: Values are approximate and may vary based on specific ingredients used.
Serving Suggestions
The beauty of this honey garlic chicken is that it pairs wonderfully with so many different sides. Here are my personal favorites:
Rice Options
- Jasmine rice
- Brown rice
- Cauliflower rice (for a lower-carb option)
Vegetable Sides
- Steamed broccoli
- Roasted asparagus
- Sautéed green beans
- Stir-fried vegetables
Other Accompaniments
- Quinoa
- Noodles (rice noodles, udon, or even spaghetti)
- Fresh salad with a light vinaigrette
- Warm dinner rolls to soak up the extra sauce
Make-Ahead and Storage Tips
This recipe works beautifully for meal prep. Here’s how to make it ahead and store it properly:
Make-Ahead Options
- Prep ingredients: Measure out all ingredients the night before. Store the flour mixture and sauce mixture separately in the refrigerator.
- Partial cooking: You can cook the chicken ahead of time and refrigerate it, then make the sauce and reheat everything together just before serving.
Storage Guidelines
| Storage Method | Duration | Notes |
|---|---|---|
| Refrigeration | 3-4 days | Store in an airtight container |
| Freezing | 2-3 months | Freeze sauce separately from chicken for best results |
| Reheating | – | Add a splash of water when reheating to refresh the sauce |
Reheating Instructions
- Microwave: Heat on 70% power for 2-3 minutes, stirring halfway through.
- Stovetop: Add a splash of water to a skillet, add the chicken and sauce, and heat gently over medium-low heat until warmed through.
- Oven: Cover with foil and heat at 325°F (165°C) for 15-20 minutes.
Frequently Asked Questions
Q: Can I use chicken breasts instead of thighs?
Yes, absolutely! Chicken breasts will work just fine, but they tend to cook faster and can dry out more easily. Reduce the cooking time to about 3-4 minutes per side, depending on thickness. You might also want to slice larger breasts horizontally to create thinner cutlets for more even cooking.
Q: Is there a way to make this recipe gluten-free?
Definitely! Simply substitute the all-purpose flour with cornstarch or a gluten-free flour blend. Also, be sure to use tamari instead of regular soy sauce, as most standard soy sauces contain wheat.
Q: Can I make this in an Instant Pot or slow cooker?
While the stovetop version is quick enough that I rarely use other methods, you certainly can adapt this for other cooking appliances:
- Instant Pot: Dredge and sear the chicken using the sauté function, then add the sauce ingredients, seal, and cook on high pressure for 8 minutes with a quick release.
- Slow Cooker: Skip the dredging, combine all sauce ingredients in the slow cooker, add the chicken, and cook on low for 4-5 hours or high for 2-3 hours. The sauce won’t be as thick, so you may want to add 1 tablespoon of cornstarch mixed with 1 tablespoon of water during the last 30 minutes.
Q: My sauce turned out too thin. How can I thicken it?
If your sauce is too thin, you can make a quick cornstarch slurry by mixing 1 teaspoon of cornstarch with 1 tablespoon of cold water. Whisk this into the simmering sauce and cook for an additional minute until thickened.
Q: How spicy is this dish?
With the amounts listed, it has just a hint of warmth but isn’t truly spicy. The 1/4 teaspoon of red pepper flakes adds a subtle heat that most people (including children) find completely manageable. You can easily adjust this to your preference: omit the red pepper flakes entirely for no heat, or increase them for more kick.
Q: Can I add pineapple to this recipe?
Absolutely! Pineapple pairs beautifully with honey garlic sauce. Add about 1 cup of pineapple chunks when you return the chicken to the pan. The natural sweetness and acidity of the pineapple complement the sauce wonderfully.
Why This Recipe Has Become My Family’s Favorite
I’m not exaggerating when I say this recipe has saved dinner time in my household countless times. There’s something magical about the combination of sweet honey, pungent garlic, and savory soy sauce that creates a dish that appeals to everyone, from picky eaters to gourmands.
What I love most is watching someone try this dish for the first time. There’s always that moment—that first bite when their eyes widen slightly, and they pause before saying, “Wow, this is really good!” It’s simple enough for a Tuesday night, yet impressive enough to serve to guests.
The recipe has evolved a bit over time as I’ve tweaked amounts and techniques, but the core has remained the same: tender chicken pieces bathed in a glossy, flavor-packed sauce that manages to be both comforting and exciting at the same time.
Whether you’re a cooking novice or a seasoned home chef, I’m confident this Easy & Quick Honey Garlic Chicken will earn a spot in your regular rotation. It certainly has in mine. So the next time you find yourself in that dreaded 5:30 PM “what’s for dinner?” panic, remember: you’re just 30 minutes away from this delicious meal.
Happy cooking, and I’d love to hear how this recipe works out for you!