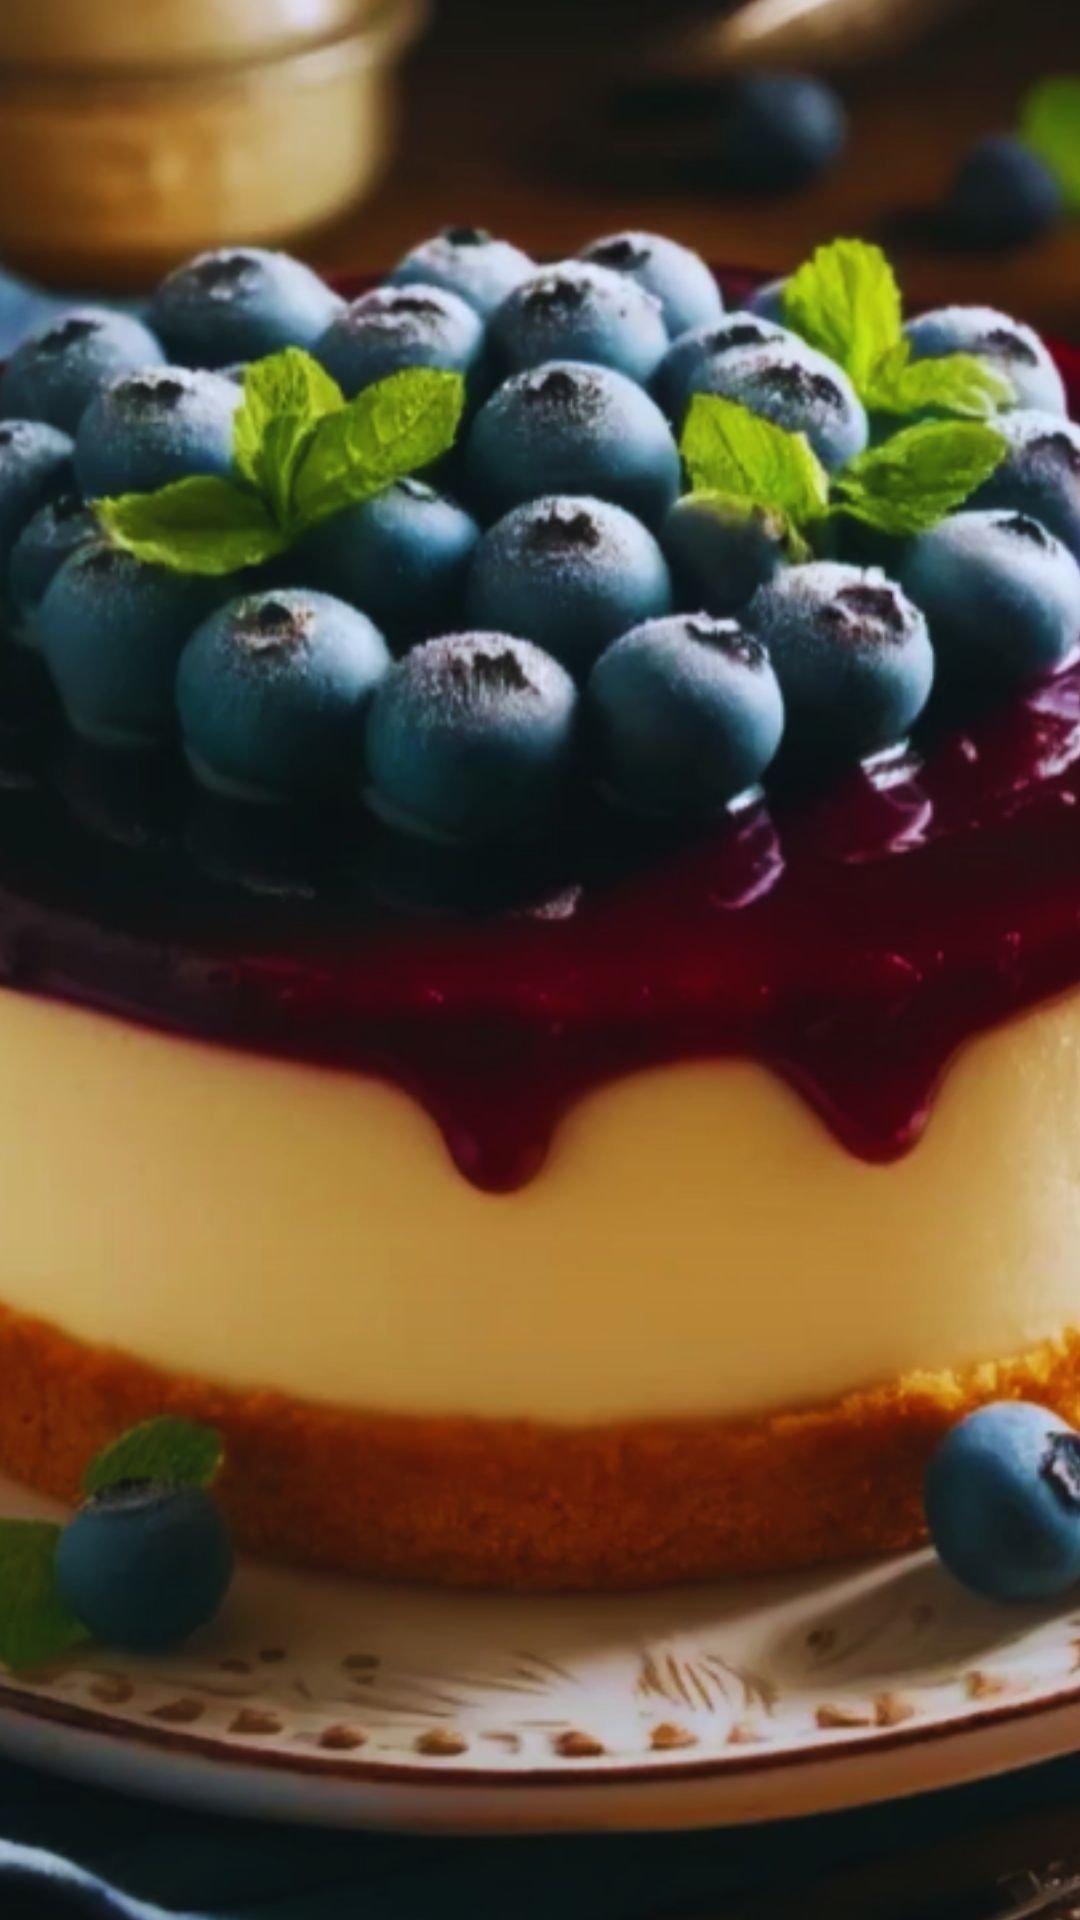
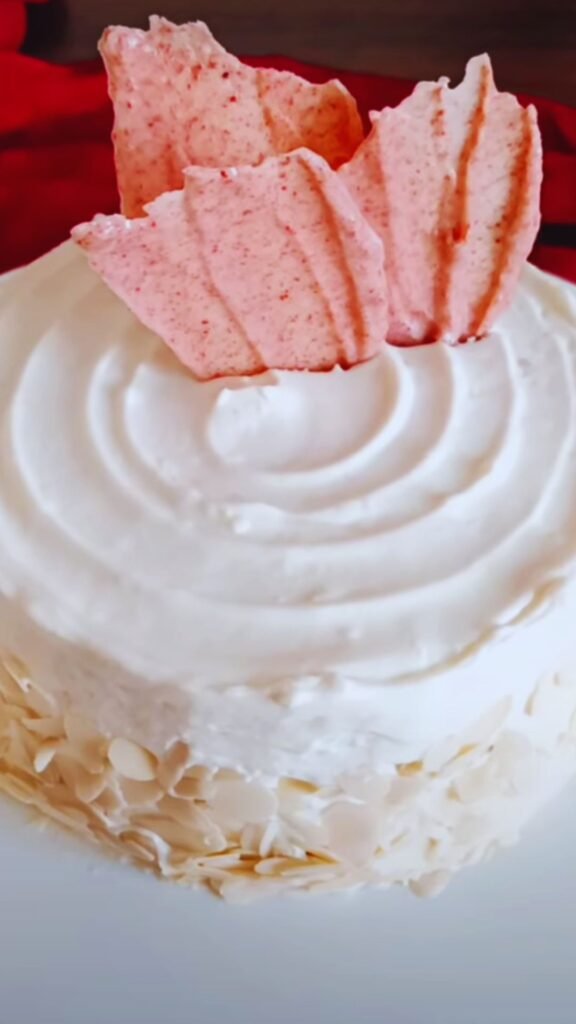
Have you ever tasted something so divine that it transported you to a cloud of pure bliss? That’s exactly what happens with my White Chocolate Raspberry Dream Cake. This isn’t just any cake – it’s a masterpiece of velvety white chocolate and tangy raspberries that dance together in perfect harmony.
I still remember the first time I created this recipe. It was for my best friend’s birthday, and I wanted something that would truly impress. The moment everyone took their first bite, the room fell silent before erupting into declarations of “This is the best cake I’ve ever tasted!” Since that day, this recipe has become my signature dessert, requested for every special occasion.
What Makes This Cake Special
This cake represents the perfect balance between sophisticated elegance and comforting indulgence. The light, moist white chocolate sponge layers cradle a raspberry filling that offers just the right amount of tartness to cut through the sweetness. Wrapped in a cloud-like white chocolate buttercream and crowned with fresh berries, it’s a showstopper that tastes even better than it looks.
Whether you’re celebrating a birthday, anniversary, or simply want to elevate your weekend, this cake promises to create memories around your table. The combination of flavors is timelessly appealing, while the presentation offers that “wow factor” that makes people reach for their phones to snap a picture before taking a bite.
Ingredients You’ll Need
For the White Chocolate Cake Layers:
- 2¾ cups all-purpose flour (345g)
- 1 teaspoon baking powder
- ½ teaspoon baking soda
- ½ teaspoon salt
- 1 cup unsalted butter, softened (226g)
- 1¾ cups granulated sugar (350g)
- 4 large eggs, room temperature
- 2 teaspoons pure vanilla extract
- 8 oz premium white chocolate, melted and slightly cooled (226g)
- 1 cup buttermilk, room temperature (240ml)
For the Raspberry Filling:
- 3 cups fresh or frozen raspberries (about 340g)
- ¾ cup granulated sugar (150g)
- 3 tablespoons cornstarch
- 1 tablespoon lemon juice
- ¼ cup water (60ml)
For the White Chocolate Buttercream:
- 1½ cups unsalted butter, softened (340g)
- 6 oz white chocolate, melted and cooled (170g)
- 4 cups powdered sugar, sifted (480g)
- 3 tablespoons heavy cream
- 1 teaspoon vanilla extract
- Pinch of salt
For Decoration:
- 1 cup fresh raspberries
- White chocolate curls or shavings
- Edible pearl dust or sprinkles (optional)
Equipment Needed
| Equipment | Purpose | Recommendation |
|---|---|---|
| 3 8-inch round cake pans | For baking even cake layers | Use pans with straight sides for professional results |
| Stand mixer or hand mixer | For beating butter and creating smooth frosting | A stand mixer allows hands-free operation |
| Mixing bowls | For preparing batters and fillings | Glass or stainless steel work best |
| Saucepan | For the raspberry filling | A medium, heavy-bottomed pan prevents burning |
| Offset spatula | For smooth frosting application | Both small and large sizes are helpful |
| Cake turntable | For easy decorating | Not essential but makes frosting much easier |
| Piping bags & tips | For decorative touches | A large star tip creates beautiful borders |
| Sieve or strainer | For filtering raspberry seeds | Fine mesh works best |
| Microplane | For creating white chocolate shavings | Also useful for zesting citrus |
| Digital kitchen scale | For precise measurements | Ensures consistent results |
Step-by-Step Instructions
Preparing the White Chocolate Cake Layers
- Prepare your workspace: Preheat your oven to 350°F (175°C). Line the bottom of three 8-inch round cake pans with parchment paper circles, then grease and flour the sides.
- Combine dry ingredients: In a medium bowl, whisk together the flour, baking powder, baking soda, and salt. Set aside.
- Melt the white chocolate: Place the white chocolate in a microwave-safe bowl. Heat in 30-second intervals, stirring between each, until completely melted and smooth. Allow to cool slightly but remain fluid.
- Cream butter and sugar: In the bowl of a stand mixer fitted with the paddle attachment, beat the butter on medium speed until creamy, about 1 minute. Add the sugar and beat on medium-high speed for 3-4 minutes until light and fluffy, scraping down the sides as needed.
- Add eggs and vanilla: Add the eggs one at a time, beating well after each addition. Mix in the vanilla extract.
- Incorporate white chocolate: Pour in the melted white chocolate and mix until fully combined, scraping down the sides of the bowl.
- Add dry ingredients and buttermilk: With the mixer on low speed, add the dry ingredients in three parts, alternating with the buttermilk, beginning and ending with the dry ingredients. Mix just until combined – do not overmix!
- Bake the layers: Divide the batter evenly between the prepared pans (about 550g per pan if using a scale). Smooth the tops with an offset spatula. Bake for 25-28 minutes, or until a toothpick inserted into the center comes out clean or with a few moist crumbs.
- Cool properly: Allow the cakes to cool in the pans for 10 minutes before inverting onto cooling racks to cool completely.
Making the Raspberry Filling
- Prepare the berries: If using frozen raspberries, allow them to thaw. Reserve about ½ cup of fresh raspberries for garnish if desired.
- Cook the filling: In a medium saucepan, combine the raspberries, sugar, cornstarch, lemon juice, and water. Bring to a boil over medium heat, stirring frequently.
- Thicken the mixture: Reduce heat and simmer for 5-8 minutes, stirring constantly, until the mixture thickens and coats the back of a spoon.
- Strain the seeds: For a smoother filling, press the mixture through a fine-mesh sieve to remove the seeds. This step is optional but creates a more elegant texture.
- Cool completely: Transfer to a bowl, cover with plastic wrap directly on the surface (to prevent a skin from forming), and refrigerate until completely cool, at least 2 hours or overnight.
Creating the White Chocolate Buttercream
- Melt the chocolate: Gently melt the white chocolate in a microwave-safe bowl using 30-second intervals, stirring between each. Set aside to cool slightly.
- Beat the butter: In a stand mixer fitted with the paddle attachment, beat the butter on medium-high speed for 3-4 minutes until pale and fluffy.
- Add the white chocolate: Pour in the cooled (but still fluid) white chocolate and beat until well combined.
- Incorporate sugar: Gradually add the sifted powdered sugar, 1 cup at a time, beating well after each addition.
- Adjust consistency: Add the heavy cream, vanilla, and salt. Beat on medium-high speed for 3-4 minutes until light and fluffy. If the buttercream seems too thick, add a bit more cream, one teaspoon at a time.
Assembling and Decorating
- Level the cakes: Using a long serrated knife, trim the tops of the cake layers if needed to create flat surfaces.
- Create a frosting dam: Place the first cake layer on a cake board or serving plate. Pipe a ring of buttercream around the edge to create a dam that will hold the raspberry filling.
- Add the filling: Spread half of the raspberry filling inside the buttercream dam.
- Stack the layers: Place the second cake layer on top and repeat the process with the remaining raspberry filling. Top with the third cake layer.
- Crumb coat: Apply a thin layer of buttercream all over the cake to seal in any crumbs. Refrigerate for 20-30 minutes until the frosting sets.
- Final frosting: Apply the remaining buttercream in a thicker layer, smoothing the sides and top with an offset spatula or bench scraper.
- Decorate: Pipe decorative swirls around the top edge of the cake. Arrange fresh raspberries on top and around the base. Sprinkle with white chocolate shavings or curls.
- Final touch: For extra elegance, dust the top with edible pearl dust or shimmer powder if using.
Pro Tips for Perfect Results
For the Cake Layers:
- Room temperature ingredients are crucial for a smooth, well-emulsified batter.
- Don’t substitute white baking chips for real white chocolate – they contain vegetable oils instead of cocoa butter and will affect both taste and texture.
- Measure flour accurately by spooning it into measuring cups and leveling off with a knife, or better yet, use a kitchen scale.
- For the most velvety texture, sift the flour before measuring.
For the Filling:
- Cook the raspberry filling until it’s thicker than you think it should be – it will continue to thicken as it cools but needs to hold its shape in the cake.
- If you prefer a seedless filling, press through a fine-mesh sieve while still hot.
- The filling can be made up to 3 days ahead and stored in the refrigerator.
For the Buttercream:
- Use high-quality white chocolate with at least 30% cocoa butter for the richest flavor.
- If your buttercream becomes too soft while working, refrigerate it for 10-15 minutes, then beat again.
- For pure white frosting, add a tiny drop of violet food coloring to counteract the yellow tones from the butter and white chocolate.
For Assembly:
- Freeze the cake layers for 30 minutes before assembling – they’ll be easier to handle and produce fewer crumbs.
- A rotating cake turntable makes frosting infinitely easier and results in smoother sides.
- Chill the cake between adding layers of frosting for the sharpest, cleanest finish.
Make-Ahead and Storage Information
| Component | Make-Ahead Time | Storage Method | Notes |
|---|---|---|---|
| Cake layers | Up to 2 days | Wrap in plastic wrap at room temperature | Can be frozen for up to 2 months |
| Raspberry filling | Up to 5 days | Refrigerate in airtight container | Stir before using if separated |
| Buttercream | Up to 5 days | Refrigerate in airtight container | Bring to room temp and rewhip before using |
| Assembled, unfrosted cake | 1 day | Refrigerate, loosely covered | Helps flavors meld together |
| Fully decorated cake | Up to 3 days | Refrigerate in cake keeper | Bring to room temp 1-2 hours before serving |
Serving Suggestions
I love serving this cake slightly chilled but not cold – about an hour after removing it from the refrigerator, when the buttercream has softened but still holds its shape. This timing allows the flavors to fully bloom.
For a complete dessert experience, consider these accompaniments:
- A small scoop of vanilla bean ice cream on the side
- A drizzle of warm raspberry coulis for extra berry impact
- Fresh mint leaves for color contrast and aromatic freshness
- A cup of Earl Grey or chamomile tea
- Rich, creamy hot chocolate for the ultimate indulgence
- Sparkling water with lemon to cleanse the palate
Variations to Try
Different Berries
Substitute strawberries, blackberries, or a mixed berry blend for the raspberries. Each variation brings its own unique flavor profile while maintaining the beautiful contrast with the white chocolate.
Citrus Accent
Add 1 tablespoon of lemon or orange zest to the cake batter for a bright, citrusy note that complements both the white chocolate and berries.
Chocolate Layer Contrast
Replace one of the white chocolate cake layers with a dark chocolate cake layer for a striking visual when sliced and an interesting flavor dynamic.
Flavor Infusions
Infuse the buttercream with 1-2 tablespoons of Chambord (raspberry liqueur), rosewater, or pure almond extract for an additional flavor dimension.
Textural Elements
Add white chocolate chips to the cake batter or fold in 1/2 cup of finely chopped macadamia nuts for a delightful crunch.
Why This Recipe Works
The success of this cake lies in the perfect balance of several technical elements:
- The buttermilk in the cake batter creates tenderness while the white chocolate adds richness and moisture.
- The slightly tart raspberry filling cuts through the sweetness of the white chocolate components.
- The buttercream contains enough butter to hold its shape but enough white chocolate to create a luxurious mouthfeel.
- The multiple textural elements – fluffy cake, jammy filling, smooth frosting, and fresh berries – create interest in every bite.
I’ve tested this recipe countless times, adjusting proportions until achieving the perfect balance. The result is a cake that isn’t just beautiful but delivers a truly spectacular eating experience.
Common Questions & Answers
Q: Can I make this cake with cake flour instead of all-purpose flour? A: Yes! Cake flour will give you an even more tender crumb. Substitute 3 cups of cake flour for the all-purpose flour.
Q: My white chocolate seized when I was melting it. What happened? A: White chocolate is particularly sensitive to heat. Always melt it slowly using short bursts in the microwave or over a double boiler, and never let it get too hot. If water gets into the chocolate, it will seize immediately.
Q: Can I use a different size cake pan? A: Yes, but you’ll need to adjust baking times. Two 9-inch pans will take about 25-30 minutes; cupcakes will take about 18-22 minutes. For a sheet cake, bake in a 9×13 pan for approximately 35-40 minutes.
Q: My buttercream looks curdled after adding the white chocolate. How do I fix it? A: This happens when the melted chocolate and butter are at different temperatures. Continue beating on medium-high speed, and it should come together. If not, gently warm the bowl (over simmering water or with a kitchen torch held at a distance) while beating.
Q: Is there a dairy-free version of this cake? A: This cake can be adapted using plant-based butter, non-dairy white chocolate, and a buttermilk substitute (1 cup non-dairy milk plus 1 tablespoon vinegar). The texture will be slightly different but still delicious.
Q: How far in advance can I make this cake for an event? A: For the freshest result, I recommend making the components 1-2 days ahead, assembling the day before, and decorating the morning of your event. The fully assembled cake will stay fresh in the refrigerator for up to 3 days.
Q: Can I freeze slices of leftover cake? A: Absolutely! Wrap individual slices tightly in plastic wrap, then in aluminum foil. Freeze for up to 2 months. Thaw overnight in the refrigerator, then bring to room temperature before serving.
Q: My raspberry filling is too thin. What should I do? A: If your filling didn’t thicken enough, you can return it to the saucepan and add an additional 1-2 teaspoons of cornstarch mixed with 1 tablespoon of cold water. Bring to a simmer again until thickened.
Final Thoughts
Creating this White Chocolate Raspberry Dream Cake is more than just following a recipe – it’s crafting a masterpiece that brings people together. I’ve watched this cake transform ordinary gatherings into special celebrations and create moments of pure joy around the table.
While it might seem complicated at first glance, breaking it down into manageable steps makes it accessible even for intermediate bakers. And trust me, the reaction you’ll get when you present this cake makes every minute of preparation worthwhile.
So put on your favorite music, clear your kitchen counters, and enjoy the process of creating something truly spectacular. This cake isn’t just food – it’s an experience that creates memories, one heavenly slice at a time.