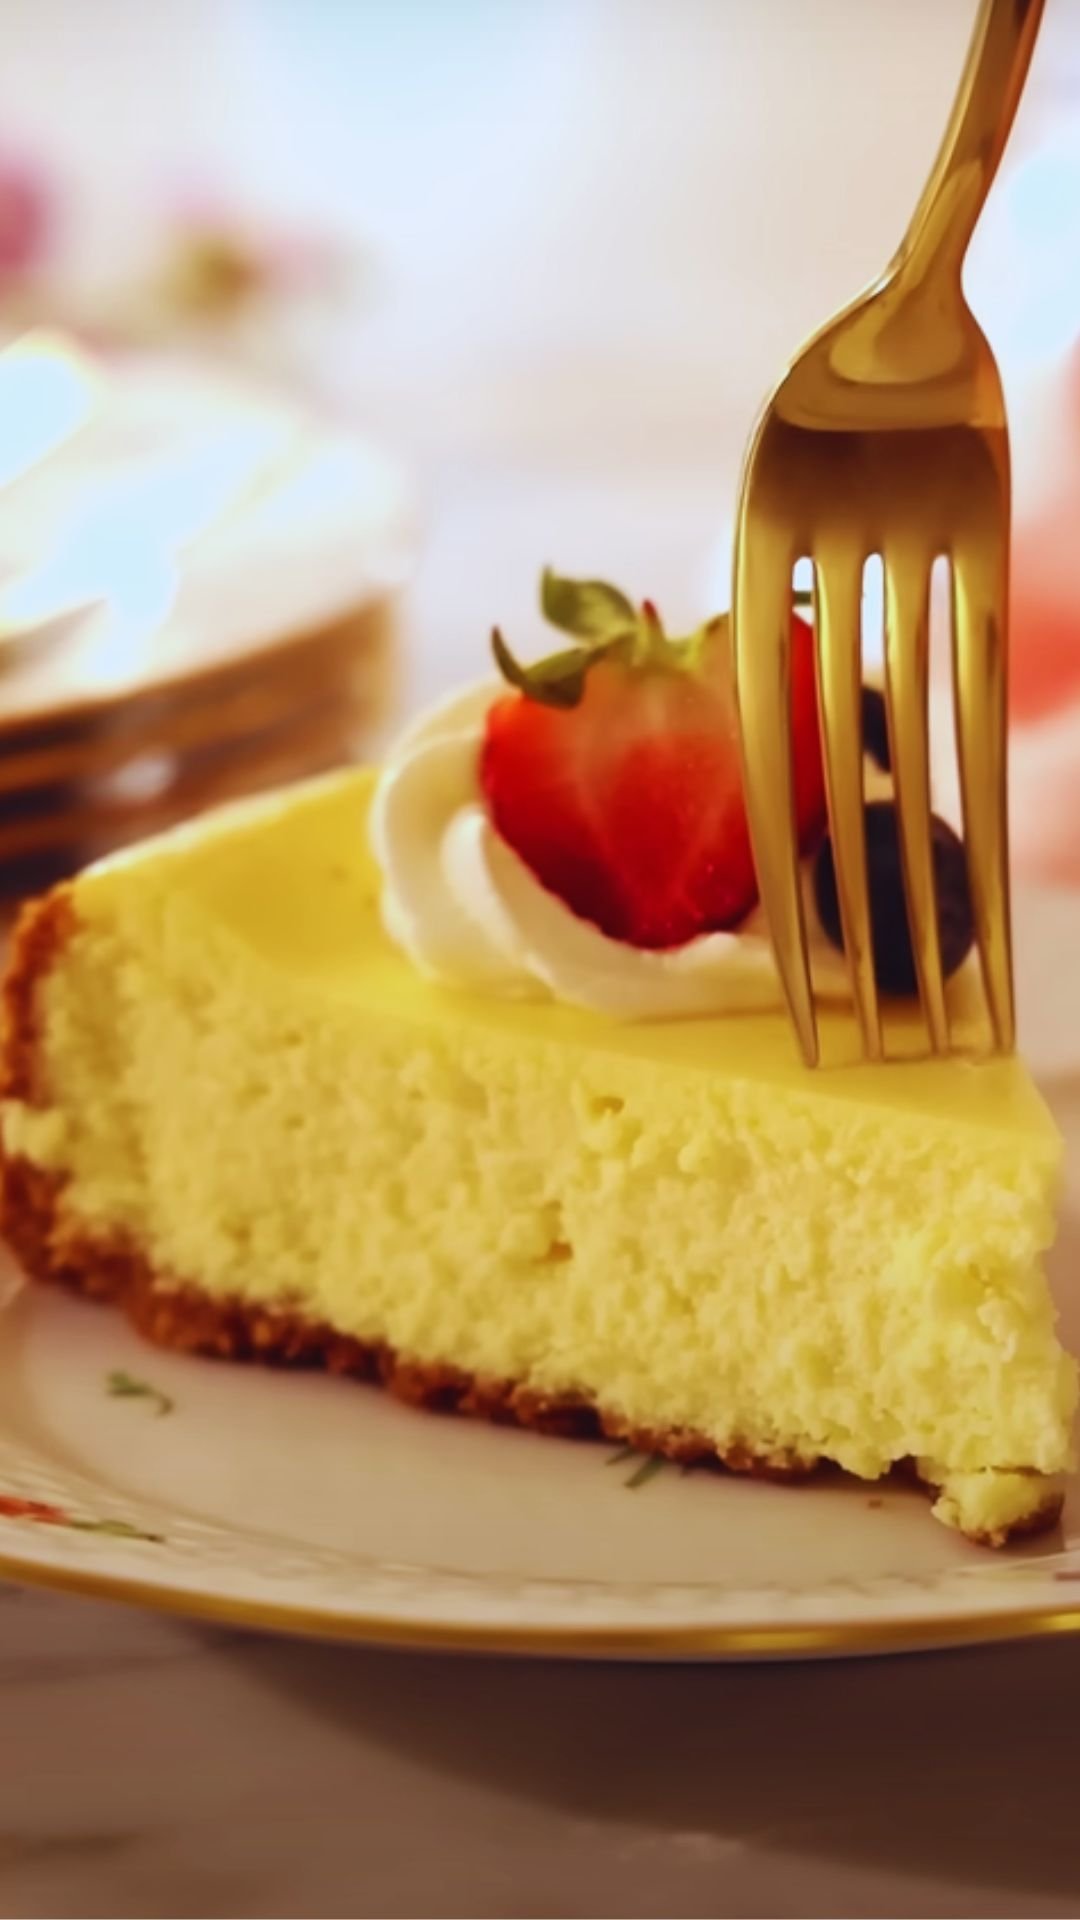
There’s something magical about the combination of sweet and salty flavors that makes my taste buds dance with joy. After years of baking and experimenting with various dessert recipes, I’ve perfected what I consider to be the ultimate indulgence: a Salted Caramel Pound Cake that strikes the perfect balance between rich buttery cake, velvety caramel, and that addictive hint of salt that makes you come back for “just one more slice.” Today, I’m thrilled to share this recipe with you – it’s become my signature dessert for family gatherings, dinner parties, and those times when only something truly special will do.
The Magic of Salted Caramel
Before diving into the recipe, let’s talk about why salted caramel has captured the hearts (and palates) of dessert lovers worldwide. The marriage of caramel’s complex sweetness with salt’s sharp contrast creates a flavor experience that’s simultaneously familiar and exciting. It’s a combination that activates multiple taste receptors, creating a more complete sensory experience than sweetness alone.
I first fell in love with salted caramel during a trip to Brittany, France, where it originated. The locals there have been adding sea salt to their caramel for generations, long before it became a global culinary trend. The salt not only balances the sweetness but enhances the caramel’s natural butterscotch notes, creating a more sophisticated flavor profile.
In this pound cake recipe, I’ve incorporated the salted caramel in three distinct ways:
- Folded into the batter for flavor in every bite
- As a sauce that soaks partly into the cake
- As a final drizzle on top with extra flaky sea salt
The result is a multi-layered flavor experience that transforms the humble pound cake into something truly extraordinary.
Ingredients You’ll Need
The foundation of any great recipe is quality ingredients. For this Salted Caramel Pound Cake, I’ve refined the list to ensure the perfect texture and flavor balance:
For the Pound Cake:
- 1 cup (226g) unsalted butter, softened to room temperature
- 2 cups (400g) granulated sugar
- 4 large eggs, at room temperature
- 2 teaspoons pure vanilla extract
- 3 cups (375g) all-purpose flour
- 1 teaspoon baking powder
- 1/2 teaspoon baking soda
- 1/2 teaspoon salt
- 1 cup (240ml) buttermilk, at room temperature
- 1/3 cup prepared salted caramel sauce (recipe below)
For the Salted Caramel Sauce:
- 1 cup (200g) granulated sugar
- 6 tablespoons (85g) unsalted butter, cut into chunks
- 1/2 cup (120ml) heavy cream, at room temperature
- 1 teaspoon flaky sea salt (like Maldon), plus extra for garnish
For the Glaze:
- 1 cup (120g) powdered sugar
- 3-4 tablespoons reserved salted caramel sauce
- 1-2 tablespoons heavy cream, if needed for consistency
I insist on room temperature ingredients for the cake batter – it makes an enormous difference in how the cake rises and its final texture. And while you could use store-bought caramel sauce in a pinch, I strongly encourage making your own. The deep, complex flavor of homemade caramel simply can’t be matched by commercial versions.
Equipment List
Having the right tools makes baking so much more enjoyable. Here’s what you’ll need:
- 12-cup Bundt pan (or two 9×5 inch loaf pans)
- Stand mixer or hand-held electric mixer
- Medium heavy-bottomed saucepan (for caramel)
- Mixing bowls (various sizes)
- Measuring cups and spoons
- Whisk and silicone spatulas
- Wire cooling rack
- Candy thermometer (helpful but not essential)
- Pastry brush (for greasing the pan)
My personal recommendation is to invest in a high-quality Bundt pan with a non-stick coating. The intricate designs of Bundt pans can make cake removal challenging, but a good pan combined with proper preparation makes all the difference.
Making the Perfect Salted Caramel Sauce
The heart and soul of this recipe is the homemade salted caramel sauce. I’ll guide you through making it step by step:
- Place the sugar in a medium, heavy-bottomed saucepan over medium heat.
- Watch carefully as the sugar begins to melt around the edges. Resist the urge to stir! Instead, gently swirl the pan occasionally to promote even melting.
- Once the sugar has completely melted into an amber-colored liquid (around 350°F if using a candy thermometer), carefully add the butter pieces. The mixture will bubble vigorously – this is normal!
- Whisk until the butter is completely incorporated, about 2-3 minutes.
- Remove from heat and slowly pour in the heavy cream while whisking constantly. Again, it will bubble up dramatically.
- Whisk until smooth, then stir in the sea salt.
- Allow to cool slightly before using in the cake batter. The sauce will thicken as it cools.
Making caramel can be intimidating the first time, but I promise it gets easier with practice. The key points to remember:
- Use a larger pot than you think you need to prevent overflow when the mixture bubbles
- Never turn away from melting sugar – it can go from perfect to burnt in seconds
- Have all ingredients measured and ready before starting
- Be extremely careful as caramel is much hotter than boiling water and can cause severe burns
The sauce recipe makes about 1 1/2 cups total – you’ll use some in the cake batter, some for soaking, and some for the glaze, with perhaps a little left for serving.
The Perfect Pound Cake Batter
Now for the cake itself. Here’s my foolproof method:
- Preheat your oven to 325°F (165°C). Thoroughly grease and flour your Bundt pan, making sure to get into all the crevices.
- In a medium bowl, whisk together the flour, baking powder, baking soda, and salt. Set aside.
- In the bowl of your stand mixer fitted with the paddle attachment (or using a hand mixer), beat the butter on medium speed until creamy, about 1 minute.
- Gradually add the sugar and continue beating on medium-high speed until the mixture is pale and fluffy, about 4-5 minutes. Don’t rush this step! It’s crucial for achieving that perfect pound cake texture.
- Add the eggs one at a time, beating well after each addition and scraping down the sides of the bowl as needed.
- Beat in the vanilla extract.
- Reduce the mixer speed to low. Add the flour mixture in three portions, alternating with the buttermilk, beginning and ending with the flour mixture. Mix just until combined after each addition – overmixing will develop too much gluten and result in a tough cake.
- Remove 1/3 cup of the cooled salted caramel sauce and very gently fold it into the batter with a spatula, creating a marbled effect. Don’t overmix – we want visible caramel streaks throughout the cake.
This batter should be thick but pourable, with a velvety texture that promises the rich, dense crumb characteristic of a perfect pound cake.
Baking and Finishing Techniques
- Pour the batter into your prepared Bundt pan, smoothing the top with a spatula.
- Tap the pan gently on the counter a few times to release any large air bubbles.
- Bake for 55-65 minutes, or until a toothpick inserted into the center comes out clean or with just a few moist crumbs. The exact time will depend on your oven and the specific pan you’re using.
- Allow the cake to cool in the pan for exactly 15 minutes – not more, not less. This timing is critical for proper release.
- While the cake is still warm, poke the top (which will become the bottom) all over with a skewer or thin knife.
- Warm 1/4 cup of the reserved caramel sauce slightly and brush it over the warm cake, allowing it to soak in.
- After applying the caramel, invert the cake onto a wire cooling rack and allow it to cool completely before glazing.
The Finishing Touch: Caramel Glaze
Once your cake has completely cooled (and I mean completely – no shortcuts here!), prepare the glaze:
- In a medium bowl, combine the powdered sugar with 3 tablespoons of the reserved caramel sauce.
- Whisk until smooth. If the glaze is too thick, add a splash of heavy cream or more caramel sauce until it reaches a pourable but thick consistency. It should drip slowly when lifted with a spoon.
- Pour or drizzle the glaze over the cooled cake, allowing it to run down the sides naturally.
- While the glaze is still wet, sprinkle with additional flaky sea salt.
- Allow the glaze to set for at least 30 minutes before slicing.
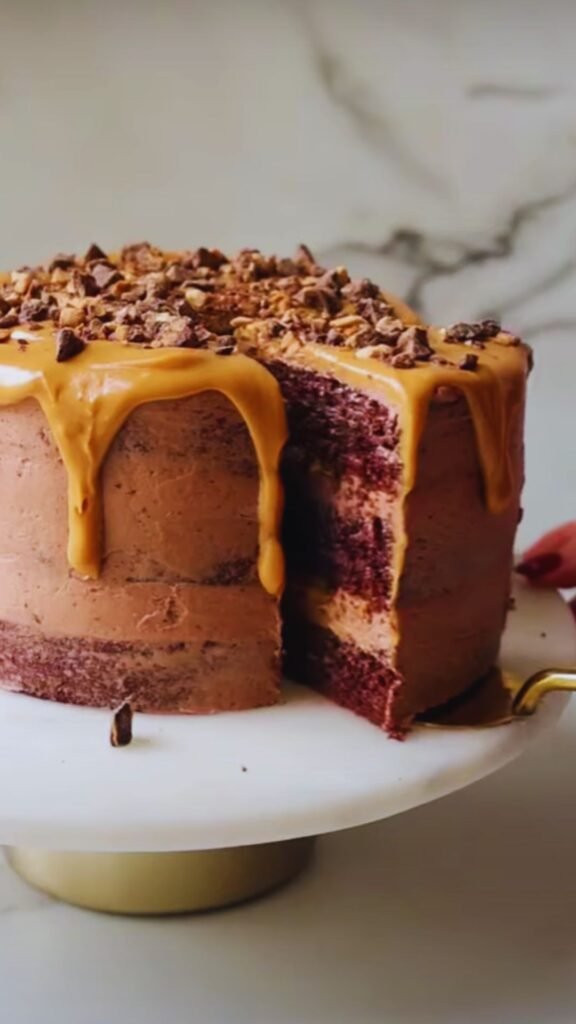
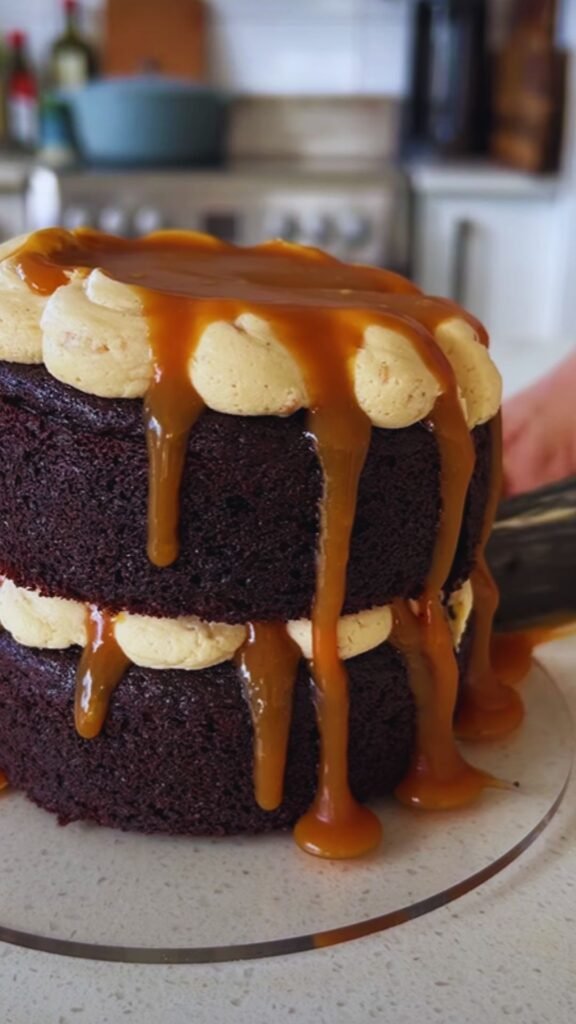
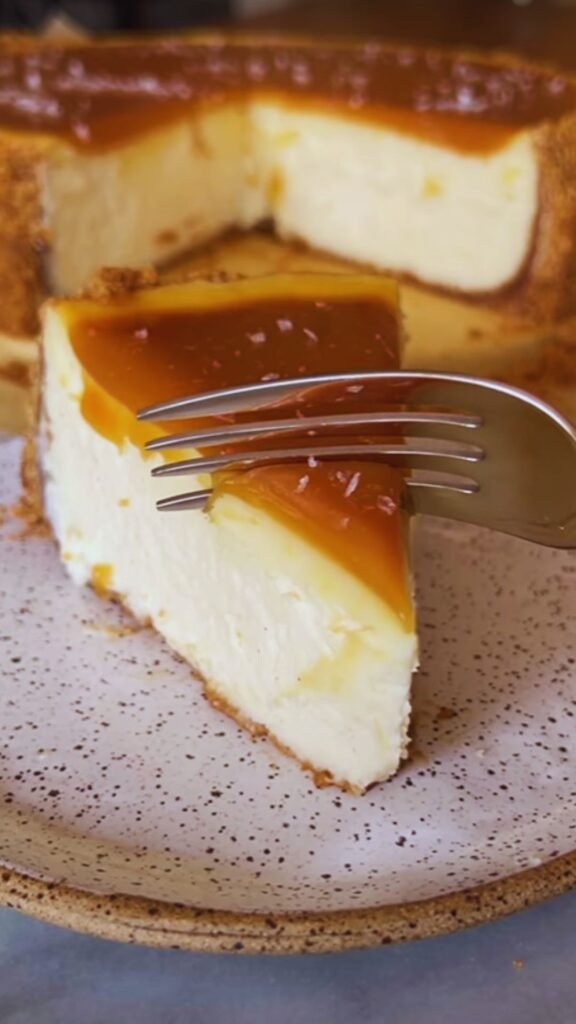
The visual result should be a stunning cake with glossy caramel dripping dramatically down the ridges of the Bundt pattern, complemented by the sparkle of sea salt crystals. It’s as beautiful as it is delicious!
Troubleshooting Common Issues
Even experienced bakers encounter challenges sometimes. Here are solutions to common pound cake problems:
| Issue | Possible Causes | Solutions |
|---|---|---|
| Cake stuck in pan | Insufficient greasing, cooling too long in pan | Use a pastry brush to apply melted butter to ALL crevices, dust thoroughly with flour, and remove from pan after exactly 15 minutes |
| Dense, heavy texture | Undermixed butter/sugar, cold ingredients, overmixing after flour is added | Beat butter/sugar for full 4-5 minutes, ensure all ingredients are at room temperature, fold flour mixture gently |
| Cracks on top | Oven too hot, batter overmixed | Use an oven thermometer to verify temperature, mix just until ingredients are combined |
| Sunken middle | Opening oven door too early, underbaking | Wait until at least 45 minutes before checking doneness, test with toothpick before removing |
| Burnt caramel sauce | Too high heat, inattention | Use medium-low heat, watch constantly, have ice bath ready to stop cooking if needed |
| Grainy caramel | Sugar crystallization | Avoid stirring while sugar melts, use clean equipment with no sugar crystals |
Flavor Variations to Try
While the classic salted caramel version is my absolute favorite, I’ve experimented with several delicious variations:
Chocolate Salted Caramel
Replace 1/3 cup of flour with unsweetened cocoa powder and add 1/2 cup mini chocolate chips to the batter.
Bourbon Salted Caramel
Add 2 tablespoons of good bourbon to both the cake batter and the caramel sauce for a sophisticated adult version.
Apple Salted Caramel
Fold 1 cup of finely diced apples (sautéed in butter and cooled) into the batter along with 1/2 teaspoon of cinnamon.
Espresso Salted Caramel
Dissolve 1 tablespoon of espresso powder in the vanilla extract before adding to the batter, and add 1 teaspoon to the caramel sauce.
Each variation maintains the fundamental salted caramel experience while offering a new dimension of flavor to explore.
Storage and Make-Ahead Tips
This cake actually improves with a day of rest, as the flavors meld and develop. Here’s how to store it properly:
- Counter storage: Wrapped tightly in plastic wrap or stored under a cake dome, it will remain fresh at room temperature for up to 3 days.
- Refrigerator storage: The cake will keep for up to 1 week in the refrigerator. Bring to room temperature before serving for best texture and flavor.
- Freezer storage: Wrap individual slices or the whole cake (unglazed) tightly in plastic wrap, then aluminum foil, and freeze for up to 3 months. Thaw overnight in the refrigerator, then bring to room temperature and add fresh glaze before serving.
The caramel sauce can be made up to 2 weeks ahead and stored in an airtight container in the refrigerator. Warm it gently before using.
Serving Suggestions
This cake truly shines when served with complementary accompaniments. My favorite ways to present it include:
- With a scoop of vanilla bean ice cream and an extra drizzle of warm caramel sauce
- Alongside fresh berries to cut through the richness
- With a dollop of lightly sweetened whipped cream sprinkled with cinnamon
- Paired with a hot espresso or coffee for the perfect afternoon treat
- As part of a dessert buffet with other complementary flavors like chocolate and apple
For special occasions, I sometimes garnish with edible gold leaf for an extra touch of elegance.
Nutritional Information
For those who are counting calories or have dietary concerns, here’s an approximate nutritional breakdown per slice (assuming 16 slices per cake):
| Nutrient | Amount per Serving |
|---|---|
| Calories | 385 |
| Total Fat | 18g |
| Saturated Fat | 11g |
| Cholesterol | 85mg |
| Sodium | 210mg |
| Total Carbohydrates | 53g |
| Dietary Fiber | 0.5g |
| Sugars | 38g |
| Protein | 4g |
This is definitely an indulgent treat! For a slightly lighter version, you can reduce the sugar in the cake batter by 1/4 cup without significantly affecting the texture.
Frequently Asked Questions
Q: Can I make this cake without a Bundt pan? Yes! You can use two 9×5 inch loaf pans instead. Reduce the baking time to 45-55 minutes, checking for doneness with a toothpick.
Q: Is it possible to make this cake ahead of time for a special event? Absolutely! The cake actually tastes better on day two as the flavors develop. You can make it up to two days in advance, storing it covered at room temperature. Add the final glaze the day of serving for the freshest look.
Q: My caramel crystallized while cooking. What went wrong? Sugar crystallization usually happens when sugar crystals form on the side of the pan and fall back into the melting sugar. To prevent this, avoid stirring during the initial melting phase and brush the sides of the pan with a wet pastry brush if you see crystals forming.
Q: Can I use salted butter instead of unsalted? I recommend using unsalted butter so you can control the exact amount of salt in the recipe. If you only have salted butter, omit the added salt in the cake batter.
Q: My cake cracked on top. Is that normal? Some cracking is actually characteristic of pound cakes due to their dense nature. However, excessive cracking might indicate your oven is too hot or the batter was overmixed. Remember that the top will become the bottom when you invert the cake, so minor cracks won’t affect the presentation.
Q: The cake seems dry. What might have gone wrong? Dryness usually indicates overbaking. Every oven is different, so start checking for doneness about 5 minutes before the suggested baking time. Also, make sure you’re measuring flour correctly by spooning it into the measuring cup and leveling off, rather than scooping directly with the cup.
Q: Can I substitute Greek yogurt for buttermilk? Yes! Full-fat Greek yogurt thinned with a little milk to reach buttermilk consistency works beautifully as a substitute.
Q: Is there a dairy-free version of this recipe? Creating a dairy-free version requires multiple substitutions: plant-based butter, coconut cream for the heavy cream, and a non-dairy milk with a tablespoon of lemon juice to replace the buttermilk. The texture and flavor will be different, but still delicious.
A Final Note on the Joy of Baking
There’s something profoundly satisfying about creating a dessert like this Salted Caramel Pound Cake from scratch. Beyond the delicious result, the process itself – the measuring, mixing, the transformation of simple ingredients into something magnificent – brings a sense of accomplishment and joy that few other activities can match.
I encourage you to approach this recipe not as a task to be completed but as an experience to be savored. Notice the butter and sugar transforming as they’re creamed together. Appreciate the aroma of vanilla and caramelizing sugar filling your kitchen. Take pride in the beautiful swirls of caramel in your batter.
And most importantly, share the finished creation with people you care about. In my experience, few things bring people together quite like a homemade dessert made with skill and love. This Salted Caramel Pound Cake has been the centerpiece of countless meaningful moments in my home – birthdays, holidays, celebrations, and sometimes just because it’s Tuesday and we needed something special to brighten the day.
I hope it brings just as much joy to your table. Happy baking!