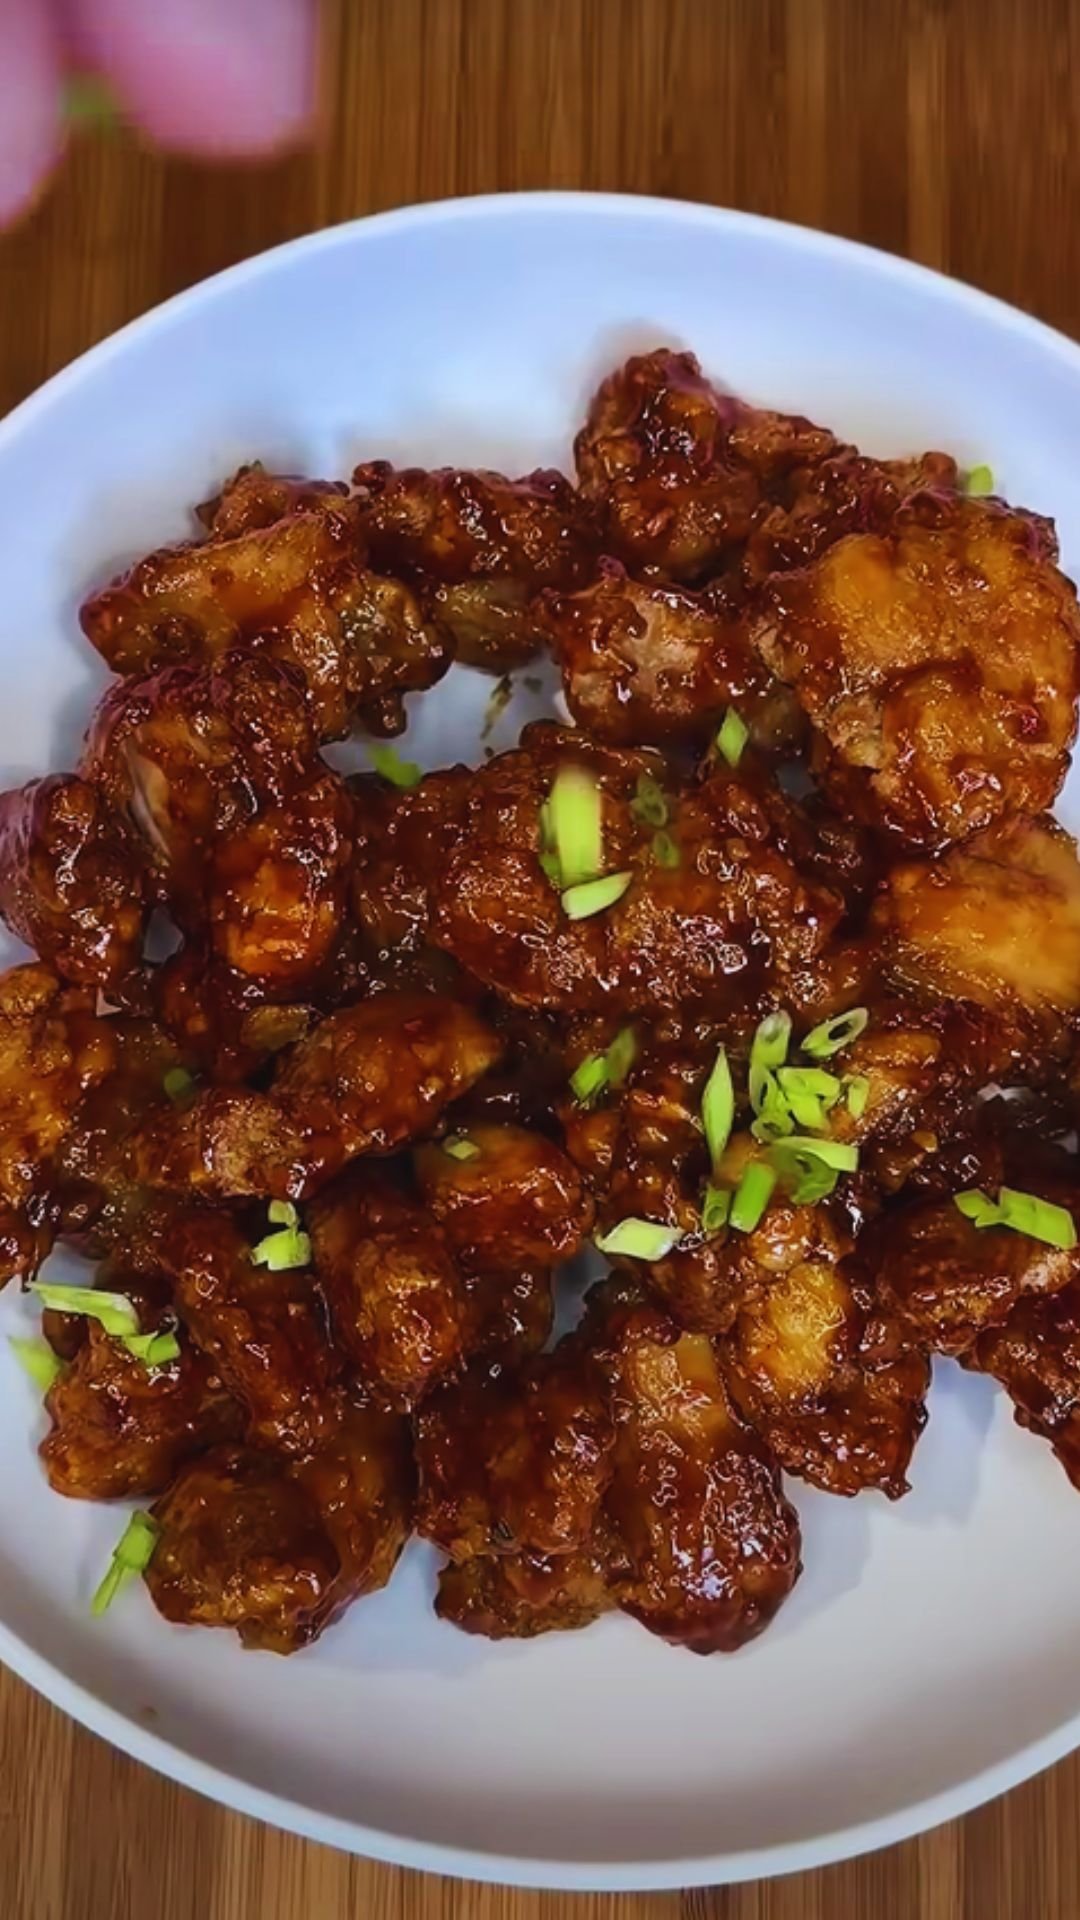
There’s something deeply satisfying about pulling a perfectly cooked, complete meal from the oven in a single dish. Baked chicken legs and rice is precisely that kind of comfort food miracle – a dish that combines tender, juicy chicken with fluffy, flavorful rice, all cooked together in beautiful harmony.
I’ve been making this dish for years, tweaking and perfecting my approach each time. What started as a simple weeknight dinner has evolved into one of my family’s most requested meals. The beauty lies in its simplicity and versatility – once you master the basic technique, the flavor variations are endless.
Why You’ll Love This Recipe
Before diving into the specifics, let me share why this recipe deserves a spot in your regular meal rotation:
- One-pan wonder: Everything cooks together, meaning fewer dishes to clean
- Budget-friendly: Chicken legs are typically less expensive than breasts or thighs
- Family-pleasing: Both kids and adults love this combination
- Easily customizable: Adapt the seasonings to match your preferences
- Make-ahead potential: Prep the components in advance for even quicker dinner assembly
- Reliable results: The cooking method ensures juicy chicken and perfectly cooked rice every time
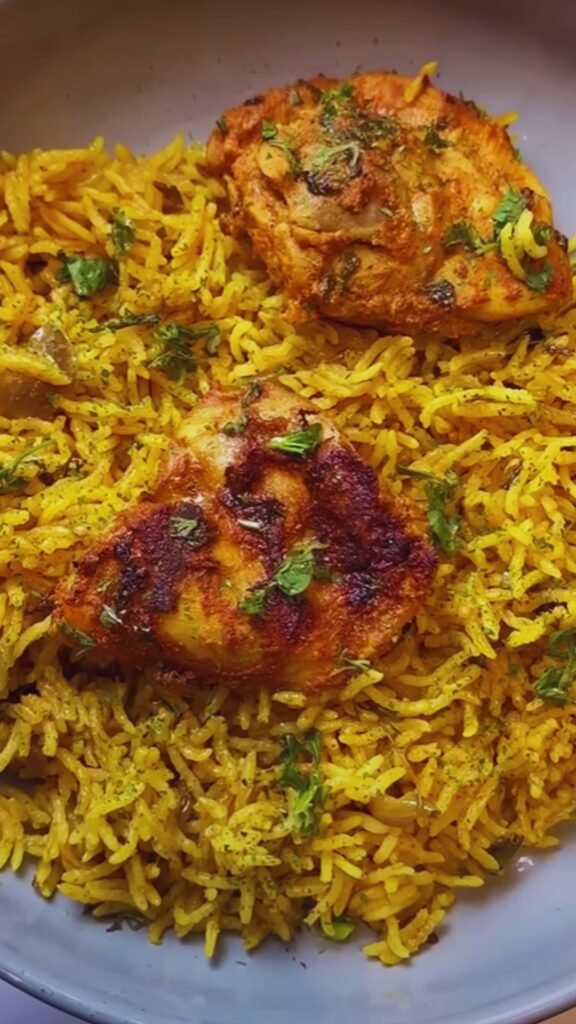
The magic happens when the chicken fat and juices slowly drip down into the rice as it cooks, creating an incredible depth of flavor that you simply can’t achieve any other way. It’s home cooking at its finest – simple ingredients transformed into something truly special.
Ingredients Breakdown
Let’s talk about each component of this dish and why it matters:
For the Chicken Legs
- 8 chicken legs (drumsticks): I prefer skin-on for maximum flavor and moisture retention
- 2 tablespoons olive oil: Creates a base for the seasoning to adhere to the skin
- 1 tablespoon paprika: Adds color and mild flavor
- 2 teaspoons garlic powder: Provides aromatic depth without burning like fresh garlic
- 2 teaspoons onion powder: Adds savory notes that complement the chicken
- 1 teaspoon dried oregano: Provides herbal notes that stand up to the baking process
- 1 teaspoon dried thyme: Works wonderfully with chicken and adds aromatics
- 1 teaspoon salt: Enhances all the flavors
- ½ teaspoon black pepper: Adds gentle heat
- ¼ teaspoon cayenne pepper (optional): For those who enjoy a hint of spice
For the Rice
- 2 cups long-grain white rice: Basmati or jasmine both work beautifully
- 2½ cups chicken broth: Provides more flavor than cooking in water
- 1 medium onion, finely diced: Creates a flavor foundation
- 2 cloves garlic, minced: Adds aromatic depth
- 1 bell pepper, diced: Adds color, flavor, and nutrition
- 1 carrot, finely diced: Provides sweetness and texture
- 2 tablespoons butter: Enriches the rice and improves texture
- 1 teaspoon dried parsley: Adds a fresh note
- 1 bay leaf: Infuses subtle flavor throughout
- ½ teaspoon turmeric powder (optional): Adds beautiful color and subtle flavor
- Salt and pepper to taste: Always taste and adjust!
For Serving (Optional)
- Fresh lemon wedges
- Chopped fresh herbs (parsley, cilantro, or dill)
- Simple green salad
- Steamed vegetables
Each ingredient plays a distinct role in creating the final dish. The chicken seasonings create a flavorful, crispy skin, while the aromatics and broth in the rice layer build a complex foundation that absorbs all those wonderful chicken juices during baking.

Essential Equipment
You don’t need fancy equipment for this recipe, but a few key items will ensure success:
- Large baking dish or casserole: A 9×13 inch baking dish works perfectly
- Mixing bowls: One for seasoning the chicken, another for mixing rice components
- Measuring cups and spoons: For accuracy in the rice-to-liquid ratio
- Heavy-duty aluminum foil: Critical for the covered portion of the baking process
- Meat thermometer: The most reliable way to check chicken doneness
Preparation Step-by-Step
Making this dish involves several stages, but none are complicated. Here’s my detailed approach:
Preparing the Chicken
- Preheat your oven to 375°F (190°C).
- Pat the chicken legs dry with paper towels – this is crucial for achieving crispy skin.
- In a large bowl, combine olive oil with all the chicken seasonings (paprika, garlic powder, onion powder, oregano, thyme, salt, pepper, and cayenne if using).
- Add chicken legs to the bowl and toss until evenly coated with the seasoning mixture.
- Set aside to marinate while you prepare the rice (or refrigerate for up to 24 hours for deeper flavor).
Preparing the Rice Base
- In a large bowl, rinse the rice under cold water until the water runs mostly clear.
- Drain the rice well.
- In your baking dish, melt the butter over low heat on the stovetop if your dish is stovetop-safe (or melt separately and pour in).
- Add the diced onion and sauté until translucent, about 3-4 minutes.
- Add minced garlic and cook for 30 seconds until fragrant.
- Add diced bell pepper and carrot, cooking for another 2 minutes to soften slightly.
- Stir in the drained rice, coating it in the butter and vegetable mixture.
- Pour in the chicken broth, then add dried parsley, bay leaf, turmeric (if using), and salt and pepper to taste.
- Stir gently to distribute everything evenly.
Assembling and Baking
- Arrange the seasoned chicken legs on top of the rice mixture, skin side up.
- Cover the baking dish tightly with heavy-duty aluminum foil.
- Bake covered for 45 minutes.
- Remove the foil and continue baking for another 20-25 minutes until the chicken skin is golden and crispy and the internal temperature of the chicken reaches 165°F (74°C).
- Let the dish rest for 10 minutes before serving.
The initial covered baking period allows the rice to steam properly while the chicken begins cooking. Removing the cover for the final portion of baking creates that irresistible crispy chicken skin we all love.
Common Mistakes and How to Avoid Them
Even experienced cooks can run into issues with one-pan dishes. Here are solutions to the most common problems:
Rice Texture Problems
| Issue | Cause | Solution |
|---|---|---|
| Undercooked rice | Too little liquid or cooking time | Add an extra ¼ cup of liquid per cup of rice and ensure tight foil seal |
| Mushy rice | Too much liquid or overcooking | Reduce liquid by ¼ cup per cup of rice and check rice doneness earlier |
| Uneven cooking | Poor distribution of liquid | Ensure rice is level before adding chicken and rotate dish halfway through cooking |
| Burnt bottom layer | Oven too hot | Reduce temperature by 25°F and place dish on middle rack |
Chicken Problems
| Issue | Cause | Solution |
|---|---|---|
| Undercooked chicken | Pieces too large or recipe timing off | Use similarly sized pieces and verify with meat thermometer |
| Rubbery skin | Not enough heat exposure | Ensure final 20-25 minutes of cooking is uncovered |
| Dry meat | Overcooking | Use meat thermometer and remove at 165°F internal temperature |
| Seasonings burn | Too much sugar in seasoning mix | Avoid honey or sugar-based seasonings or add them later in cooking process |
Understanding these common issues has helped me troubleshoot my way to the perfect baked chicken and rice dish every time.
Flavor Variations to Try
While the classic version is delicious, I’ve experimented with numerous variations over the years:
Mediterranean Twist
- Add 1 teaspoon dried oregano and ½ teaspoon ground cinnamon to the rice
- Include ½ cup sliced olives and ¼ cup sun-dried tomatoes
- Serve with lemon wedges and crumbled feta cheese
Tex-Mex Flavors
- Add 1 tablespoon chili powder and 1 teaspoon cumin to chicken seasoning
- Include 1 cup corn kernels and 1 cup black beans in the rice
- Serve with lime wedges, avocado slices, and fresh cilantro
Asian-Inspired
- Add 1 tablespoon grated ginger and 2 teaspoons five-spice powder to chicken
- Replace some broth with coconut milk and add a tablespoon of soy sauce
- Finish with sliced green onions and sesame seeds
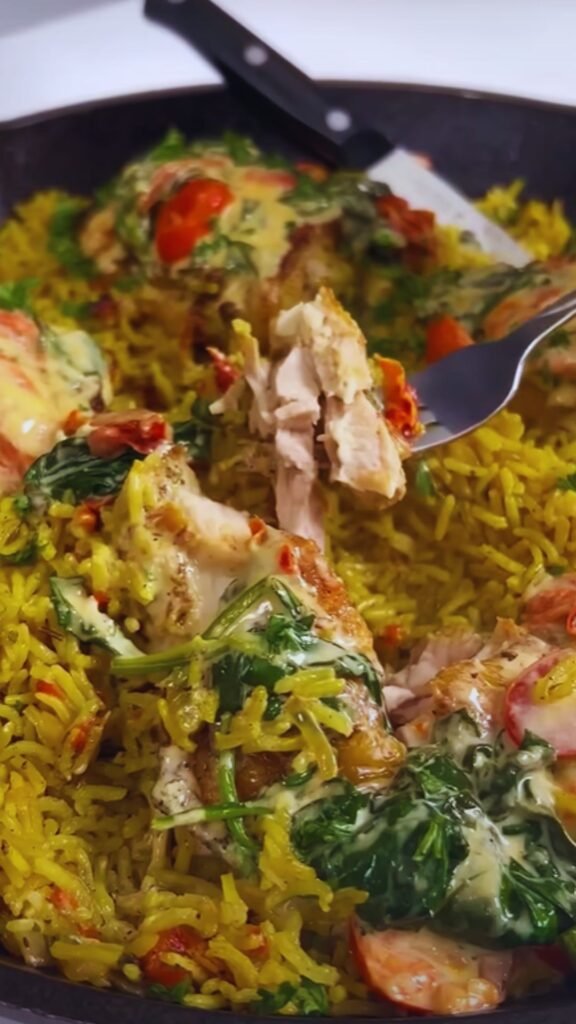
Herb Garden
- Use a mixture of fresh herbs (rosemary, thyme, sage) in place of dried
- Add a cup of frozen peas to the rice during the last 5 minutes
- Finish with a generous amount of fresh parsley and dill
Each of these variations keeps the fundamental technique the same while introducing new flavor profiles to keep the dish exciting.
Make-Ahead and Storage Tips
This dish is perfect for meal prep and planning:
Make-Ahead Options
- Seasoned chicken: Can be prepared and refrigerated up to 24 hours in advance
- Rice and vegetable base: Can be assembled (without liquid) up to 8 hours ahead and refrigerated
- Complete dish: Can be assembled up to the baking step and refrigerated for 4 hours (add 5-10 minutes to covered baking time if cooking from cold)
Storage and Reheating
- Refrigerator: Store leftovers in airtight containers for up to 3 days
- Freezer: Portion cooled leftovers into freezer-safe containers for up to 2 months
- Reheating: For best results, sprinkle a tablespoon of water over the rice before microwaving covered, or reheat covered in a 325°F oven until warmed through
Repurposing Leftovers
- Chicken: Shred and use in sandwiches, salads, or wraps
- Rice: Use as a base for fried rice the next day by adding a beaten egg and soy sauce
- Complete leftovers: Transform into a quick soup by adding chicken broth and simmering until hot
Smart storage and creative repurposing mean you can enjoy this dish multiple ways throughout the week.
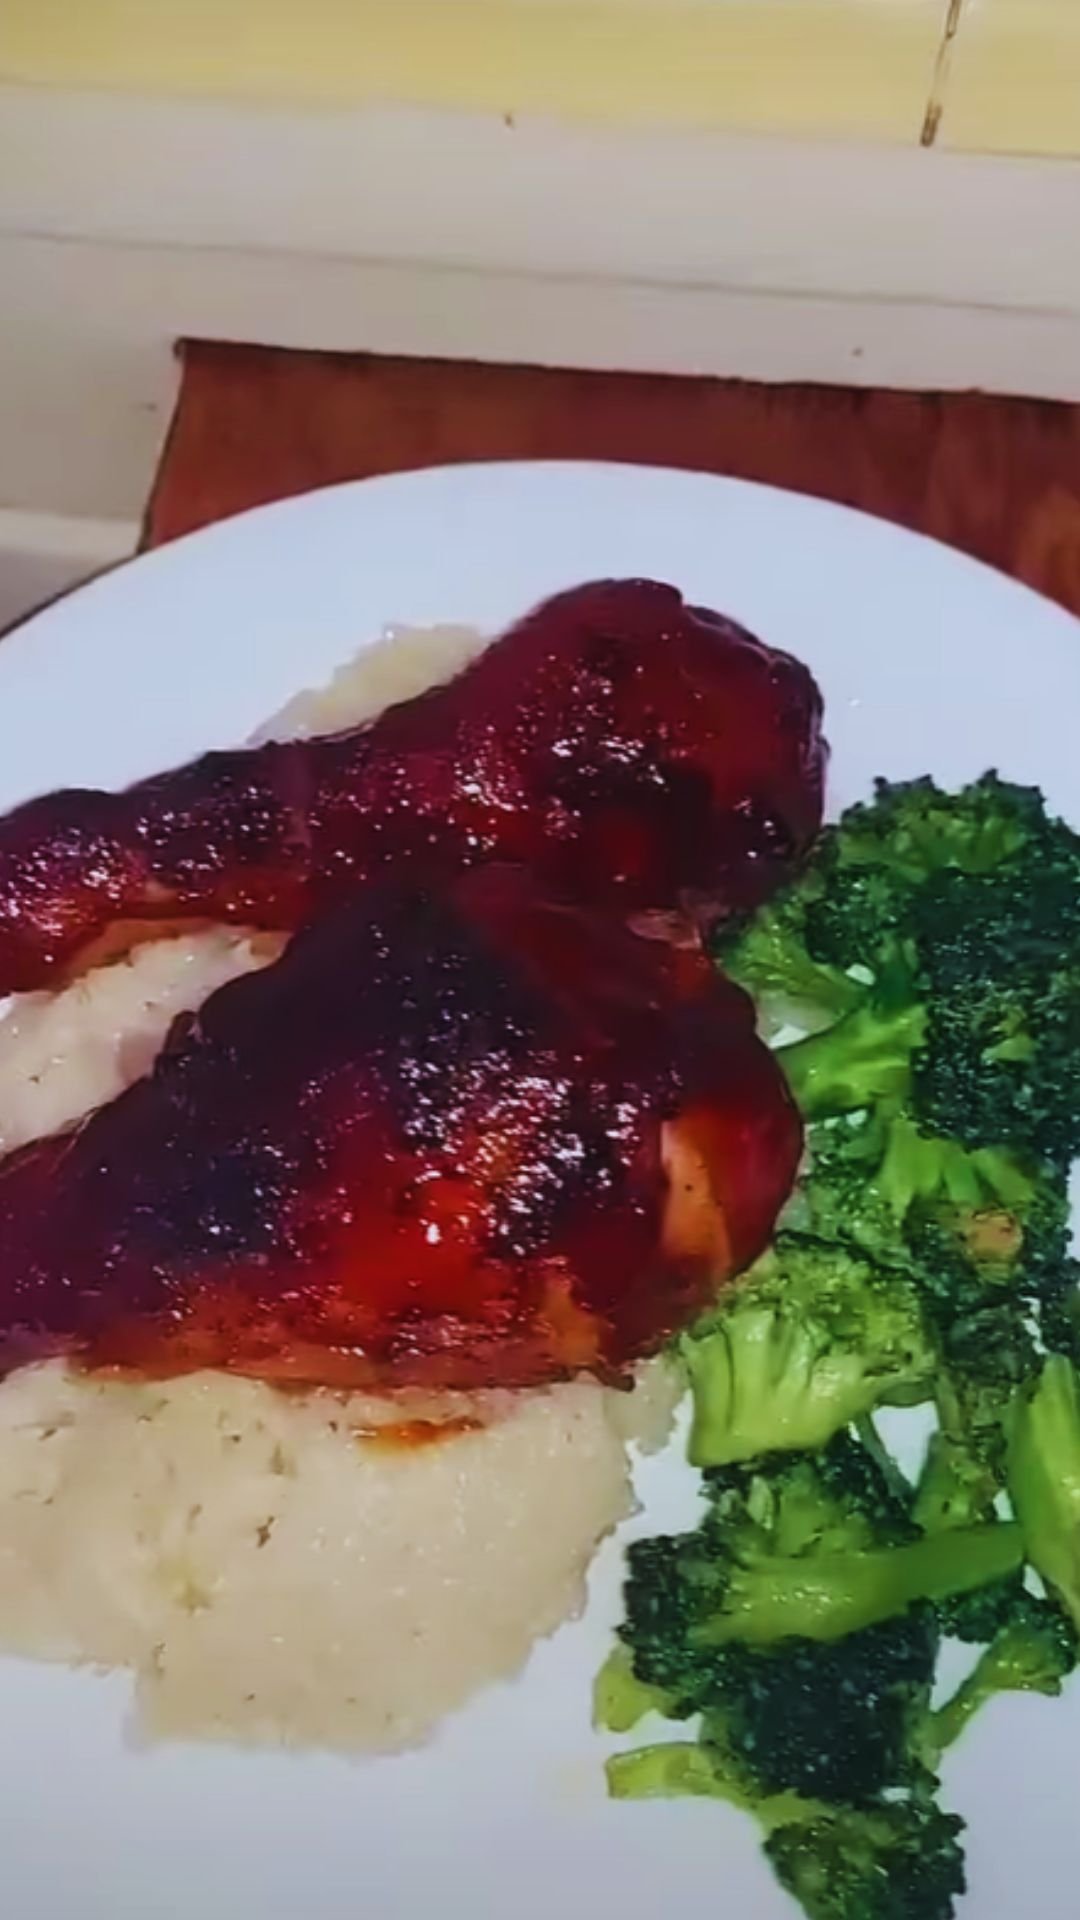
Serving Suggestions
This one-pan wonder is a complete meal on its own, but I like to pair it with simple sides for a more rounded dinner:
Simple Sides
- Cucumber and tomato salad with a light vinaigrette
- Steamed green beans or broccoli
- Roasted asparagus with lemon zest
- Simple green salad with balsamic dressing
For Special Occasions
- Roasted root vegetables with honey and thyme
- Sautéed spinach with garlic and pine nuts
- Glazed carrots with a touch of maple syrup
- Pan-seared Brussels sprouts with bacon
While the dish is hearty and satisfying, adding a light vegetable side helps balance the meal.
Nutritional Benefits
This dish isn’t just delicious – it provides a good balance of nutrients:
Protein
Chicken legs provide high-quality complete protein essential for muscle maintenance and overall health.
Carbohydrates
The rice offers energy-providing complex carbohydrates, while the vegetables add fiber.
Vitamins and Minerals
- Bell peppers provide vitamin C
- Carrots offer beta-carotene
- Onions and garlic deliver antioxidants
- Chicken provides B vitamins and minerals like iron and zinc
Estimated Nutritional Information (per serving, based on 4 servings)
| Nutrient | Amount | % Daily Value |
|---|---|---|
| Calories | 580 | 29% |
| Protein | 38g | 76% |
| Carbohydrates | 62g | 23% |
| Fat | 18g | 23% |
| Fiber | 3g | 11% |
| Iron | 2.5mg | 14% |
| Vitamin A | 3500IU | 70% |
| Vitamin C | 45mg | 50% |
These values are approximate and will vary based on exact ingredients and portions.
Why This Recipe Works: The Science Behind It
Understanding the science helps explain why this method delivers such excellent results:
The Maillard Reaction
When the chicken skin is exposed to the dry heat of the oven, a chemical reaction between amino acids and reducing sugars creates hundreds of different flavor compounds. This is why the final uncovered baking period is so crucial for developing that deep, complex flavor.
Flavor Infusion
As the chicken cooks, its fat and juices slowly render and drip down into the rice below. These flavorful drippings are absorbed by the rice, creating a natural flavor infusion that’s impossible to replicate by simply adding seasonings.
Steam Cooking
The covered first phase of baking creates a steam environment that helps the rice cook evenly while also keeping the chicken moist. The steam also helps carry flavors throughout the dish.
Starch Gelatinization
The rice’s starch granules absorb water and swell during cooking, eventually bursting and creating that perfect fluffy texture we desire. The precise ratio of liquid to rice is critical for this process.
Learning these principles has helped me understand why each step matters and how to troubleshoot when things don’t go as planned.
Q&A Section
Q: Can I use boneless chicken instead of bone-in chicken legs? A: Yes, you can substitute boneless chicken thighs or breasts, but you’ll need to adjust the cooking time. Boneless pieces will cook faster, so add them to the dish about 20 minutes into the rice cooking time. Keep in mind that bone-in meat provides more flavor to the rice and is less likely to dry out.
Q: What if I don’t have chicken broth? A: You can substitute vegetable broth, or even water with a bouillon cube or paste dissolved in it. In a pinch, plain water with an extra pinch of salt and herbs will work, though you’ll miss some flavor depth.
Q: Can I use brown rice instead of white rice? A: Yes, but brown rice requires a longer cooking time and more liquid. Increase the liquid to 3 cups per 2 cups of brown rice, and extend the covered cooking time to about 60-65 minutes before uncovering. The chicken may need to be added later to prevent overcooking.
Q: My rice always seems to burn at the bottom. What am I doing wrong? A: This usually happens when the oven temperature is too high or the dish is placed too close to the heating element. Try reducing the temperature by 25°F, placing the dish on a middle rack, and making sure your foil seal is tight during the covered cooking phase.
Q: Can this dish be made in a slow cooker? A: While you can adapt this recipe for a slow cooker, you won’t get the same crispy chicken skin. If using a slow cooker, place the rice mixture on the bottom, top with chicken, and cook on low for 4-5 hours. For crispy skin, transfer the chicken to a baking sheet and broil for 3-5 minutes after slow cooking.
Q: How can I tell when the chicken is fully cooked? A: The safest method is to use a meat thermometer inserted into the thickest part of the meat without touching bone. Chicken is safely cooked when it reaches an internal temperature of 165°F (74°C). The juices should also run clear, not pink, when the meat is pierced.
Q: Can I prepare this dish the night before and bake it the next day? A: Yes, but with some precautions. Prepare the chicken and rice separately and refrigerate overnight. Combine them just before baking, as leaving the raw chicken on the rice mixture for too long can make the rice soggy. Add an extra 2-3 tablespoons of liquid to the rice, as it will absorb some moisture while sitting.
Q: What’s the best baking dish to use? A: A 9×13 inch baking dish with sides at least 2 inches high works best. Glass or ceramic dishes distribute heat more evenly than metal pans, reducing the chance of burning. If using a metal pan, reduce the temperature by 25°F.
Final Thoughts
Baked chicken legs and rice exemplifies the beauty of simple, thoughtful cooking. By understanding the fundamentals – proper seasoning, cooking times, and temperature control – you can create a dish that’s far more than the sum of its parts.
What I love most about this recipe is how it’s become more than just dinner in my household. It’s a blank canvas for creativity, a reliable solution on busy weeknights, and a dish that consistently brings everyone to the table with enthusiasm.
So next time you’re looking for a meal that delivers both comfort and convenience, give this baked chicken legs and rice recipe a try. With just one pan and minimal hands-on time, you’ll create a dinner that tastes like you’ve been cooking all day – even when you’ve barely lifted a finger.