When I first stumbled upon the idea of combining two of my absolute favorite desserts, I knew I had discovered something extraordinary. Creme brûlée cheesecake cupcakes represent the perfect marriage between the silky elegance of French custard and the rich indulgence of New York-style cheesecake. These individual masterpieces have become my go-to dessert for special occasions, and I’m thrilled to share this incredible recipe with you.
The beauty of these cupcakes lies in their sophisticated simplicity. Each bite delivers the creamy texture of cheesecake with that signature caramelized sugar topping that makes creme brûlée so irresistible. I’ve spent countless hours perfecting this recipe, experimenting with different techniques and ingredients to achieve that perfect balance of flavors and textures.
Understanding the Components
Cheesecake Base: The foundation of our cupcakes utilizes cream cheese as the primary ingredient, creating that dense, creamy texture we associate with traditional cheesecake. Unlike regular cupcakes that rely on flour for structure, these depend on eggs and dairy for their consistency.
Creme Brûlée Element: This French dessert traditionally consists of rich custard topped with caramelized sugar. In our fusion version, we incorporate the custard’s vanilla essence into the cheesecake filling while maintaining the signature torched sugar topping.
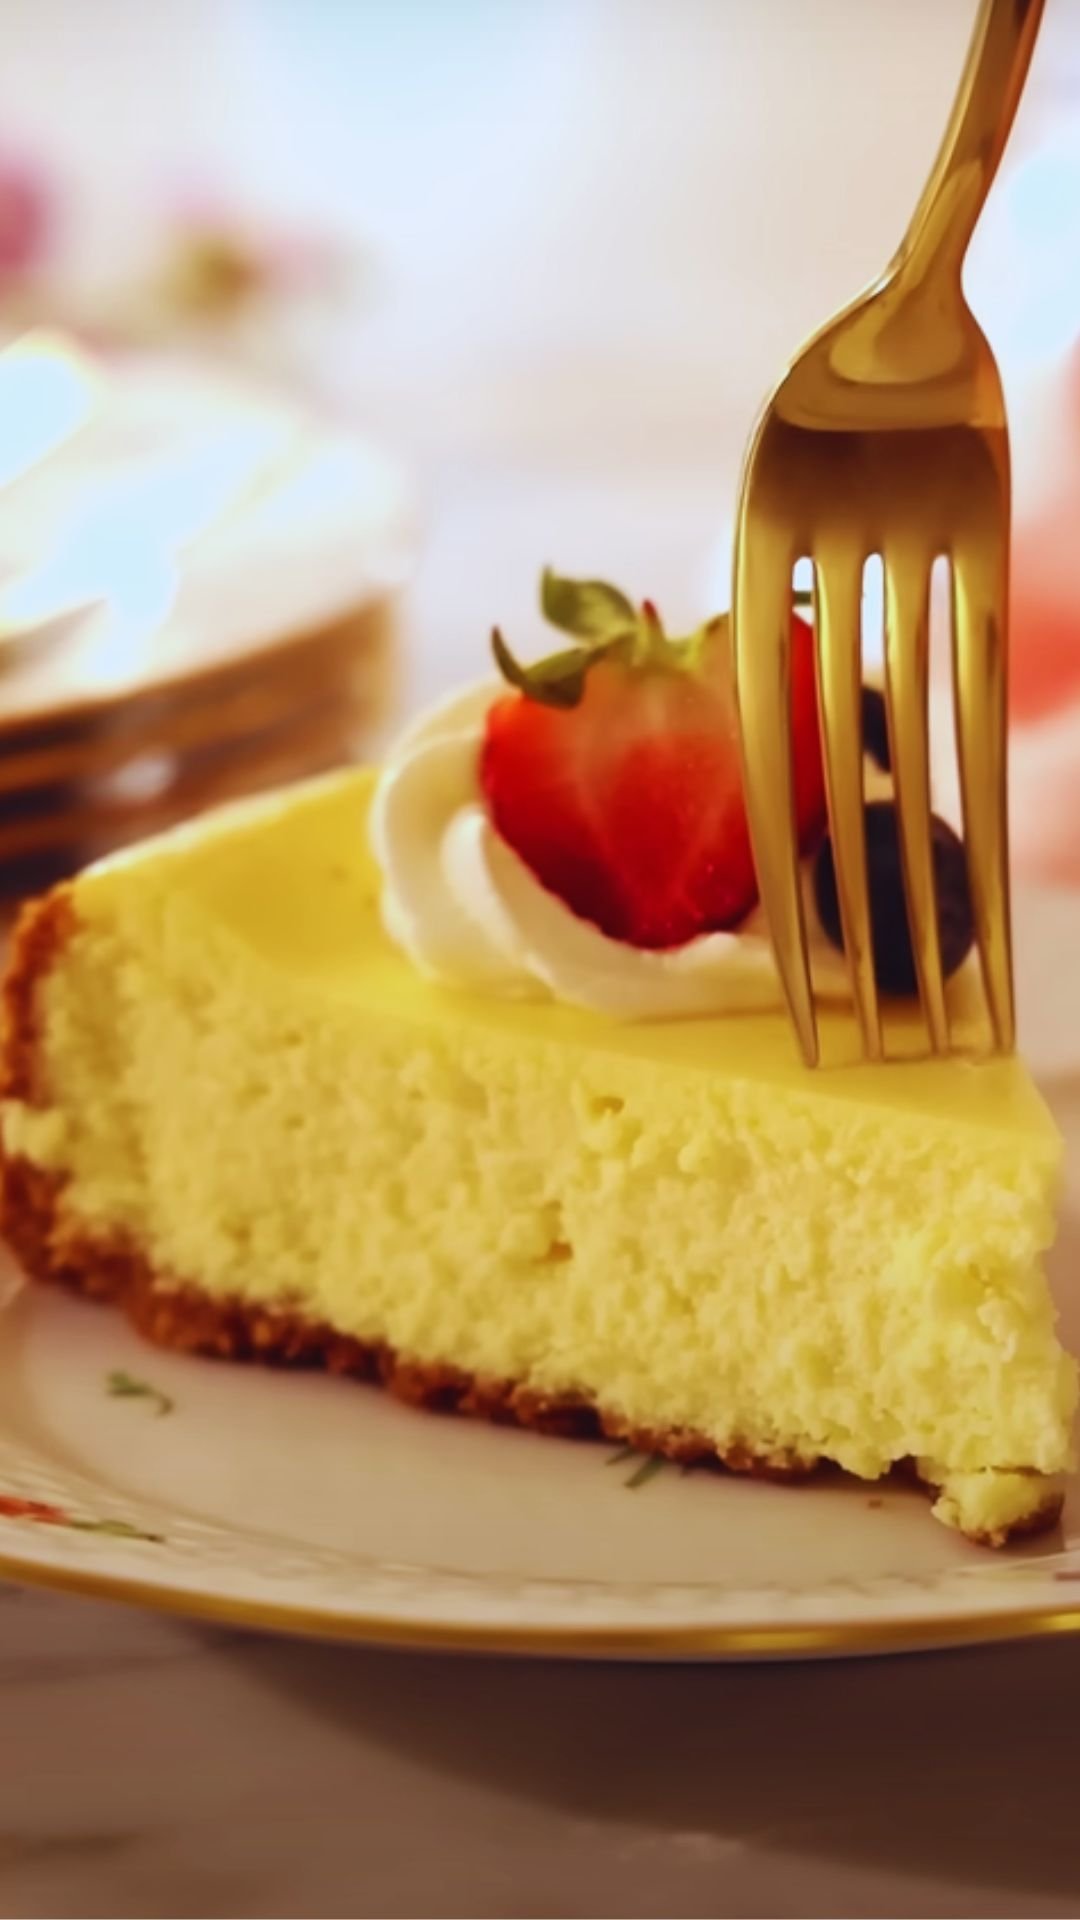
Graham Cracker Crust: Individual crusts in each cupcake liner provide textural contrast and authentic cheesecake flavor. The buttery, slightly sweet base anchors each cupcake while adding that familiar cheesecake experience.
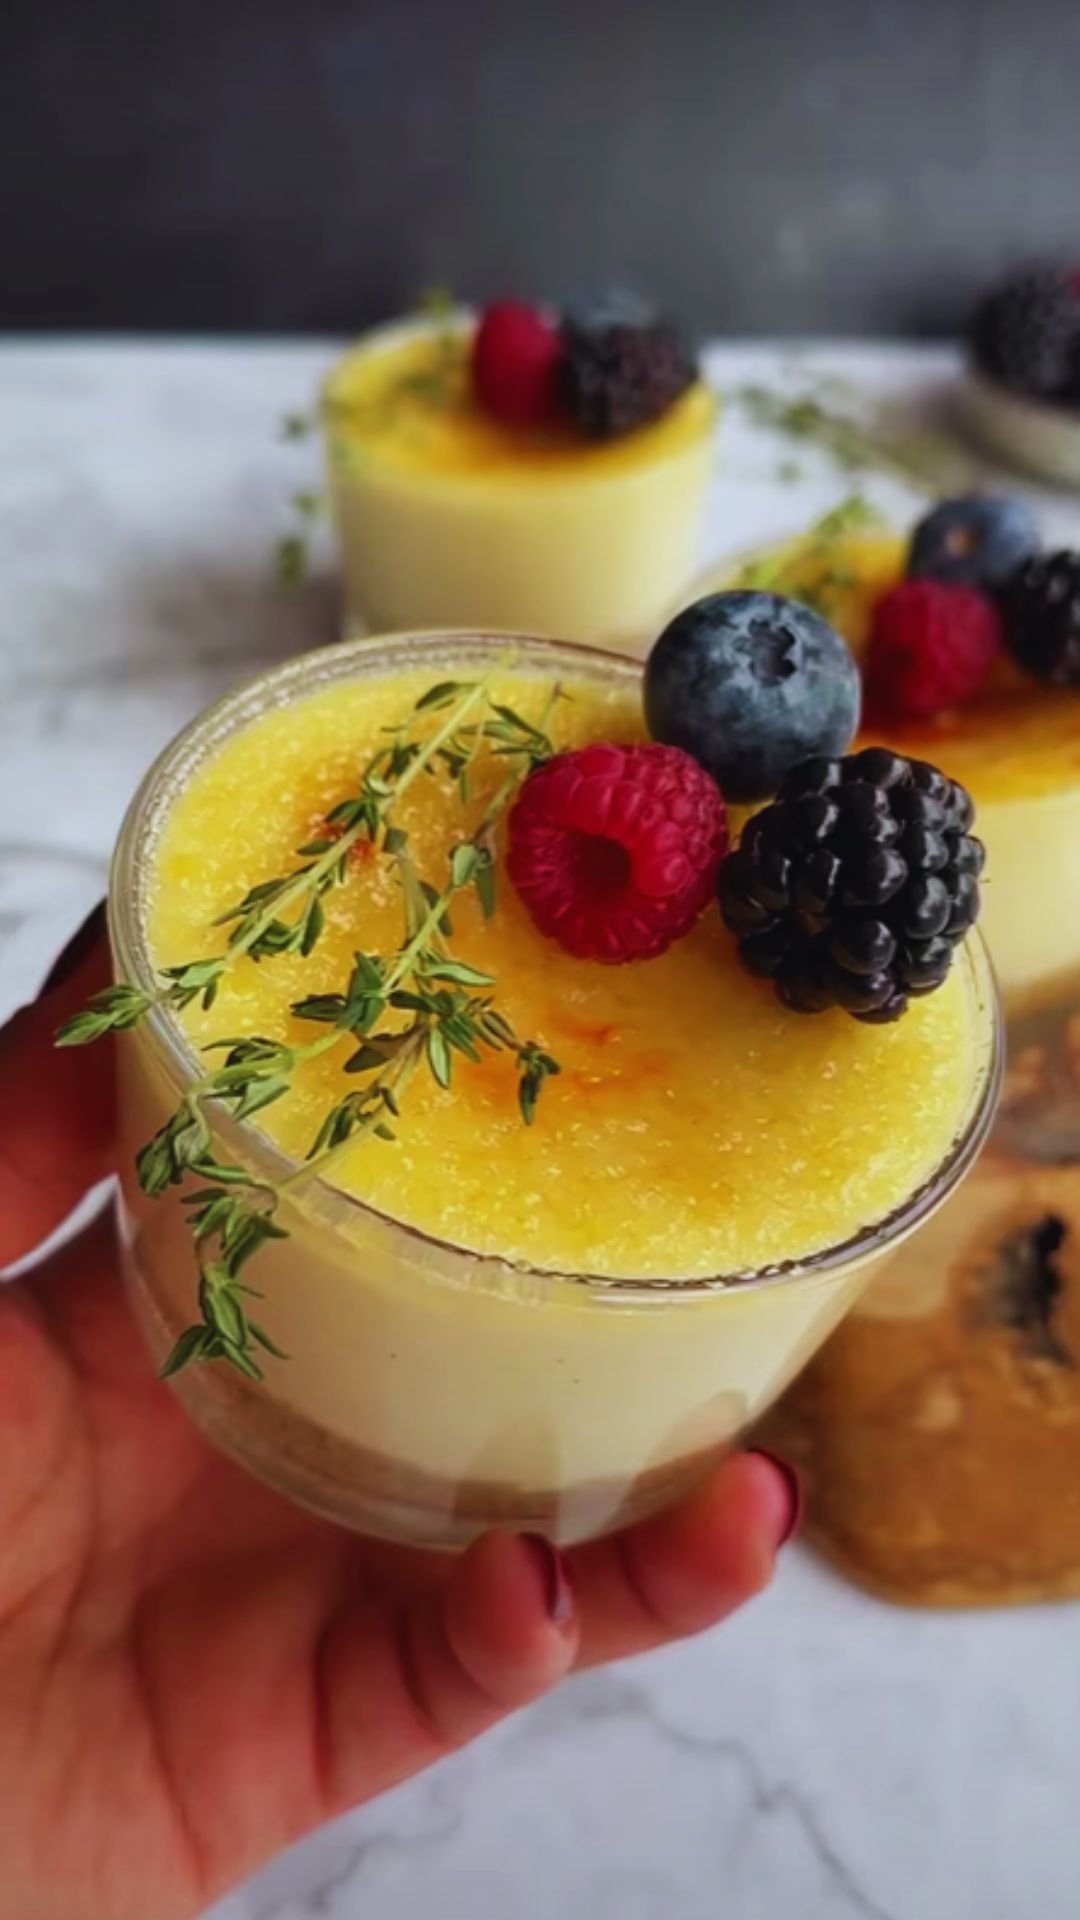
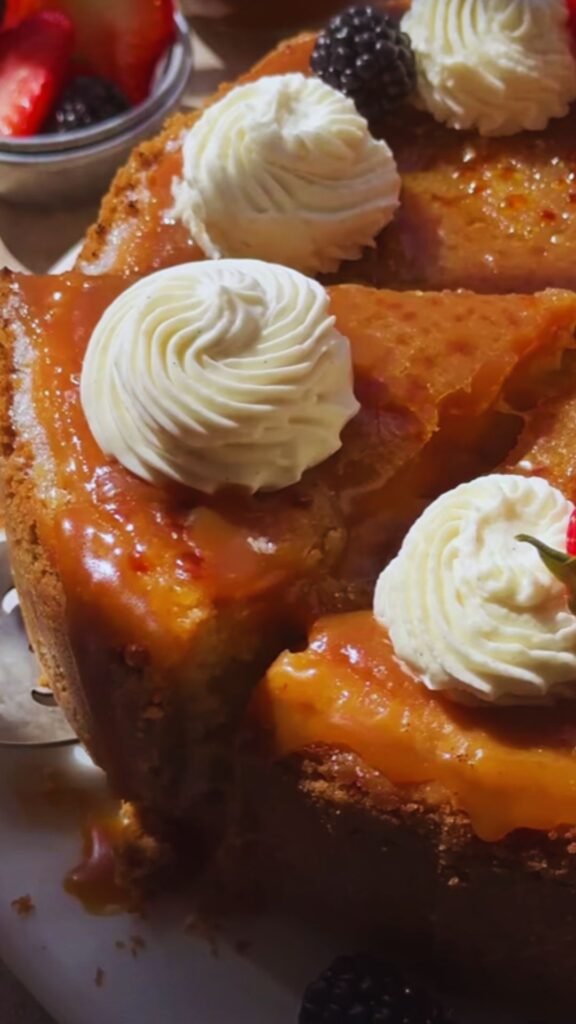
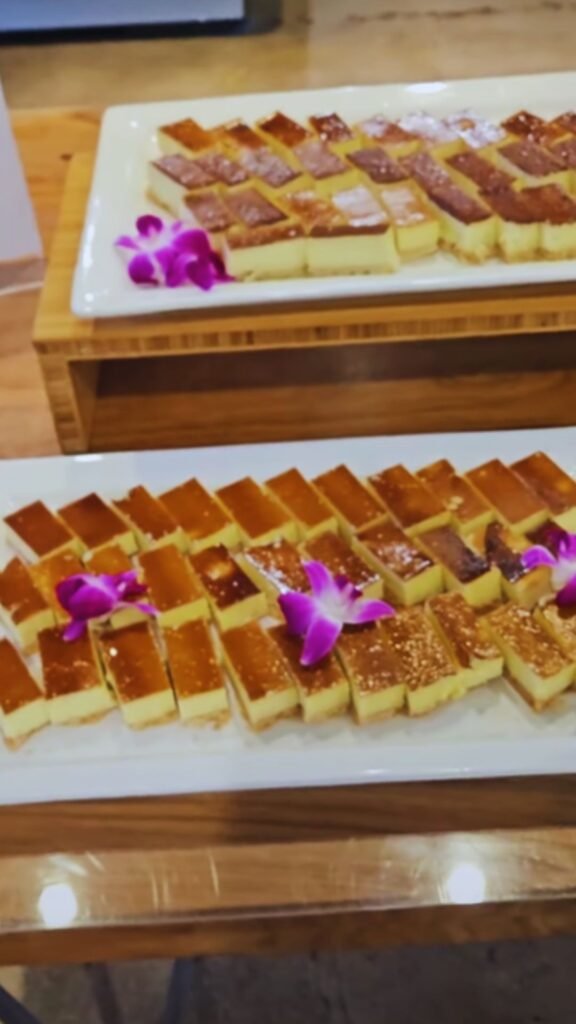
Caramelized Sugar Top: The torched sugar creates a thin, crispy layer that cracks satisfyingly under your spoon, revealing the smooth cheesecake beneath.
Essential Equipment and Ingredients
Before diving into the recipe, let me share the equipment that makes this process seamless. I’ve learned through experience that having the right tools significantly impacts your results.
Equipment Checklist
- Standard muffin tin (12-cup capacity)
- Paper cupcake liners
- Kitchen torch or broiler
- Electric mixer (stand or hand mixer)
- Fine-mesh sieve
- Measuring cups and spoons
- Rubber spatula
- Small saucepan
- Wire cooling rack
Ingredient Quality Matters
The success of these cupcakes heavily depends on ingredient quality. I always use full-fat cream cheese at room temperature, real vanilla extract rather than artificial flavoring, and fresh eggs. These seemingly small details create the difference between good and exceptional results.
Complete Recipe and Method
Graham Cracker Crust Preparation
| Ingredient | Quantity | Purpose | Notes |
|---|---|---|---|
| Graham crackers | 1 sleeve (9 crackers) | Base structure | Crush finely for best texture |
| Unsalted butter | 3 tablespoons, melted | Binding agent | Room temperature works too |
| Granulated sugar | 1 tablespoon | Sweetness balance | Adjust to taste preference |
I begin by preheating my oven to 325°F (163°C) and lining my muffin tin with paper liners. Crushing the graham crackers requires patience – I prefer using a food processor for consistency, but a rolling pin and sealed bag work equally well. The mixture should hold together when squeezed but not feel overly wet.
Press approximately one tablespoon of crust mixture into each liner bottom, creating an even layer. I use the bottom of a small glass to achieve uniform compression. These prebake for 8 minutes, developing a slightly golden color that intensifies the flavor.
Cheesecake Filling Creation
| Ingredient | Quantity | Temperature | Function |
|---|---|---|---|
| Cream cheese | 16 oz (2 packages) | Room temperature | Primary base |
| Granulated sugar | 1/2 cup | Room temperature | Sweetening and texture |
| Large eggs | 2 whole | Room temperature | Structure and richness |
| Heavy cream | 1/4 cup | Room temperature | Creaminess factor |
| Pure vanilla extract | 1 teaspoon | Room temperature | Flavor enhancement |
| Salt | 1/8 teaspoon | Room temperature | Flavor balancing |
The mixing process requires careful attention to prevent overmixing, which introduces air bubbles that can cause cracks. I start by beating the cream cheese until completely smooth, scraping down bowl sides frequently. This foundation step eliminates lumps that would otherwise persist throughout the entire mixture.
Adding sugar gradually while continuing to beat creates the proper texture. Room temperature ingredients blend more easily, preventing the formation of those frustrating lumps that can ruin the final product’s smoothness.

Eggs incorporate one at a time, with thorough mixing between additions. I beat just until combined – overbeating at this stage creates those unwanted air pockets. The heavy cream and vanilla extract blend in last, creating that luxurious consistency that makes these cupcakes special.
Baking Process and Timing
Water bath baking, though optional, provides insurance against cracking and ensures even cooking. I place a larger pan filled with hot water on the oven’s bottom shelf, creating steam that maintains moisture levels during baking.
Filling each liner approximately 3/4 full prevents overflow while allowing proper rising. These bake for 18-22 minutes at 325°F, until centers appear almost set with slight jiggle remaining. Overbaking creates dry, dense cupcakes that lack the silky texture we’re pursuing.
Cooling happens gradually – first in the turned-off oven with the door slightly ajar for 30 minutes, then completely at room temperature before refrigerating. This gentle temperature transition prevents dramatic shrinking or cracking.
Advanced Techniques and Troubleshooting
Temperature Management
| Stage | Temperature | Duration | Critical Points |
|---|---|---|---|
| Ingredient prep | Room temp (70°F) | 2-3 hours | Prevents lumping |
| Baking | 325°F (163°C) | 18-22 minutes | Even cooking |
| Initial cooling | Oven off, door ajar | 30 minutes | Prevents cracking |
| Complete cooling | Room temperature | 1 hour | Structure setting |
| Chilling | 35-40°F | 4+ hours | Firm texture |
| Torching | High heat flame | 30-60 seconds | Caramelization |
Temperature control throughout this process determines success. I’ve learned that rushing any cooling stage compromises texture and appearance. Patience during these transitions rewards you with professional-quality results.
Achieving Perfect Caramelization
The signature creme brûlée topping requires specific technique. I sprinkle approximately one teaspoon of granulated sugar evenly across each chilled cupcake surface. Using a kitchen torch, I move the flame continuously in small circles, watching the sugar melt and bubble.
The goal involves achieving deep amber coloration without burning. This process takes 30-60 seconds per cupcake, depending on torch intensity and sugar distribution. The caramelized layer should crack audibly when tapped with a spoon.
Storage and Serving Guidelines
Proper storage maintains quality and prevents the caramelized topping from softening. I store these cupcakes in the refrigerator for up to five days, though the sugar topping stays crispest when applied just before serving.
For optimal presentation, I remove them from refrigeration 15-20 minutes before serving, allowing slight temperature moderation while maintaining structural integrity. This timing provides the perfect balance between firm texture and creamy mouthfeel.
Nutritional Information and Variations
Nutritional Breakdown Per Cupcake
| Component | Amount | Percentage Daily Value |
|---|---|---|
| Calories | 285 | 14% |
| Total Fat | 22g | 28% |
| Saturated Fat | 13g | 65% |
| Cholesterol | 95mg | 32% |
| Sodium | 180mg | 8% |
| Total Carbohydrates | 18g | 7% |
| Dietary Fiber | 0.5g | 2% |
| Sugars | 16g | – |
| Protein | 5g | 10% |
These cupcakes represent indulgent treats rather than everyday desserts. I consider them special occasion foods, perfect for celebrations where extraordinary desserts create memorable experiences.
Creative Variations and Flavor Profiles
Chocolate Creme Brûlée Cheesecake: Adding 1/4 cup cocoa powder and 2 oz melted dark chocolate transforms these into chocolate lovers’ dreams. The process remains identical, but the flavor profile shifts dramatically.
Espresso Enhancement: One tablespoon of instant espresso powder dissolved in the heavy cream creates sophisticated coffee undertones that complement the vanilla beautifully.
Citrus Twist: Lemon or orange zest (1 tablespoon) brightens the flavor profile, while maintaining the classic texture. This variation pairs exceptionally well with berry garnishes.
Seasonal Spicing: During autumn months, I incorporate 1/2 teaspoon cinnamon and 1/4 teaspoon nutmeg, creating warmth that complements the caramelized sugar perfectly.
Professional Tips and Secrets
Through years of perfecting this recipe, I’ve discovered several techniques that elevate results from good to extraordinary. These professional secrets make the difference between homemade and bakery-quality cupcakes.
Ingredient Temperature Synchronization
Everything must reach room temperature simultaneously. I remove cream cheese, eggs, and heavy cream from refrigeration together, typically 2-3 hours before beginning. This synchronization prevents temperature shock that can cause mixture separation or lumping.
Mixing Methodology
Scraping bowl sides occurs after each ingredient addition, ensuring complete incorporation without overmixing. I use medium speed throughout the process, avoiding high speeds that introduce excessive air.
Quality Control Checkpoints
Before baking, I tap the filled muffin tin gently on the counter, releasing trapped air bubbles that could cause irregular texture. This simple step dramatically improves final appearance and consistency.
Serving Suggestions and Presentation
These cupcakes shine as standalone desserts but also pair beautifully with complementary elements. Fresh berries provide color contrast and acidic balance against the rich custard flavors. Raspberry coulis or strawberry sauce adds elegance while cutting through the richness.
For special occasions, I garnish with edible flowers, mint sprigs, or delicate cookie wafers. The caramelized sugar top provides textural interest that doesn’t require additional embellishment, but these touches create restaurant-quality presentation.
Temperature serving considerations matter significantly. Too cold, and the flavors remain muted; too warm, and the structure softens unappealingly. That 15-20 minute room temperature rest period achieves optimal serving conditions.
Frequently Asked Questions
Q. Can I make these cupcakes ahead of time for parties? Absolutely! I often prepare these 2-3 days before events. The cheesecake portion actually improves with time, developing deeper flavors. Apply the caramelized sugar topping just before serving to maintain crispness.
Q. What should I do if my cheesecake mixture has lumps? Prevention works better than correction, but if lumps occur, strain the mixture through a fine-mesh sieve before filling the liners. This removes most irregularities, though some texture may remain slightly affected.
Q. Why did my cupcakes crack during baking? Cracking typically results from temperature shock, overmixing, or oven temperature that’s too high. Ensure gradual cooling and consider using the water bath method for insurance against cracking.
Q. Can I use a broiler instead of a kitchen torch for caramelizing? Yes, though results vary. Place cupcakes on the top oven rack under high broiler heat for 1-2 minutes, watching constantly. The torch provides better control and more even caramelization.
Q. How do I know when the cupcakes are properly baked? Centers should appear almost set with slight jiggle remaining. They’ll continue cooking during the cooling process. Overbaking creates dry, dense results that lack the desired creamy texture.
Q. What’s the best way to transport these cupcakes? Transport them chilled without the caramelized topping, then torch the sugar at your destination. This prevents the crispy layer from softening during transit while maintaining structural integrity.
Q. Can I freeze these cupcakes for later use? The cheesecake portion freezes well for up to three months when properly wrapped. Thaw overnight in refrigeration, then add the caramelized topping before serving. Quality remains excellent after freezing.
Q. Why is room temperature ingredient preparation so important? Room temperature ingredients blend more easily, creating smoother textures without lumps. Cold cream cheese, in particular, resists mixing and creates an uneven final product that affects both taste and appearance.
These creme brûlée cheesecake cupcakes represent culinary fusion at its finest, combining classic techniques with innovative presentation. The individual serving size makes them perfect for entertaining, while the sophisticated flavor profile satisfies even the most discerning dessert enthusiasts. My journey perfecting this recipe has taught me that patience during preparation and attention to detail during execution create results that rival professional bakeries. Whether you’re celebrating special occasions or simply treating yourself to something extraordinary, these cupcakes deliver an unforgettable dessert experience that will have everyone requesting the recipe.