Growing up with Scandinavian influences, I’ve always been fascinated by the comforting warmth of traditional Norwegian porridge, known as rømmegrøt. Today, I’m excited to share my favorite recipe for this creamy, heartwarming dish that has been perfected through generations of Norwegian home cooking.
What is Norwegian Porridge?
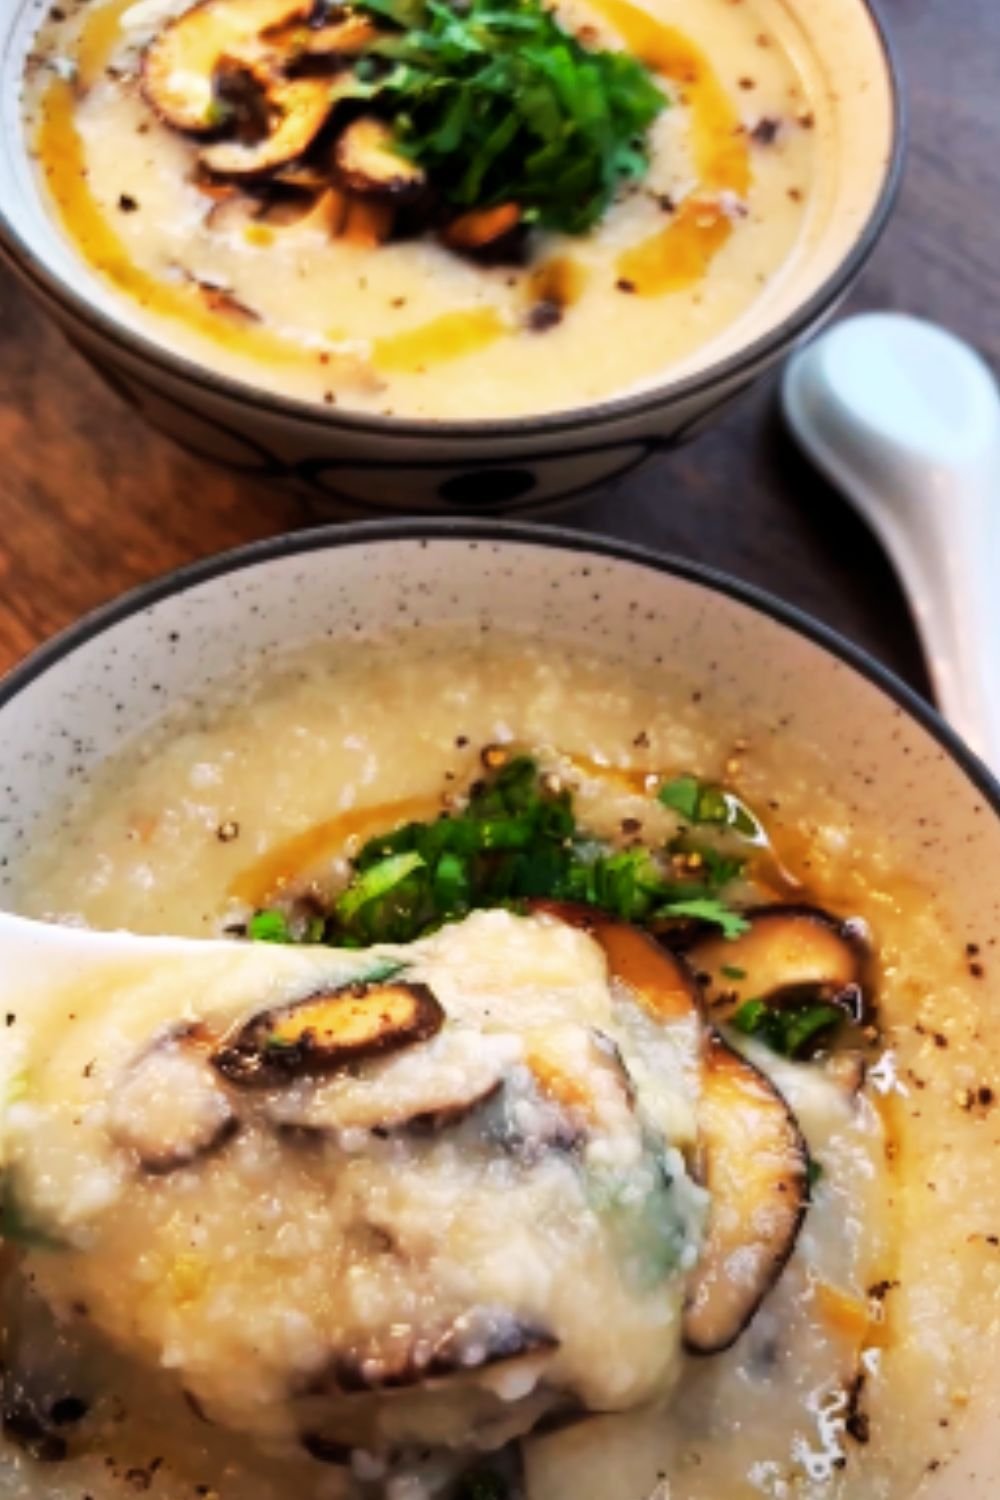
Norwegian porridge, or rømmegrøt, is a traditional sour cream porridge that holds a special place in Norwegian cuisine. Unlike regular oatmeal, this unique dish is made with sour cream, wheat flour, whole milk, and a pinch of salt, creating a rich, velvety texture that’s simply irresistible.
The Cultural Significance
In Norwegian culture, rømmegrøt isn’t just any ordinary porridge – it’s a celebration dish. Traditionally served during summer celebrations and special occasions, this warming comfort food has been bringing families together for centuries. I’ve discovered that each region in Norway has its own subtle variations, but the core recipe remains a testament to Norwegian culinary heritage.
Essential Ingredients
Here’s what you’ll need to create authentic Norwegian porridge (serves 6):
| Ingredient | Amount | Notes |
|---|---|---|
| Sour Cream (35% fat) | 500g | Full-fat is essential for authentic taste |
| Wheat Flour | 250g | All-purpose flour works best |
| Whole Milk | 500ml | Room temperature recommended |
| Salt | 1 tsp | Fine sea salt preferred |
| Butter | 100g | For serving |
| Sugar | To taste | For serving |
| Cinnamon | To taste | For serving |
Kitchen Equipment Needed
| Equipment | Purpose |
|---|---|
| Large Heavy-bottomed Pot | Main cooking vessel |
| Wooden Spoon | For stirring continuously |
| Whisk | For removing lumps |
| Measuring Cups/Scale | For precise measurements |
| Serving Bowls | Traditional wooden if possible |
Step-by-Step Instructions
- Preparing the Base
- Heat the sour cream in a heavy-bottomed pot over medium heat
- Stir continuously until it starts to simmer (about 5-7 minutes)
- Look for small bubbles forming around the edges
- Adding the Flour
- Gradually sift in the wheat flour while stirring constantly
- Continue stirring until the mixture thickens
- Keep stirring until the butter fat starts to separate (about 15 minutes)
- The Crucial Phase
- Once the butter fat separates, carefully remove it and set aside
- This will be used later as a topping
- The remaining mixture should be thick and smooth
- Incorporating the Milk
- Gradually add warm milk while whisking continuously
- Keep stirring until the porridge reaches desired consistency
- Simmer on low heat for 10-15 minutes, stirring frequently
- Final Touches
- Season with salt to taste
- Adjust thickness with more milk if needed
- The consistency should be smooth and creamy

Common Mistakes to Avoid
| Mistake | Consequence | Solution |
|---|---|---|
| Using low-fat sour cream | Poor texture and separation | Always use full-fat (35%) sour cream |
| Rushing the cooking process | Lumpy texture | Maintain medium-low heat, stir constantly |
| Not removing butter fat | Greasy final product | Carefully skim off separated butter fat |
| Adding cold milk | Lumpy consistency | Ensure milk is room temperature |
| Insufficient stirring | Burnt bottom, lumps | Stir continuously, especially at the beginning |
Serving Suggestions
Traditional toppings include:
- Reserved butter fat drizzled on top
- A sprinkle of cinnamon
- Sugar to taste
- A pinch of salt
Modern variations I enjoy:
- Fresh berries (particularly lingonberries or cloudberries)
- Chopped nuts
- A drizzle of maple syrup
- Dried fruits
Storage and Reheating
| Storage Method | Duration | Notes |
|---|---|---|
| Refrigerator | Up to 3 days | Store in airtight container |
| Freezer | Up to 1 month | Not recommended, affects texture |
To reheat:
- Add a splash of milk
- Heat on low, stirring frequently
- Add more milk as needed for desired consistency
Nutritional Information (Per Serving)
| Nutrient | Amount |
|---|---|
| Calories | 385 |
| Protein | 8g |
| Fat | 28g |
| Carbohydrates | 25g |
| Fiber | 1g |
| Calcium | 180mg |
Common Questions & Answers
Q: Why isn’t my porridge thickening properly?
A: The most common reason is using low-fat sour cream or not cooking it long enough. Make sure to use full-fat sour cream and give it time to properly reduce and thicken.
Q: Can I make this dairy-free?
A: While you can attempt it with dairy alternatives, the authentic taste and texture of rømmegrøt relies heavily on the properties of real dairy products. I wouldn’t recommend substitutions for this particular recipe.
Q: How do I know when the butter fat has fully separated?
A: You’ll notice small golden droplets forming on the surface. This usually takes about 15-20 minutes of continuous stirring. The fat will look clearly different from the rest of the mixture.
Q: My porridge turned out lumpy. What went wrong?
A: Lumps usually form when the flour isn’t incorporated gradually enough or when the milk is added too quickly. Remember to sift the flour and add milk slowly while whisking continuously.
Q: Can I make this ahead for a party?
A: Yes, but it’s best served fresh. If you must make it ahead, prepare it up to 24 hours in advance and reheat gently with additional milk to achieve the right consistency.
Tips for Perfect Results
- Temperature Control
- Maintain medium-low heat throughout cooking
- Never rush the process by increasing heat
- Watch for gentle bubbling, not vigorous boiling
- Ingredient Quality
- Use the highest quality sour cream available
- Fresh whole milk makes a noticeable difference
- Store ingredients at room temperature before starting
- Technique Matters
- Stir in a figure-eight pattern to prevent sticking
- Use a heavy-bottomed pot to prevent burning
- Keep your whisk handy for quick smoothing if needed
Family-Friendly Modifications
If serving to children or picky eaters:
- Add a touch more sugar
- Consider fun toppings like fresh fruit
- Make it slightly thinner for easier eating
- Create fun patterns with the cinnamon on top
Remember, the key to perfect Norwegian porridge lies in patience and attention to detail. Don’t rush the process – embrace the meditative nature of stirring and watching your porridge come together. The result will be a comforting, authentic dish that connects you to centuries of Norwegian culinary tradition.