Have you ever dreamed of making fresh, warm bread at home but felt intimidated by traditional baking methods? I’m here to share my absolute favorite discovery – making bread in an air fryer! After countless experiments and some surprising successes, I’ve perfected this technique that delivers consistently amazing results. The best part? It’s faster than conventional oven baking and produces a beautiful golden crust every single time.
Why Make Bread in an Air Fryer?
Before I dive into the recipe, let me share why air fryer bread baking has become my go-to method. Traditional oven baking certainly has its place, but air fryer bread making offers unique advantages that have revolutionized my home baking routine:
- Faster baking time (20-25 minutes vs. 45-60 minutes in conventional ovens)
- More energy-efficient than heating a full-size oven
- Perfect for small households or single servings
- Consistently crispy crust with tender interior
- Ideal for hot summer days when you don’t want to heat up your kitchen
- Better temperature control for novice bakers
Essential Ingredients
Let’s break down what you’ll need for this recipe. I’ve tested numerous combinations, and these proportions yield the perfect loaf:
| Ingredient | Amount | Notes |
|---|---|---|
| All-purpose flour | 2½ cups (300g) | Room temperature |
| Active dry yeast | 2¼ tsp (7g) | One standard packet |
| Warm water | 1 cup (240ml) | 105-115°F (40-46°C) |
| Sugar | 1 tbsp (15g) | Helps activate yeast |
| Salt | 1 tsp (6g) | Fine sea salt preferred |
| Olive oil | 2 tbsp (30ml) | Plus extra for coating |
| Optional seeds | 2 tbsp | For topping |

Equipment Needed
| Item | Purpose | Essential/Optional |
|---|---|---|
| Air fryer | Baking | Essential |
| Mixing bowl | Dough preparation | Essential |
| Parchment paper | Prevents sticking | Essential |
| Kitchen scale | Precise measurements | Recommended |
| Thermometer | Water temperature | Optional |
| Dough scraper | Handling dough | Optional |
Step-by-Step Instructions
1. Preparing the Yeast Mixture
I always start with proofing the yeast to ensure it’s active:
- Combine warm water (105-115°F) with sugar in a bowl
- Sprinkle yeast over the surface
- Let stand for 5-10 minutes until foamy
- If no foam appears, your yeast might be dead – start over with fresh yeast
2. Making the Dough
- In a large bowl, combine flour and salt
- Add the activated yeast mixture and olive oil
- Mix until a shaggy dough forms
- Turn onto a lightly floured surface
- Knead for 8-10 minutes until smooth and elastic
- Form into a ball
3. First Rise
The first rise is crucial for developing flavor:
- Place dough in an oiled bowl
- Cover with a damp cloth
- Let rise in a warm spot for 60-90 minutes
- Dough should double in size
4. Shaping and Second Rise
- Punch down dough gently
- Shape into a round loaf that fits your air fryer basket
- Place on parchment paper
- Let rise for 30 minutes
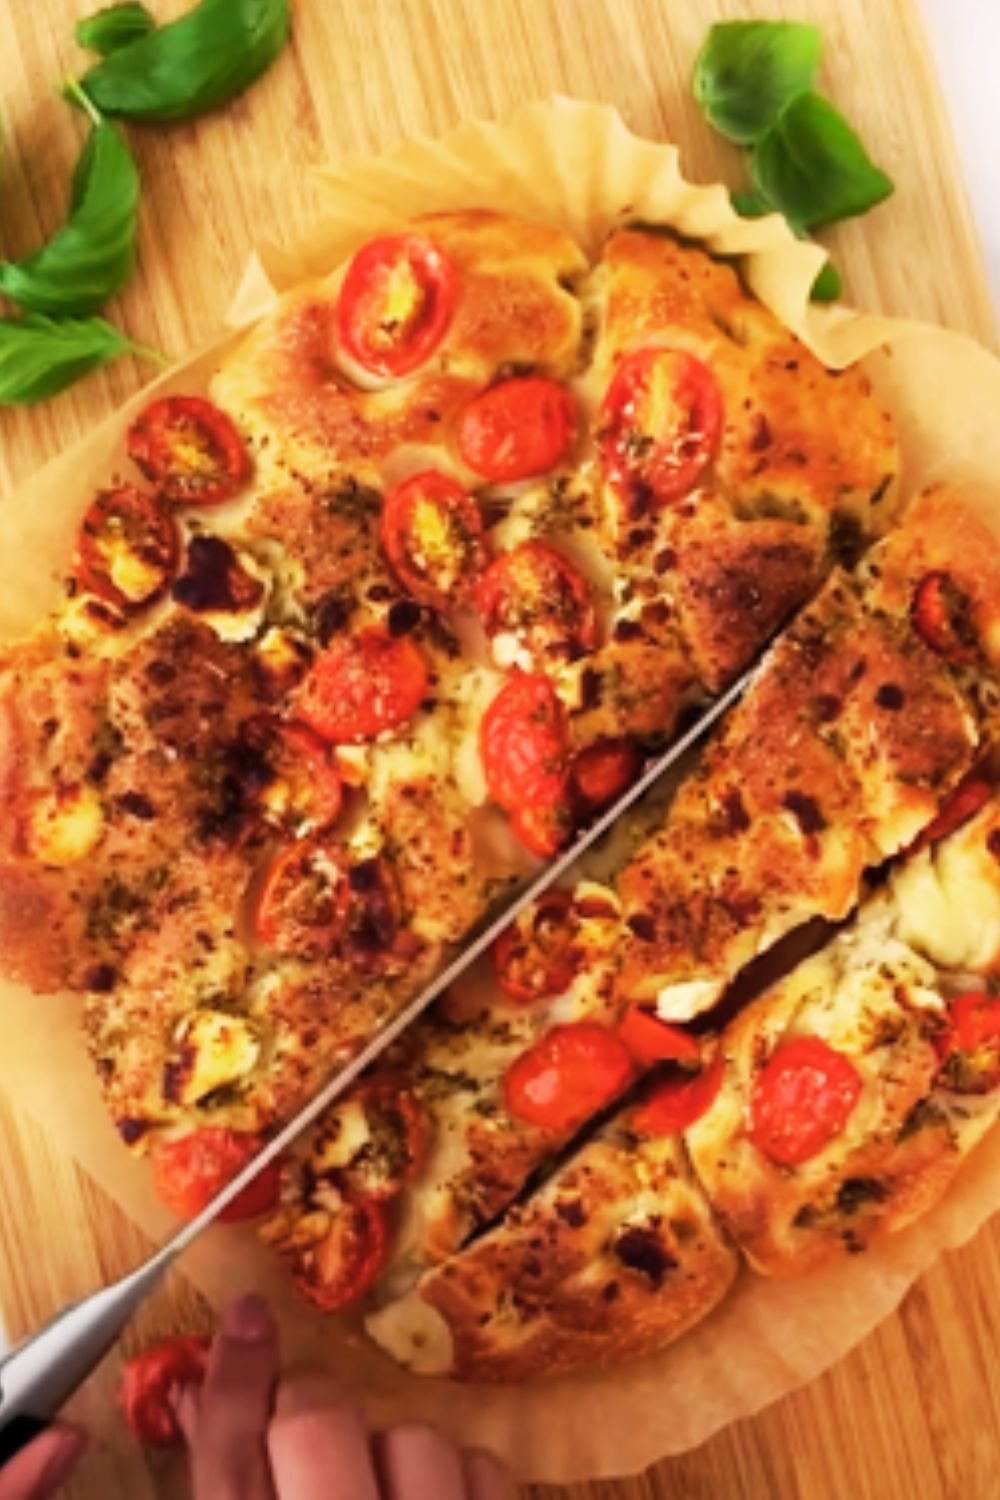
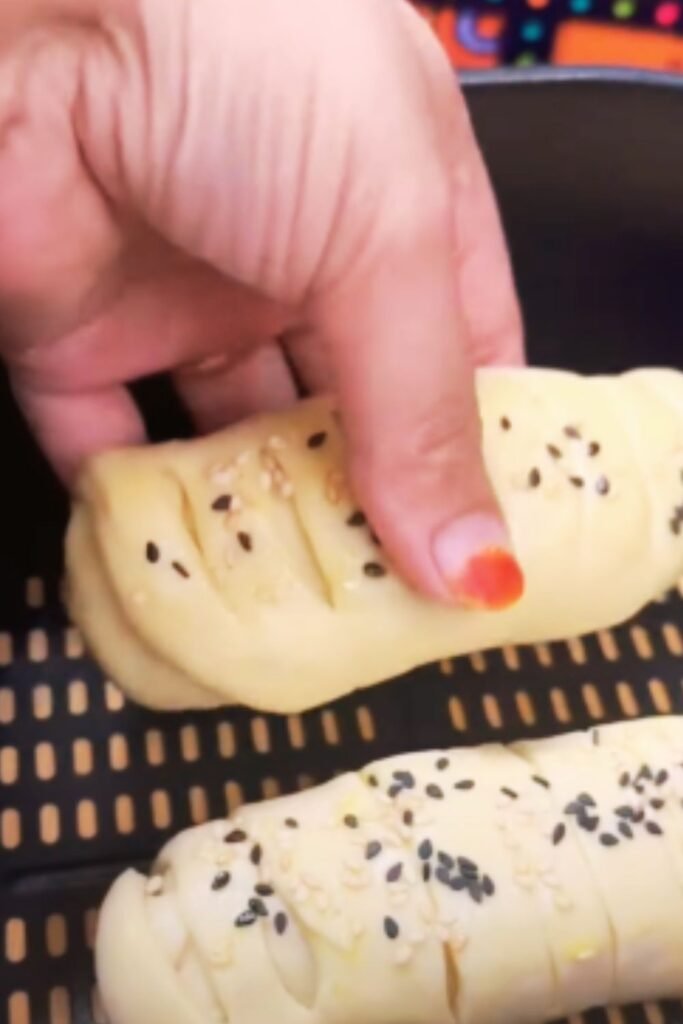
- Slash top with a sharp knife
5. Air Fryer Baking
- Preheat air fryer to 320°F (160°C)
- Transfer dough on parchment to basket
- Bake for 20-25 minutes
- Check internal temperature (should reach 190°F/88°C)
- Cool on wire rack for 30 minutes before slicing
Troubleshooting Guide
| Problem | Possible Cause | Solution |
|---|---|---|
| Dense, heavy bread | Under-proofed dough | Allow longer rise time |
| Pale crust | Temperature too low | Increase by 10°F |
| Dough too sticky | Too much liquid | Add flour gradually |
| Not rising | Dead yeast/cold room | Use fresh yeast, find warmer spot |
| Cracked surface | No steam/dry air | Spritz with water before baking |
Storage and Serving Suggestions
- Store in paper bag at room temperature for 2-3 days
- Freeze sliced bread for up to 3 months
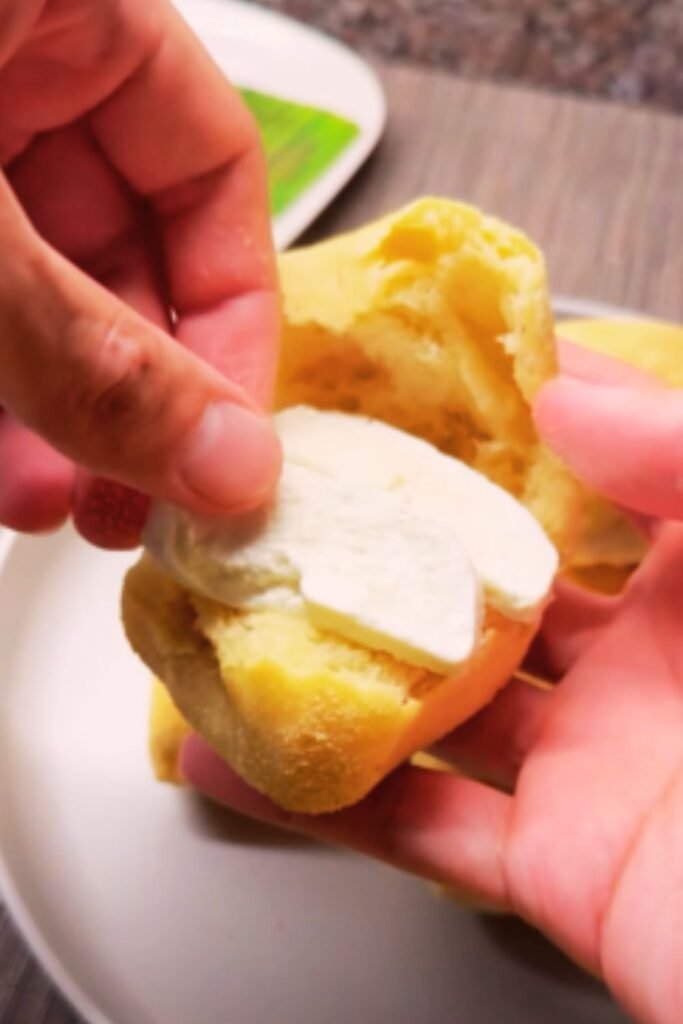
- Toast and serve with:
- Fresh butter and honey
- Avocado and eggs
- Homemade jam
- Olive oil and herbs
- As sandwich bread
- With soups and stews
Recipe Variations
I’ve experimented with several variations that work beautifully:
- Whole Wheat Version
- Replace 1 cup of all-purpose flour with whole wheat
- Add 2 tbsp extra water
- Expect slightly denser texture
- Herb-Infused
- Add 2 tbsp fresh herbs (rosemary, thyme, basil)
- Incorporate during initial mixing
- Brush top with olive oil before baking
- Seeded Crust
- Mix seeds (sesame, poppy, sunflower)
- Brush top with water
- Sprinkle seeds before baking
- Garlic-Parmesan
- Add 4 minced garlic cloves
- Mix in ½ cup grated parmesan
- Perfect for Italian meals
Common Questions
Q: Can I use instant yeast instead of active dry yeast?
Yes! Use the same amount but skip the proofing step – add directly to dry ingredients.
Q: Why didn’t my bread rise?
Common causes include old yeast, water too hot/cold, or room temperature too cool. Ensure water is 105-115°F and find a warm spot for rising.
Q: How do I know when the bread is fully baked?
Internal temperature should reach 190°F. The bottom should sound hollow when tapped, and the crust should be golden brown.
Q: Can I make this bread without parchment paper?
While possible, parchment prevents sticking and makes transfer easier. If not using parchment, generously grease the basket.
Q: My bread comes out too dense. What am I doing wrong?
Usually indicates under-kneading or insufficient rise time. Try kneading longer and allowing more time for proofing.
Q: How can I get a crispier crust?
Spray the loaf with water before baking and increase temperature by 10°F for the last 5 minutes.
Pro Tips from My Kitchen
- Temperature Matters
- Room temperature ingredients yield better results
- Warm water activates yeast properly
- Cool kitchen needs longer rise time
- Timing is Everything
- Don’t rush the kneading process
- Watch for proper doubling during first rise
- Better to under-bake slightly than over-bake
- Handling Techniques
- Use gentle hands when shaping
- Don’t tear the dough
- Keep surface lightly floured
Remember, bread making is part science and part art. Each air fryer model might require slight adjustments to temperature and timing. Don’t be afraid to experiment and find what works best with your equipment. The more you practice, the better you’ll understand the feel of properly kneaded dough and the visual cues of well-proofed bread.
With this recipe and guide, you’re well-equipped to start your air fryer bread-making journey. The satisfaction of pulling out a perfectly baked loaf, filling your kitchen with that irresistible fresh bread aroma, and cutting into a warm slice is truly unmatched. Happy baking!