There’s something undeniably magical about biting into a perfectly crafted tart. That moment when your fork breaks through the buttery, crumbly crust before reaching the luscious filling is pure bliss. I’ve spent years perfecting my tart crust recipe, and today I’m sharing all my secrets with you. This isn’t just any tart crust—it’s tender, buttery, and sweet, creating the ideal foundation for whatever delicious filling you have in mind.
Why This Tart Crust Recipe Stands Above the Rest
Before diving into the recipe, let me explain why this particular tart crust deserves a place in your baking repertoire. Unlike pie crusts that aim for flakiness, a perfect tart crust should be:
- Tender yet sturdy: Holds its shape when sliced but melts in your mouth
- Buttery and rich: Uses high-quality butter for unmatched flavor
- Subtly sweet: Complements both sweet and tangy fillings
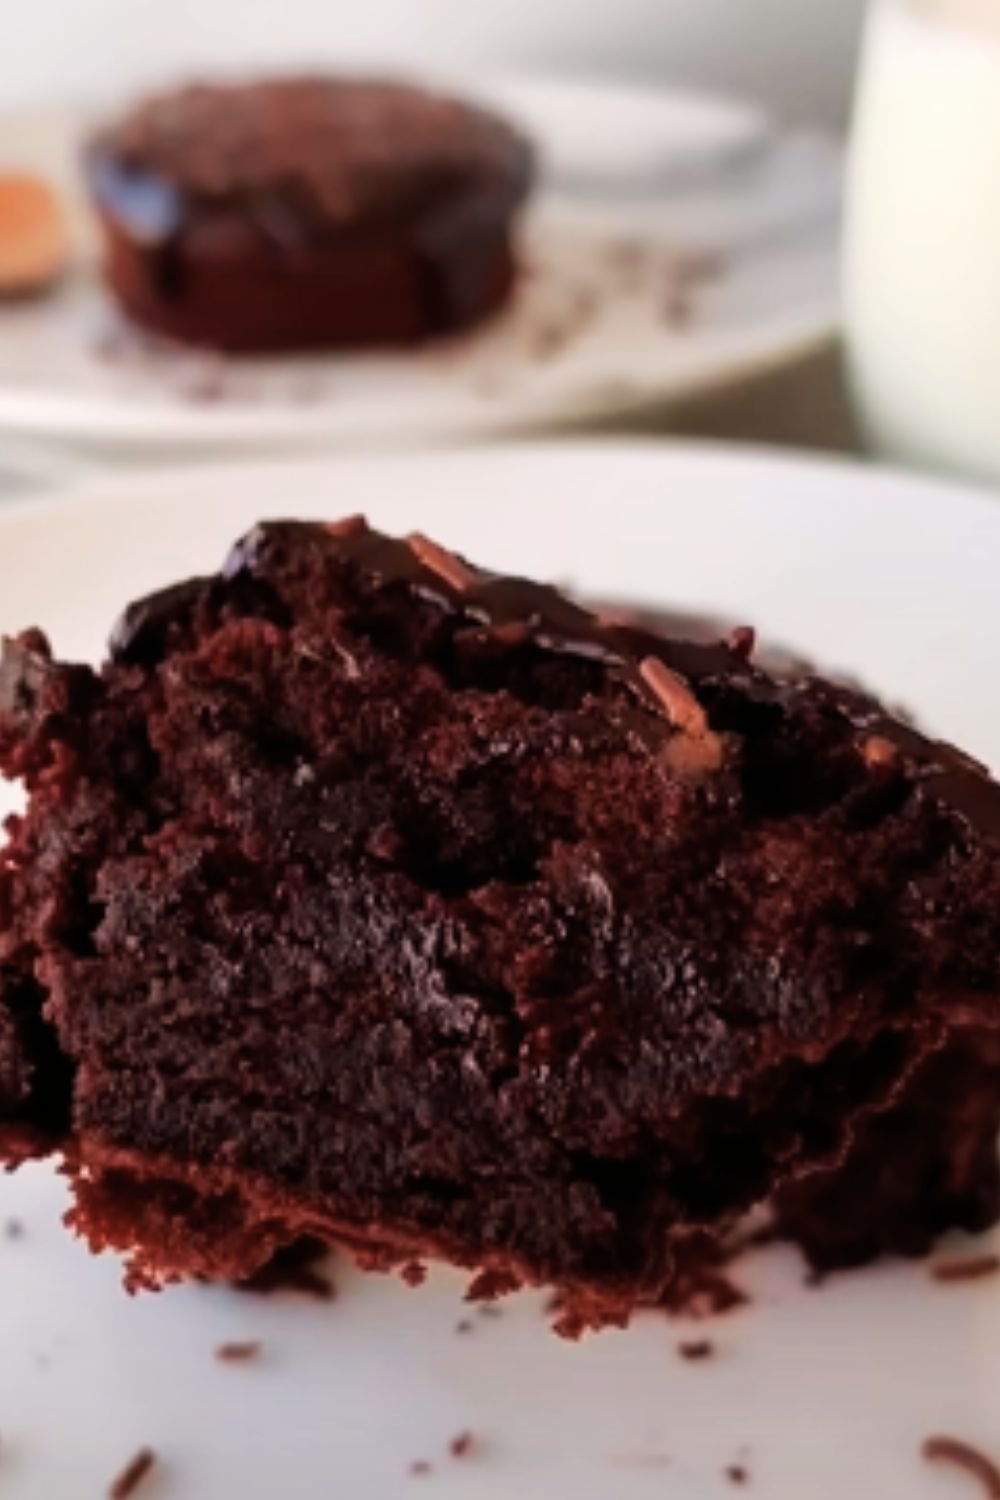
- Versatile: Works beautifully with fruit, chocolate, custard, or savory fillings
- Foolproof: Even novice bakers can achieve professional results
I’ve tested countless variations over the years, adjusting ingredients and techniques until reaching this perfect balance. The result is a crust that’s become my signature base for everything from elegant fruit tarts to rich chocolate ganache creations.
Essential Ingredients for the Perfect Tart Crust
The beauty of this recipe lies in its simplicity. You’ll need just a handful of ingredients, but the quality matters tremendously.
The Building Blocks of Flavor
All-Purpose Flour : The foundation of our crust. I recommend using unbleached all-purpose flour for the best texture. The protein content (around 10-12%) is perfect for a tender but sturdy result.
Unsalted Butter : The star ingredient that provides flavor and texture. Always use high-quality, European-style butter with at least 82% fat content for the richest result. The butter must be very cold.
Powdered Sugar : Also called confectioners’ sugar, it incorporates more easily than granulated sugar and contributes to the melt-in-your-mouth texture.
Egg Yolk : Acts as a binder and adds richness. Farm-fresh eggs with vibrant orange yolks will enhance both color and flavor.
Salt : Even sweet recipes need salt! It enhances all the other flavors and balances the sweetness.
Vanilla Extract : Use pure vanilla extract, not imitation, for the best flavor profile.
Almond Extract (optional) : My secret ingredient that adds a subtle depth of flavor that pairs beautifully with most fillings.
Cold Water : You’ll need just a tablespoon or two to bring the dough together without making it tough.
Essential Equipment
Before starting, make sure you have these tools on hand:
- Food processor (highly recommended, though you can use a pastry cutter)
- Tart pan with removable bottom (9-inch is standard)
- Rolling pin
- Parchment paper
- Pie weights or dried beans
- Measuring cups and spoons
- Mixing bowl
- Plastic wrap
- Bench scraper (optional but helpful)
The Perfect Tart Crust Recipe
Now, without further ado, let’s dive into the recipe that will elevate all your tart creations!
Ingredients
- 1 1/4 cups (175g) all-purpose flour
- 1/2 cup (113g) cold unsalted butter, cubed
- 1/3 cup (40g) powdered sugar
- 1 large egg yolk
- 1/4 teaspoon salt
- 1 teaspoon pure vanilla extract
- 1/4 teaspoon almond extract (optional)
- 1-2 tablespoons ice water, as needed
The Method: Step by Step
- Combine dry ingredients: In a food processor, pulse together the flour, powdered sugar, and salt until well mixed.
- Cut in the butter: Add the cold, cubed butter to the flour mixture. Pulse in short bursts until the mixture resembles coarse meal with some pea-sized pieces of butter still visible. These butter pieces are crucial for tenderness!
- Add egg yolk and flavoring: Add the egg yolk, vanilla extract, and almond extract (if using). Pulse a few times until just combined.
- Add water gradually: With the processor running, add ice water one tablespoon at a time, just until the dough begins to come together. You may not need all the water. The dough should hold together when pinched but shouldn’t be sticky.
- Form and chill: Turn the dough out onto a lightly floured surface and gently form it into a disk about 1-inch thick. Wrap tightly in plastic wrap and refrigerate for at least 1 hour, or up to 2 days. This resting period is non-negotiable—it allows the gluten to relax and the butter to firm up.
- Roll the dough: Remove the chilled dough from the refrigerator and let it sit for about 5-10 minutes to slightly soften. On a lightly floured surface, roll the dough into a circle about 12 inches in diameter and 1/8-inch thick.
- Transfer to pan: Carefully roll the dough around your rolling pin, then unroll it over your tart pan. Gently press the dough into the corners and up the sides of the pan. Trim any excess dough by rolling your rolling pin over the top of the pan.
- Dock and chill again: Using a fork, prick the bottom of the tart shell all over (this prevents bubbling). Return the tart shell to the refrigerator and chill for 30 minutes. This second chilling is crucial to prevent shrinking during baking.
- Prepare for blind baking: Preheat your oven to 375°F (190°C). Line the chilled tart shell with parchment paper and fill with pie weights or dried beans.
- Blind bake: Bake the tart shell with weights for 15 minutes. Remove the weights and parchment, then return to the oven and bake for an additional 5-10 minutes, until the crust is golden brown.
- Cool completely: Allow the tart shell to cool completely before filling.
Tart Crust Variations to Suit Every Filling
One of the beauties of this base recipe is how easily it can be adapted. Here are some of my favorite variations:
Chocolate Tart Crust
Replace 1/4 cup of the all-purpose flour with unsweetened cocoa powder for a rich chocolate base that pairs perfectly with ganache, mousse, or fruit fillings.
Nut-Enhanced Crust
Add 1/4 cup finely ground nuts (almonds, hazelnuts, or pistachios work beautifully) in place of an equal amount of flour for added texture and flavor.
Citrus-Infused Crust
Add 1 tablespoon of lemon, lime, or orange zest to the dough for a bright, aromatic flavor that complements fruit fillings particularly well.
Spiced Crust
Add 1/2 teaspoon of cinnamon, cardamom, or a combination of warm spices for a crust that pairs wonderfully with apple, pear, or pumpkin fillings.
Savory Adaptation
For savory tarts, simply omit the sugar and add 1 tablespoon of fresh herbs (thyme, rosemary, or chives work well) and a pinch of black pepper.
Troubleshooting: Common Tart Crust Problems and Solutions
Even experienced bakers encounter issues sometimes. Here’s how to solve the most common tart crust problems:
| Problem | Cause | Solution |
|---|---|---|
| Shrinking during baking | Overworked dough or insufficient chilling | Handle dough minimally and ensure thorough chilling before baking |
| Tough crust | Too much water or overworking the dough | Add water gradually and stop processing as soon as dough comes together |
| Soggy bottom | Filling added before crust was completely cooled | Always cool crust completely and consider a protective layer between crust and wet fillings |
| Crumbly, hard-to-roll dough | Not enough moisture or overmixing | Add a few more drops of water if dough won’t hold together |
| Butter leaking during baking | Butter pieces too large or oven temperature too low | Ensure butter is properly incorporated and oven is fully preheated |
| Uneven browning | Inconsistent dough thickness or hot spots in oven | Roll dough to even thickness and rotate pan halfway through baking |
| Dough sticking to the pan | Pan not properly prepared | Use a pan with removable bottom and consider a light spritz of cooking spray |
Advanced Techniques for Show-Stopping Tarts
Once you’ve mastered the basic recipe, try these professional techniques to take your tarts to the next level:
Decorative Edges
Rather than simply trimming the excess dough, leave about 1/2 inch hanging over the edge. Fold this excess back into the tart and press to create a double-thick edge. You can then crimp, flute, or pattern this edge with a fork for a professional finish.
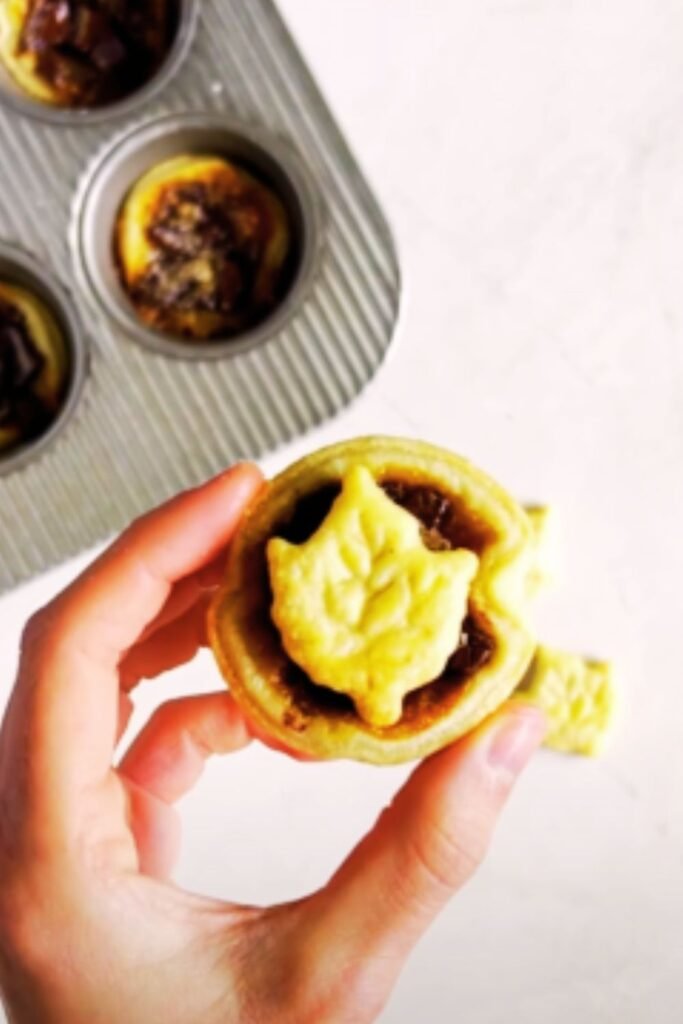
Patterned Bases
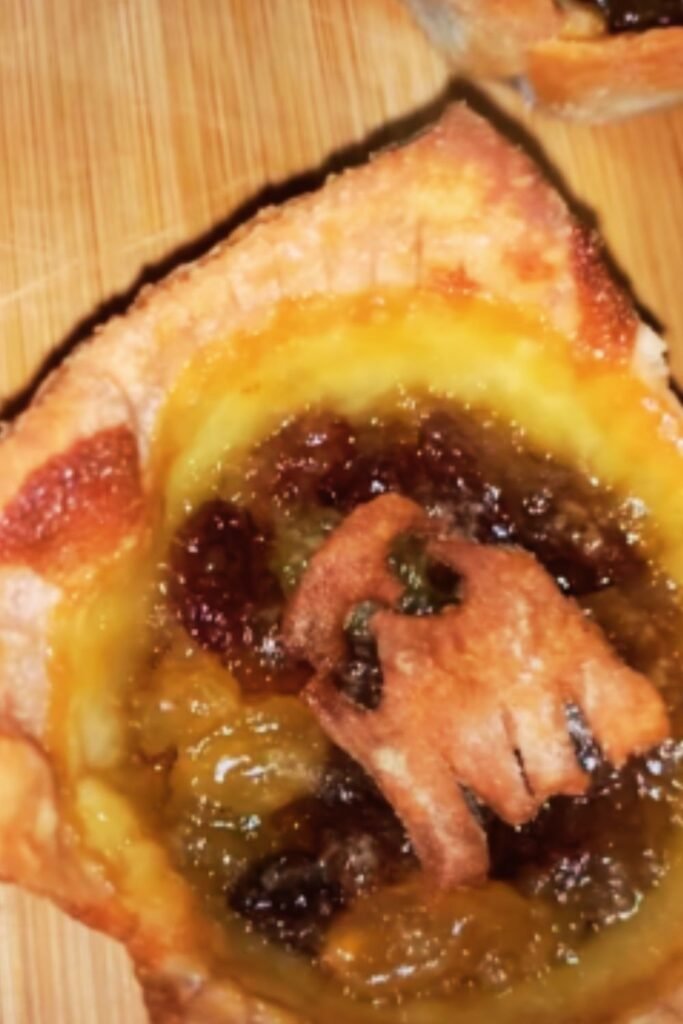
Before filling your tart, consider pressing a pattern into the base using small cookie cutters, the tines of a fork, or even small leaves cut from excess dough. These details show through with transparent fillings and add a touch of elegance.
Par-Baked vs. Fully Baked
Understanding when to par-bake (partially bake) versus fully bake your crust depends on your filling:
- Par-bake for fillings that require additional baking (custards, fruit fillings)
- Fully bake for no-bake fillings (pastry cream, chocolate ganache, fresh fruit)
Perfect Pairings: What to Fill Your Tart Crust With
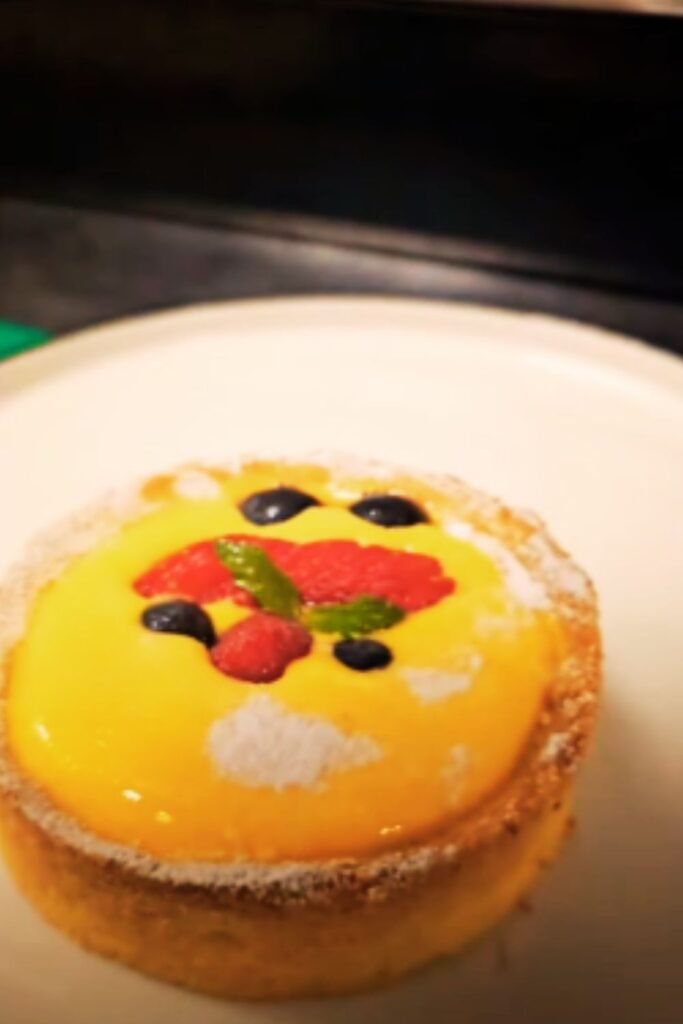
Now that you’ve mastered the perfect tart crust, here are some filling ideas that showcase it beautifully:
Sweet Fillings
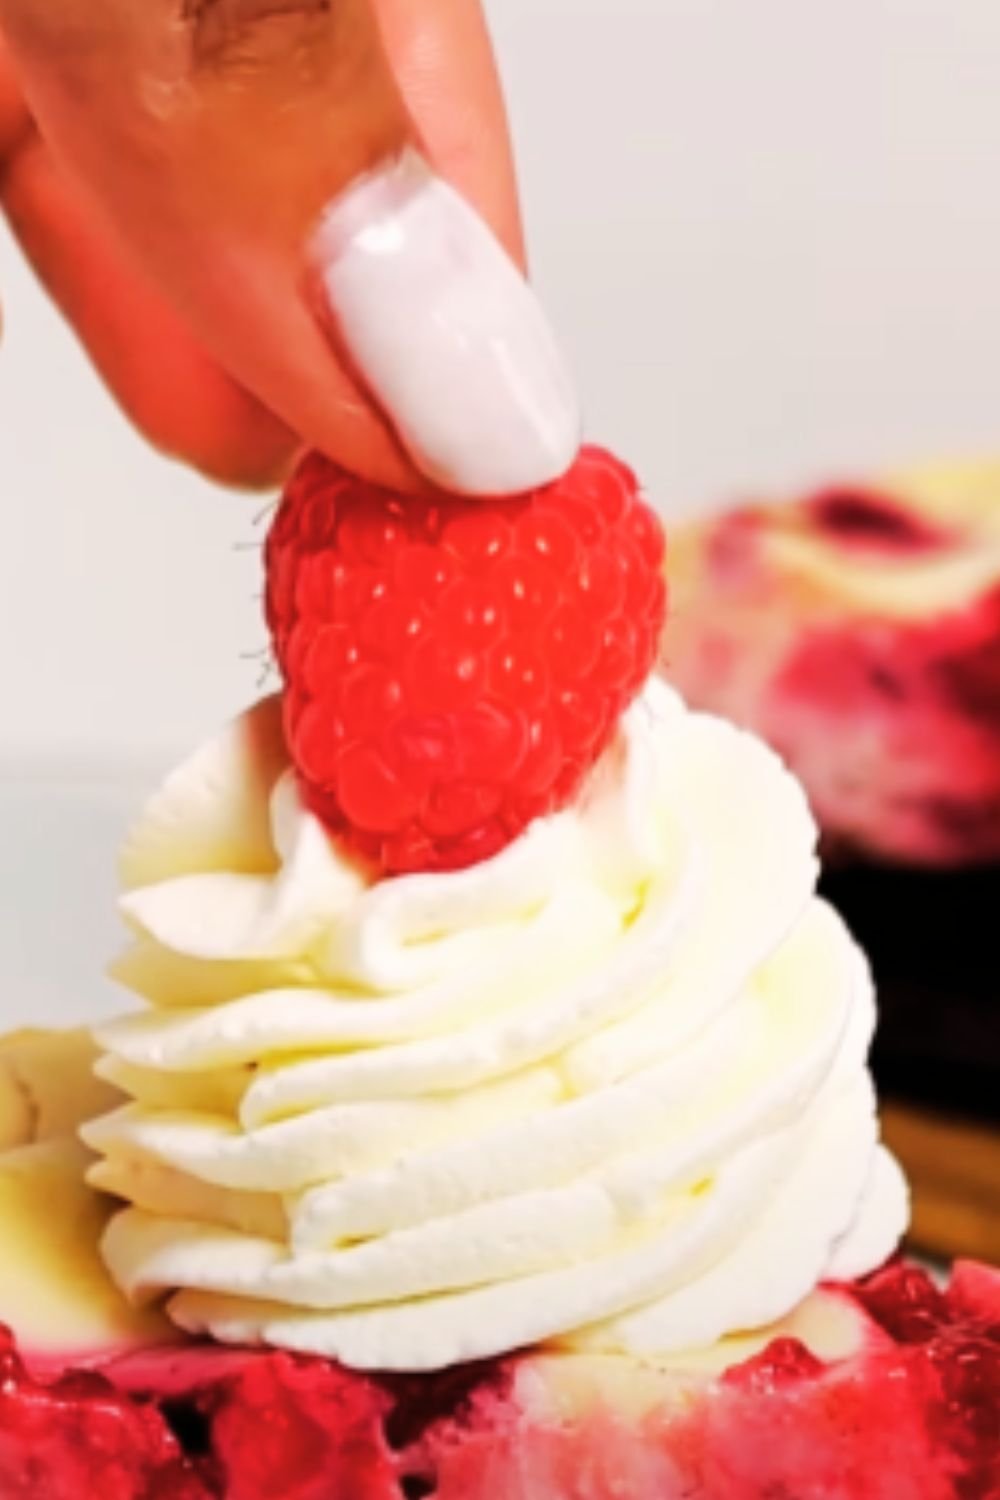
- Classic pastry cream topped with fresh berries
- Rich chocolate ganache with a sprinkle of sea salt
- Lemon curd with torched meringue
- Frangipane topped with poached pears
- Salted caramel with sliced bananas
- Vanilla bean custard with fresh fruit
- Coconut cream with toasted coconut flakes
Savory Fillings (using the savory variation)
- Caramelized onion and goat cheese
- Roasted vegetables with herbs
- Quiche filling with bacon and gruyere
- Tomato and basil with mozzarella
- Mushroom and thyme with crème fraîche
Storing and Freezing Tips
One of the best things about this recipe is that it works perfectly for make-ahead preparation:
Storing Unbaked Dough
- Refrigerator: Wrapped tightly in plastic, the dough will keep for up to 3 days.
- Freezer: Wrapped in plastic and then foil, the dough will keep for up to 3 months. Thaw overnight in the refrigerator before using.
Storing Baked Shells
- Room temperature: A fully baked, unfilled shell will keep for 2 days, covered loosely.
- Freezer: Fully baked shells can be frozen for up to 1 month. Thaw at room temperature before filling.
The Complete Tart-Making Schedule
For those who like to plan ahead, here’s a timeline for perfect tart preparation:
| Time Before Serving | Task |
|---|---|
| 1-2 days before | Make and refrigerate tart dough |
| 24 hours before | Roll out dough and line tart pan; return to refrigerator |
| 12 hours before | Blind bake tart shell; cool completely |
| 2-4 hours before | Prepare filling and fill tart |
| 1 hour before | Remove tart from refrigerator (if chilled filling was used) |
| Just before serving | Add any final garnishes or toppings |
This schedule can be adjusted based on your specific filling and serving needs.
Nutritional Information
For those watching their intake, here’s the approximate nutritional information for one serving of the basic tart crust (assuming 8 servings per 9-inch tart):
| Nutrient | Amount per Serving |
|---|---|
| Calories | 215 |
| Total Fat | 14g |
| Saturated Fat | 8.5g |
| Cholesterol | 55mg |
| Sodium | 75mg |
| Total Carbohydrate | 20g |
| Dietary Fiber | 0.7g |
| Sugars | 5g |
| Protein | 2.5g |
Note that these values are for the crust only and do not include any filling.
The Environmental Impact of Your Ingredients
For environmentally conscious bakers, consider these sustainable choices:
- Flour: Look for organic, locally milled options
- Butter: Choose butter from grass-fed cows and sustainable dairy practices
- Eggs: Source from local farms with humane, free-range practices
- Vanilla: Purchase fair-trade, sustainably harvested vanilla
These choices not only benefit the planet but often result in superior flavor as well.
Frequently Asked Questions
Q: Can I make this tart crust without a food processor? Absolutely! You can use a pastry cutter or even your fingertips to work the butter into the flour mixture. Just be sure to work quickly to keep the butter cold.
Q: How do I prevent my tart crust from shrinking during baking? The key is proper chilling. After lining your tart pan, freeze the shell for at least 30 minutes before blind baking. Additionally, don’t stretch the dough when placing it in the pan—let it gently fall into place.
Q: Can I use salted butter instead of unsalted? You can, but you’ll need to eliminate the added salt in the recipe. The issue is that you can’t control the salt level when using salted butter, as it varies by brand.
Q: My dough keeps cracking when I roll it out. What am I doing wrong? This usually means your dough is too cold. Let it sit at room temperature for 5-10 minutes before rolling. If it cracks while rolling, you can patch any tears by pressing scraps of dough into the cracks.
Q: Can I make this gluten-free? Yes! Replace the all-purpose flour with a high-quality gluten-free flour blend that contains xanthan gum. You may need to add an extra tablespoon of water as gluten-free flours tend to absorb more moisture.
Q: How far in advance can I make a filled tart? It depends on the filling. Fruit tarts with pastry cream should be assembled no more than 6 hours before serving. Chocolate ganache or caramel tarts can be made a full day ahead.
Q: What’s the best way to remove the tart from the pan without breaking it? After the tart has cooled completely, place it on a wide can or small bowl. The tart ring will fall away, leaving the tart on the base. Slide the tart onto your serving plate using a large, flat spatula.
Q: My crust is too dark on the edges but underbaked in the center. How can I fix this? Cover the edges with strips of aluminum foil if they’re browning too quickly. For the underbaked center, make sure you’re properly “docking” (pricking with a fork) the base before baking.
A Final Note on Perfecting Your Tart Crust
Remember that becoming a master tart baker takes practice. Don’t be discouraged if your first attempt isn’t perfect—each time you make this recipe, you’ll develop a better feel for the dough and improve your technique.
The true secret to a perfect tart crust isn’t just in the ingredients or the method—it’s in the care and attention you bring to the process. Baking is both science and art, and this tart crust recipe gives you the perfect canvas to express your creativity.
So preheat that oven, gather your ingredients, and prepare to delight your family and friends with a tart that’s sure to impress. From the first crumbly, buttery bite to the last sweet crumb, this tart crust recipe promises to elevate your baking to new heights.
Now go forth and create something delicious!