Have you ever hosted a party and found yourself struggling with dessert options? I’ve been there too many times. The challenge of serving something impressive yet practical can be overwhelming. But I’ve discovered a game-changing solution: desserts in cups!
These delightful treats have revolutionized my party hosting experience. They’re portion-controlled, portable, and absolutely adorable. Plus, they eliminate the need for plates and messy cutting, which means less cleanup for me after the party winds down.
Today, I’m sharing my top 10 easy cup dessert ideas that have consistently wowed my guests. These recipes are simple enough for beginners but look impressively gourmet. Let’s dive into these delectable creations that will transform your next gathering!
Why Desserts in Cups Are Perfect for Parties
Before jumping into the recipes, let me share why I’m such a fan of serving desserts in cups at parties:
- Portion control: Each guest gets their own perfect portion
- Easy serving: No cutting or plating required during the party
- Prep-ahead friendly: Most can be made hours or even a day in advance
- Portable: Guests can mingle while enjoying their dessert
- Presentation: They look incredibly cute and Instagram-worthy
- Versatility: Works for both casual and formal gatherings
- Less waste: Fewer plates and utensils needed
Essential Tools for Cup Desserts
Before diving into the recipes, let’s make sure you have the right supplies:
| Item | Description | Recommended Size | Where to Use |
|---|---|---|---|
| Clear plastic cups | Showcases layered desserts beautifully | 8-10 oz | Parfaits, trifles, mousse |
| Mason jars | Adds rustic charm | 4-8 oz | Puddings, cheesecakes |
| Shot glasses | Perfect for ultra-rich desserts | 1-2 oz | Chocolate ganache, caramel treats |
| Mini trifle dishes | For elegant presentations | 4-6 oz | Layered desserts, elegant affairs |
| Disposable spoons | Essential for serving | Mini or regular | All desserts |
| Piping bags | Creates professional-looking toppings | Standard size | Whipped cream, mousse |
| Star piping tips | For decorative toppings | Size 1M or 2D | Cream toppings |
Now, let’s get to the delicious part – the recipes!
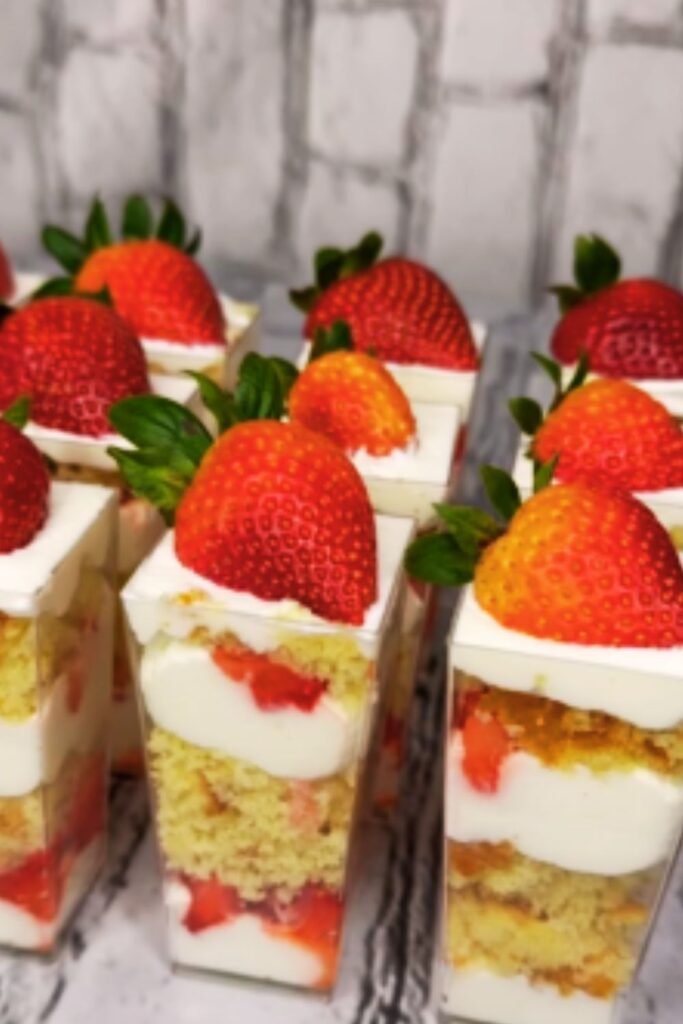
1. Classic Strawberry Cheesecake Cups

These no-bake cheesecake cups have been my go-to for summer parties. They’re refreshing, creamy, and incredibly simple to make.
Ingredients:
- 1 cup graham cracker crumbs
- 3 tablespoons butter, melted
- 8 oz cream cheese, softened
- 1/3 cup granulated sugar
- 1 teaspoon vanilla extract
- 1 cup heavy cream, whipped to stiff peaks
- 2 cups fresh strawberries, diced (reserve some for garnish)
- 2 tablespoons strawberry jam
Instructions:
- Mix graham cracker crumbs with melted butter and press into the bottom of each cup.
- Beat cream cheese, sugar, and vanilla until smooth.
- Gently fold in the whipped cream until well combined.
- In a separate bowl, mix diced strawberries with jam.
- Layer the cups: graham cracker base, cream cheese mixture, strawberry mixture.
- Refrigerate for at least 2 hours before serving.
- Garnish with a fresh strawberry slice just before serving.
Make-Ahead Tip:
I often prepare these a day ahead but add the final fresh strawberry garnish just before guests arrive to keep it looking fresh.
2. Decadent Chocolate Mousse Cups
When I need something truly indulgent, these chocolate mousse cups never fail to impress. The contrast between the rich mousse and crunchy elements creates a divine taste experience.
Ingredients:
- 1 cup semi-sweet chocolate chips
- 1 1/2 cups heavy cream, divided
- 2 tablespoons granulated sugar
- 1/2 teaspoon vanilla extract
- Pinch of salt
- 1/4 cup crushed chocolate cookies
- Fresh raspberries for garnish
- Chocolate shavings for topping
Instructions:
- Melt chocolate chips in a microwave-safe bowl in 30-second intervals, stirring between each, until smooth.
- Let the chocolate cool slightly while whipping 1 cup of heavy cream with sugar and vanilla until soft peaks form.
- Fold the melted chocolate into the whipped cream mixture until no streaks remain.
- Place crushed cookies at the bottom of each cup.
- Pipe or spoon the chocolate mousse on top.
- Refrigerate for at least 3 hours.
- Before serving, whip the remaining 1/2 cup cream and pipe a dollop on each cup.
- Garnish with raspberries and chocolate shavings.
Flavor Variation:
For an extra dimension of flavor, I sometimes add 1-2 tablespoons of coffee liqueur to the mousse mixture. The subtle coffee note enhances the chocolate beautifully.
3. Refreshing Key Lime Pie Cups
These zesty treats are perfect for summer gatherings. I love how the bright citrus flavor cuts through the richness of other party foods.
Ingredients:
- 1 cup graham cracker crumbs
- 3 tablespoons butter, melted
- 1 can (14 oz) sweetened condensed milk
- 1/2 cup fresh lime juice (about 4-5 limes)
- 1 tablespoon lime zest, plus more for garnish
- 2 cups heavy cream
- 3 tablespoons powdered sugar
- Thin lime slices for garnish
Instructions:
- Combine graham cracker crumbs with melted butter and press into the bottom of each cup.
- In a bowl, mix condensed milk, lime juice, and lime zest until well combined.
- In a separate bowl, whip heavy cream with powdered sugar until stiff peaks form.
- Fold 1/3 of the whipped cream into the lime mixture.
- Layer in cups: graham cracker base, lime mixture.
- Top with remaining whipped cream.
- Refrigerate for at least 4 hours.
- Garnish with lime zest and a small lime slice before serving.
Serving Suggestion:
I find these are particularly refreshing after spicy foods. Consider these if you’re serving Mexican or Thai cuisine at your party.
4. Tiramisu Cups
My Italian-inspired tiramisu cups always elicit “oohs” and “aahs” from guests. They look impressive but are surprisingly easy to assemble.
Ingredients:
- 1 cup strong brewed coffee, cooled
- 2 tablespoons coffee liqueur (optional)
- 8 oz mascarpone cheese, room temperature
- 1/3 cup granulated sugar
- 1 cup heavy cream
- 1 teaspoon vanilla extract
- 24 ladyfinger cookies, broken to fit cups
- Cocoa powder for dusting
- Dark chocolate shavings for garnish
Instructions:
- Mix cooled coffee with coffee liqueur if using.
- Beat mascarpone and sugar until smooth.
- In a separate bowl, whip heavy cream with vanilla until stiff peaks form.
- Fold whipped cream into mascarpone mixture.
- Quickly dip ladyfinger pieces in coffee mixture and place in the bottom of each cup.
- Add a layer of mascarpone mixture.
- Repeat with another layer of soaked ladyfingers and mascarpone.
- Refrigerate for at least 4 hours or overnight.
- Just before serving, dust with cocoa powder and sprinkle with chocolate shavings.
Make-Ahead Notes:
These actually taste better when made a day ahead, allowing the flavors to meld. Just wait to add the cocoa powder dusting until right before serving.
5. Salted Caramel Apple Parfait Cups
These cups combine the beloved flavors of apple pie with salted caramel in an easy, no-bake format that’s perfect for fall gatherings.
Ingredients:
For the apple component:
- 4 medium apples, peeled and diced
- 2 tablespoons butter
- 3 tablespoons brown sugar
- 1 teaspoon cinnamon
- 1/4 teaspoon nutmeg
- Pinch of salt
For the parfait:
- 1 cup graham cracker crumbs
- 2 cups vanilla Greek yogurt
- 1/2 cup prepared caramel sauce
- 1/2 teaspoon sea salt
- 1/4 cup chopped toasted pecans
Instructions:
- In a skillet, melt butter and add apples, brown sugar, cinnamon, nutmeg, and salt.
- Cook until apples are tender but not mushy, about 5-7 minutes. Cool completely.
- Mix caramel sauce with sea salt.
- Layer cups: graham cracker crumbs, vanilla yogurt, cooled apples, salted caramel.
- Repeat layers if cups are tall enough.
- Refrigerate for at least 1 hour.
- Before serving, drizzle with additional caramel and sprinkle with toasted pecans.
Seasonal Variation:
For summer parties, I substitute the apples with fresh peaches and use cinnamon graham crackers for an amazing peach cobbler-inspired dessert cup.
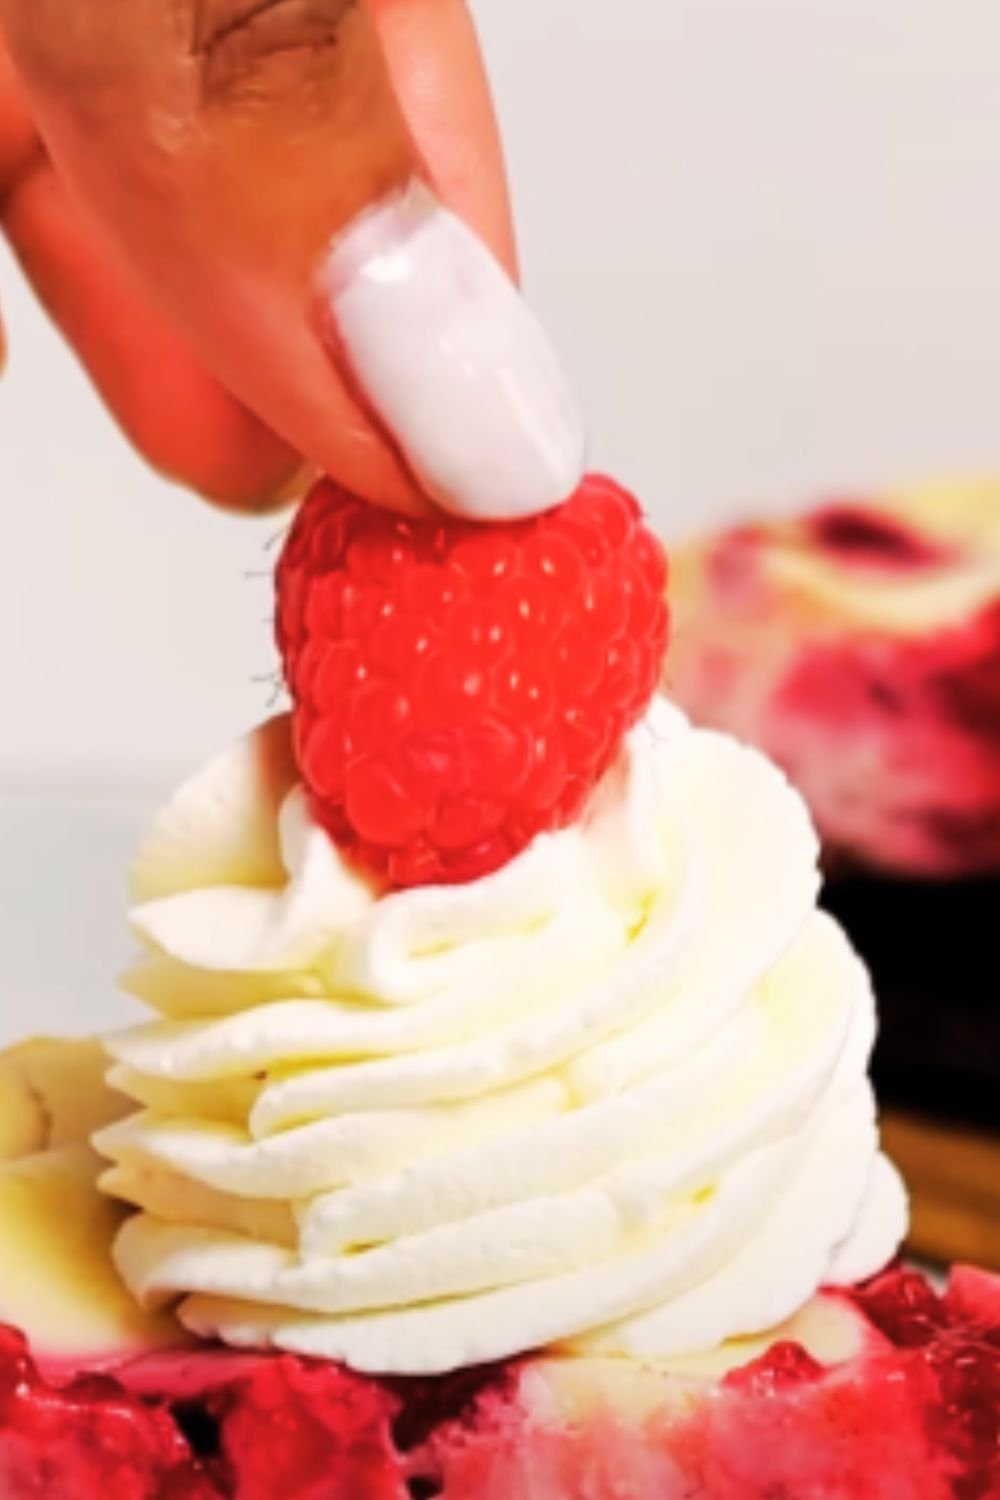
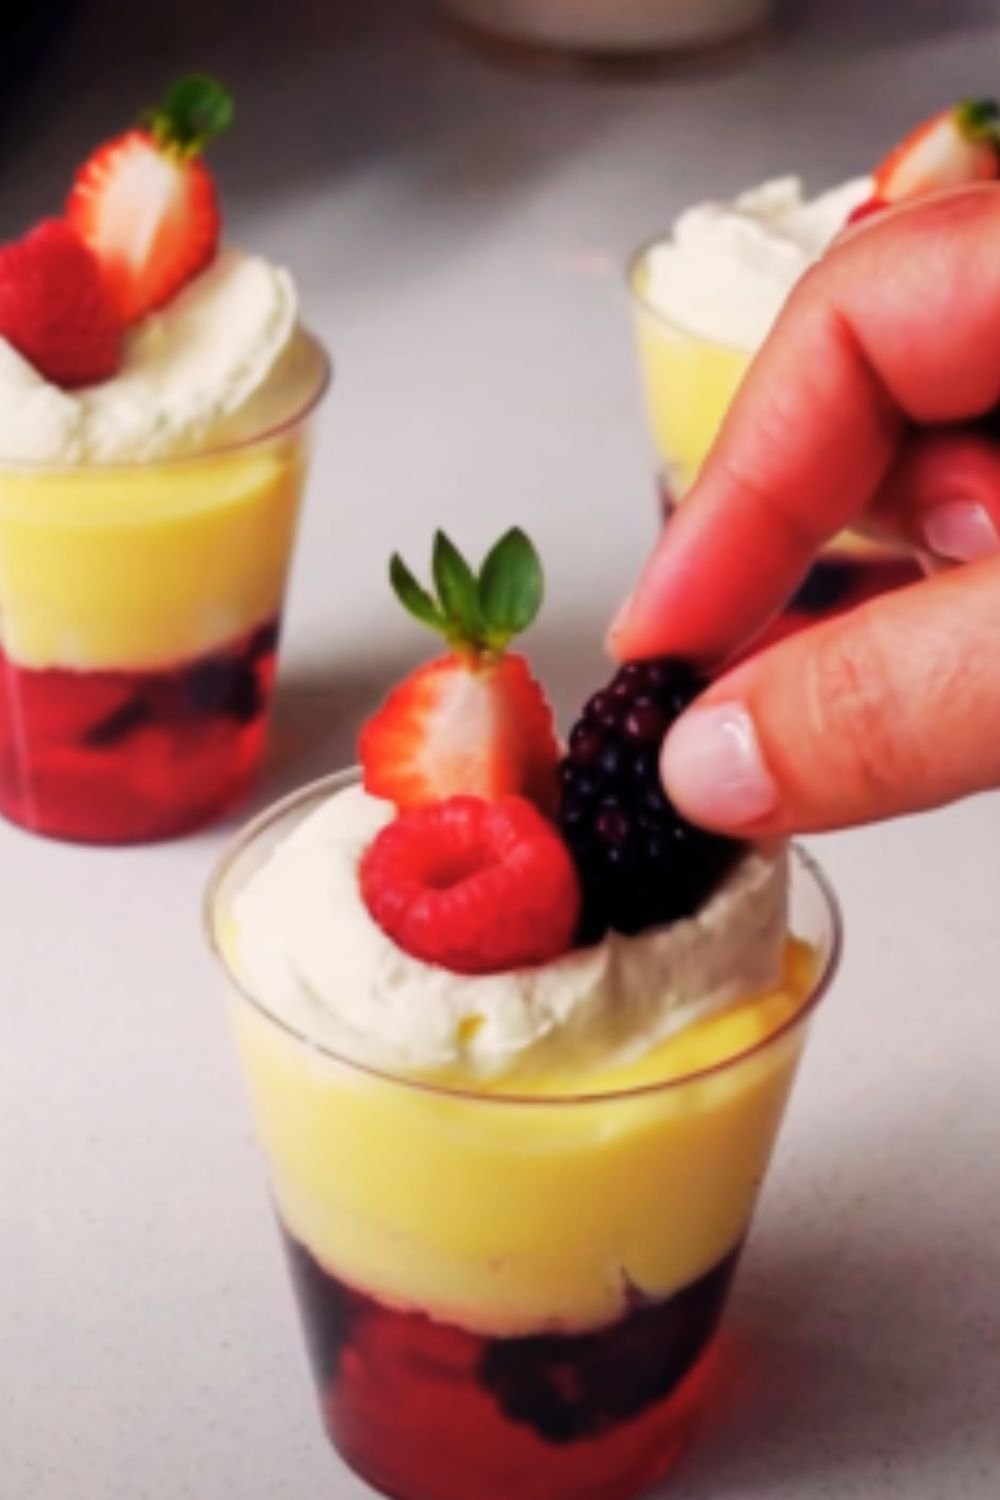
6. Mini Berry Trifle Cups
These colorful, layered treats showcase fresh berries in a delightful way. They’re especially perfect for patriotic holidays with their red and blue colors.
Ingredients:
- 1 store-bought pound cake, cubed (or angel food cake)
- 2 cups mixed berries (strawberries, blueberries, raspberries)
- 2 tablespoons sugar
- 1 tablespoon lemon juice
- 2 cups prepared vanilla pudding
- 1 cup heavy cream
- 2 tablespoons powdered sugar
- 1/2 teaspoon vanilla extract
- Fresh mint leaves for garnish
Instructions:
- Toss berries with sugar and lemon juice, set aside for 15 minutes to macerate.
- Whip heavy cream with powdered sugar and vanilla until stiff peaks form.
- In clear cups, layer pound cake cubes, vanilla pudding, macerated berries with their juice.
- Top with whipped cream and a few fresh berries.
- Refrigerate for at least 1 hour.
- Garnish with a mint leaf before serving.
Presentation Tip:
For the most stunning visual impact, I use tall, narrow clear cups that really showcase the beautiful layers.
7. S’mores Pudding Cups
These nostalgic cups bring campfire flavors indoors and are always a hit with guests of all ages.
Ingredients:
- 1 cup graham cracker crumbs
- 2 tablespoons butter, melted
- 2 cups prepared chocolate pudding
- 1 cup mini marshmallows
- 4 full-sized graham crackers, broken into pieces
- 1/2 cup mini chocolate chips
- Kitchen torch (optional)
Instructions:
- Mix graham cracker crumbs with melted butter and press into the bottom of each cup.
- Spoon chocolate pudding over the graham cracker base.
- Top with mini marshmallows.
- If using a kitchen torch, lightly toast the marshmallows (or broil cups briefly in the oven, watching carefully).
- Garnish with graham cracker pieces and mini chocolate chips.
- Serve immediately if marshmallows are toasted, or refrigerate until ready to serve.
Kid-Friendly Option:
For children’s parties, I sometimes substitute the pudding with chocolate mousse made with milk chocolate instead of semi-sweet for a milder flavor that kids love.
8. Tropical Coconut Mango Cups
When I want to bring vacation vibes to my party, these tropical-inspired cups transport guests to an island paradise.
Ingredients:
- 1 cup coconut cookie crumbs (or vanilla wafers mixed with 2 tbsp shredded coconut)
- 2 tablespoons melted coconut oil
- 1 can (13.5 oz) coconut milk, chilled overnight
- 3 tablespoons powdered sugar
- 1/2 teaspoon coconut extract
- 2 ripe mangoes, diced
- 2 tablespoons honey
- 1 tablespoon lime juice
- 1/4 cup toasted coconut flakes
- Fresh mint for garnish
Instructions:
- Mix cookie crumbs with melted coconut oil and press into cup bottoms.
- Open the chilled can of coconut milk without shaking and scoop out the solid cream on top.
- Whip the coconut cream with powdered sugar and coconut extract until fluffy.
- In another bowl, mix diced mango with honey and lime juice.
- Layer cups: cookie base, coconut cream, mango mixture.
- Refrigerate for at least 2 hours.
- Before serving, sprinkle with toasted coconut flakes and garnish with mint.
Ingredient Tip:
Make sure to refrigerate the coconut milk at least 24 hours before making this dessert. The separation of coconut cream is essential for the right texture.
9. Mini Oreo Cheesecake Cups
I’ve never met anyone who doesn’t love these crowd-pleasing treats that combine two beloved desserts: Oreos and cheesecake.
Ingredients:
- 15 Oreo cookies, plus more for garnish
- 8 oz cream cheese, softened
- 1/3 cup granulated sugar
- 1 teaspoon vanilla extract
- 1 cup heavy cream
- 2 tablespoons powdered sugar
- Chocolate syrup for drizzling
Instructions:
- Place one whole Oreo at the bottom of each cup.
- Crush remaining Oreos and set aside.
- Beat cream cheese, granulated sugar, and vanilla until smooth.
- In a separate bowl, whip heavy cream with powdered sugar until stiff peaks form.
- Fold whipped cream into cream cheese mixture.
- Fold in crushed Oreos, reserving some for topping.
- Spoon or pipe mixture into cups over the whole Oreo.
- Refrigerate for at least 3 hours.
- Before serving, sprinkle with remaining crushed Oreos and drizzle with chocolate syrup.
Flavor Variations:
This recipe works beautifully with other cookie varieties too. I’ve made excellent versions with Nutter Butters, Biscoff cookies, and chocolate chip cookies.
10. Lemon Blueberry Parfait Cups
For a lighter, refreshing option, these citrusy parfaits provide the perfect balance of sweet and tangy flavors.
Ingredients:
- 2 cups vanilla Greek yogurt
- 1/4 cup honey, divided
- 2 teaspoons lemon zest
- 2 tablespoons lemon juice
- 1 cup blueberries, plus more for garnish
- 2 tablespoons water
- 1 cup granola
- Fresh mint leaves for garnish
Instructions:
- Mix yogurt with 2 tablespoons honey, lemon zest, and lemon juice.
- In a small saucepan, combine blueberries, remaining honey, and water.
- Simmer for 5-7 minutes until berries start to burst. Cool completely.
- Layer in cups: granola, lemon yogurt, blueberry compote.
- Repeat layers if cups are tall enough.
- Refrigerate for at least 1 hour.
- Top with fresh blueberries and mint leaves before serving.
Nutritional Benefit:
I often highlight these as my “healthier option” at parties. With protein-rich Greek yogurt and antioxidant-packed blueberries, guests can enjoy a treat that’s both delicious and nutritious.
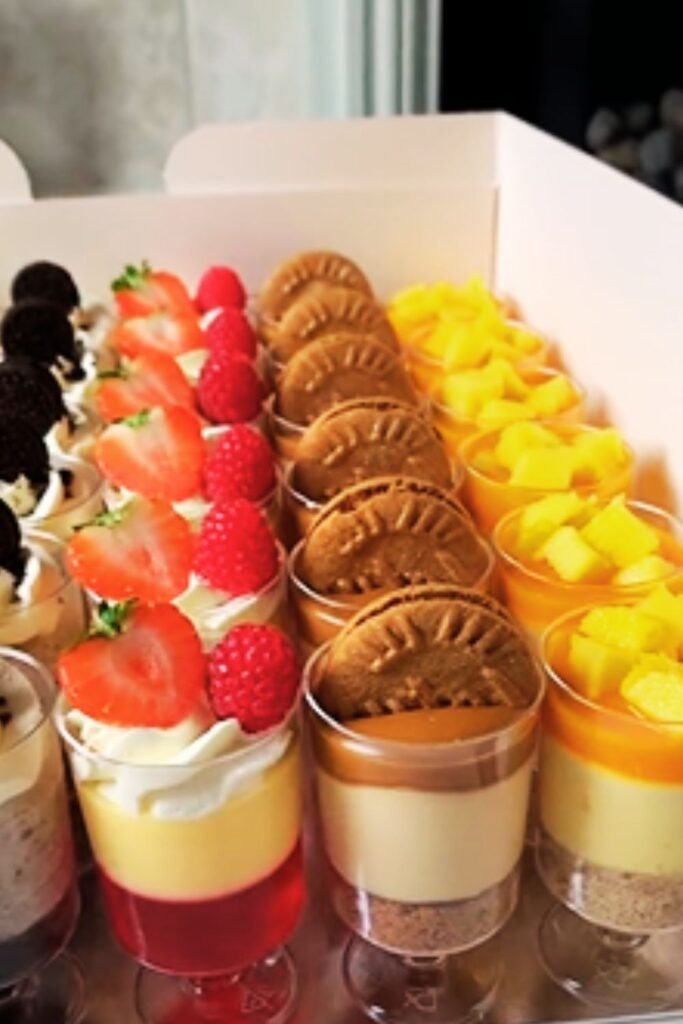
Presentation Ideas for Dessert Cups
Making your dessert cups look as good as they taste is part of the fun! Here are some of my favorite presentation tips:
| Presentation Element | Ideas | Best For |
|---|---|---|
| Serving trays | Tiered stands, wooden boards, mirror trays | Creating visual interest with height |
| Cup types | Clear plastic, mini mason jars, shot glasses | Different dessert textures and volumes |
| Garnishes | Fresh herbs, edible flowers, citrus zest | Adding color and sophistication |
| Spoons | Colorful plastic, mini wooden, metal demitasse | Matching party theme |
| Labels | Chalkboard picks, printed tags, ribbon flags | Identifying flavors for guests |
| Arrangement | Color gradient, circular pattern, rows | Creating visual impact |
Tips for Dessert Cup Success
After years of perfecting my dessert cup game, I’ve gathered these essential tips:
- Temperature matters: Keep refrigerated desserts cold until serving time. I use ice baths under serving trays during summer parties.
- Consider texture: Every great dessert cup should have at least one crunchy element for contrast.
- Balance flavors: Pair sweet components with something tangy or salty for dimension.
- Make ahead: Prepare most elements the day before, assembling final layers or adding garnishes just before guests arrive.
- Transport carefully: If bringing to a potluck, transport in cupcake carriers or shallow boxes with dividers.
- Label ingredients: Small place cards identifying flavors and potential allergens are always appreciated by guests.
- Size appropriately: For parties with multiple desserts, make portions smaller. For dessert-only gatherings, cups can be larger.
Q&A Section
Q: How far in advance can I make dessert cups?
Most dessert cups can be made 24 hours in advance and stored in the refrigerator. Add any garnishes that might wilt (like fresh mint) or get soggy (like cookie crumbles) just before serving. Components like whipped cream are best added within a few hours of serving.
Q: What size cups should I use?
For parties with multiple desserts or a full meal beforehand, 4-6 oz cups are perfect. For dessert-only gatherings, 8-10 oz cups work well. For very rich desserts like chocolate mousse, even smaller 2-3 oz cups or shot glasses are appropriate.
Q: How do I prevent my cookie or graham cracker bases from getting soggy?
There are a couple of strategies I use: 1) Create a barrier between the crust and moist fillings by brushing melted chocolate over the crust and allowing it to harden before adding fillings, or 2) Assemble the cups closer to serving time, ideally not more than 4-6 hours ahead for recipes with vulnerable crusts.
Q: Can I freeze dessert cups?
Some dessert cups freeze well, particularly cheesecake and mousse varieties. Freeze them without toppings or garnishes, tightly covered. Thaw in the refrigerator overnight before serving and add fresh toppings. However, desserts with fresh fruit or those containing ingredients that separate when frozen (like certain puddings) don’t freeze well.
Q: How can I make these desserts more unique for a special occasion?
Personalization makes desserts memorable! Consider adding edible flower petals for elegance, custom flags with guests’ names for place settings, color-coordinating ingredients to match a party theme, or even adding a surprise center (like a chocolate-covered berry) in the middle of parfaits.
Conclusion
Desserts in cups have revolutionized my party hosting experience, allowing me to prepare delicious treats ahead of time while still impressing my guests with professional-looking presentations. From the classic appeal of strawberry cheesecake cups to the nostalgic charm of s’mores pudding cups, there’s a cup dessert to match any occasion or season.
The beauty of these desserts lies in their versatility and convenience. They can be elegant enough for formal gatherings yet simple enough for casual get-togethers. Most importantly, they let me spend less time in the kitchen during the party and more time enjoying my guests’ company.
I hope these recipes inspire you to create your own cup dessert creations. Remember that while the recipes provide a foundation, don’t be afraid to experiment with flavors, layers, and presentations to make them your own. Happy hosting!