There’s something undeniably magical about the combination of chocolate and raspberries. When these two flavors dance together in a creamy cheesecake that requires zero baking time, you’ve got yourself a showstopper dessert that’ll have everyone asking for seconds. I’ve spent years perfecting this no-bake chocolate raspberry cheesecake recipe, and I’m thrilled to finally share my secrets with you today.
As someone who’s always on the lookout for impressive desserts that don’t require complicated techniques, this no-bake cheesecake has become my go-to crowd-pleaser. The best part? You won’t need to turn on your oven—perfect for those hot summer days or when you’re short on time but still want to create something spectacular.
Why You’ll Love This Recipe
Before diving into the nitty-gritty details, let me share why this particular no-bake chocolate raspberry cheesecake deserves a spot in your recipe collection:
- Foolproof and forgiving: Even novice bakers can nail this recipe on the first try
- Make-ahead friendly: Perfect for entertaining since it needs to chill overnight
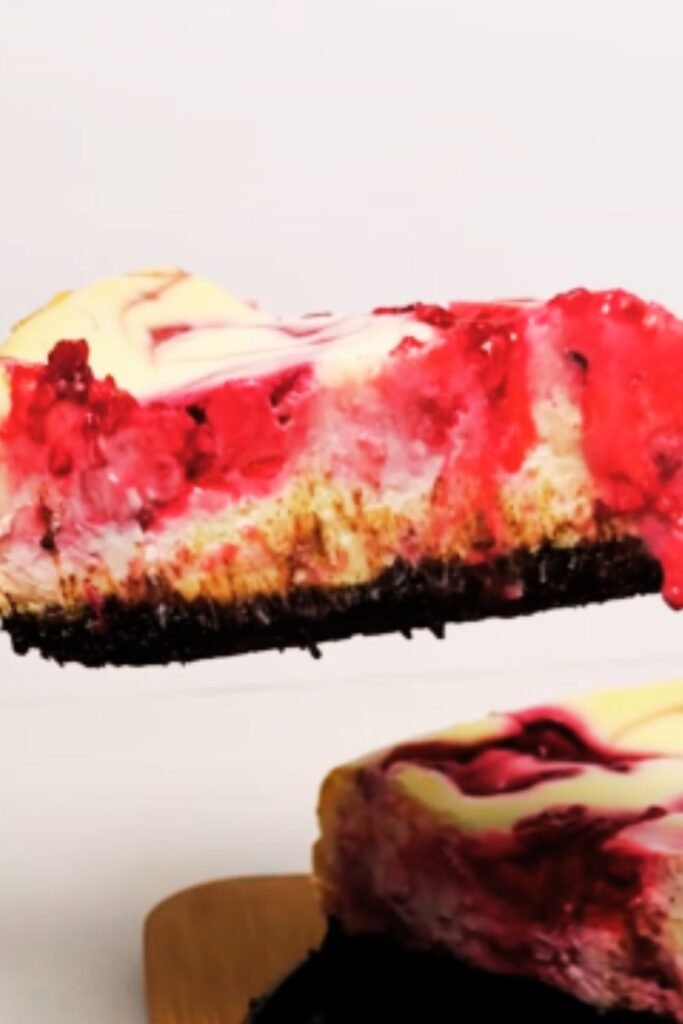
- Visually stunning: The contrast between the dark chocolate and vibrant raspberries creates a dessert that looks professionally made
- Crowd-pleasing flavor combination: Chocolate and raspberries are a classic duo that appeals to almost everyone
- No oven required: Keep your kitchen cool while still enjoying a decadent dessert
Essential Ingredients and Substitutions
Let’s break down the key components of this luscious dessert:
| Ingredient | Quantity | Function | Possible Substitution |
|---|---|---|---|
| Chocolate sandwich cookies | 24 cookies (about 2 cups crushed) | Creates the crust base | Graham crackers or digestive biscuits |
| Unsalted butter | 6 tablespoons, melted | Binds the crust together | Coconut oil for a dairy-free option |
| Cream cheese | 24 oz (3 standard blocks), room temperature | Main filling ingredient | Mascarpone for a richer flavor |
| Heavy cream | 1½ cups | Provides structure and creaminess | Coconut cream for dairy-free option |
| Semisweet chocolate | 8 oz, melted and cooled | Provides chocolate flavor | Dark chocolate for deeper flavor |
| Granulated sugar | ¾ cup | Sweetens the filling | Powdered sugar or honey |
| Vanilla extract | 2 teaspoons | Enhances flavor | Vanilla bean paste for stronger flavor |
| Fresh raspberries | 2 cups (1 cup for filling, 1 cup for topping) | Provides fruity contrast | Frozen raspberries (thawed and drained) |
| Raspberry preserves | ¼ cup | Intensifies raspberry flavor | Seedless jam or coulis |
| Gelatin | 1 tablespoon | Helps filling set properly | Agar-agar for vegetarian option |
| Chocolate curls | ¼ cup | Decoration | Chocolate shavings or cocoa powder |
I insist on using full-fat cream cheese for this recipe—the lower-fat versions contain more water and won’t set as firmly. Similarly, heavy cream (not half-and-half) is crucial for achieving that perfect silky yet stable texture.
Special Equipment You’ll Need
While this recipe doesn’t require fancy tools, a few key items will make the process smoother:
- 9-inch springform pan: The removable sides make unmolding the cheesecake a breeze
- Food processor: For creating the perfect cookie crust (though a zip-top bag and rolling pin work too)
- Electric mixer: For the silkiest, airiest filling
- Microwave-safe bowls: For melting chocolate and butter
- Rubber spatula: For folding in ingredients without deflating the mixture
Detailed Instructions: Creating the Perfect Crust
The foundation of any great cheesecake is its crust. Here’s how to create one that’s chocolatey, crisp, and the perfect contrast to the creamy filling:
- Prepare the pan: Line the bottom of your springform pan with parchment paper and lightly grease the sides with butter or cooking spray.
- Crush the cookies: Place chocolate sandwich cookies (filling and all) in a food processor and pulse until you have fine crumbs. You should end up with about 2 cups of crumbs.
- Combine with butter: Transfer crumbs to a medium bowl and pour in the melted butter. Mix until the mixture resembles wet sand and holds together when pressed.
- Form the crust: Press the mixture firmly into the bottom and about 1 inch up the sides of your prepared springform pan. I find using the bottom of a measuring cup helps create an even layer with well-packed corners.
- Chill the crust: Place the crust in the refrigerator for at least 30 minutes to firm up while you prepare the filling. This step is crucial—don’t skip it!
Mastering the Silky Chocolate Raspberry Filling
The star of the show is the luscious filling. Follow these steps for cheesecake perfection:
Step 1: Prepare the Gelatin (The Secret to Perfect Setting)
- Pour 3 tablespoons of cold water into a small bowl and sprinkle the gelatin evenly over the surface.
- Let it sit for 5 minutes to “bloom” (it will look like applesauce).
- After blooming, microwave for 10-15 seconds until just melted, or place the bowl in a larger bowl of hot water. Stir until completely dissolved and set aside to cool slightly.
Step 2: Prepare the Chocolate Base
- Chop the semisweet chocolate into small pieces and place in a microwave-safe bowl.
- Microwave in 30-second intervals, stirring between each, until just melted. Be careful not to overheat.
- Allow to cool until just warm to the touch but still fluid (about 5 minutes).
Step 3: Create the Cheesecake Mixture
- In a large bowl, beat the room temperature cream cheese and sugar until completely smooth and fluffy, about 3 minutes. Scrape down the sides frequently.
- Add vanilla extract and beat to combine.
- With the mixer on low, slowly pour in the melted (but cooled) chocolate and mix until fully incorporated.
- Pour in the dissolved gelatin and mix until combined.
Step 4: Fold in the Whipped Cream
- In a separate bowl, whip the heavy cream until stiff peaks form.
- Gently fold one-third of the whipped cream into the chocolate cream cheese mixture to lighten it.
- Fold in the remaining whipped cream until no streaks remain, being careful not to deflate the mixture.
Step 5: Incorporate the Raspberries
- In a small bowl, gently mash 1 cup of fresh raspberries with a fork.
- Heat the raspberry preserves in the microwave for 15-20 seconds until slightly warm.
- Mix the preserves with the mashed raspberries.
- Gently swirl three-quarters of the raspberry mixture into the cheesecake filling, leaving visible streaks rather than fully incorporating.
Assembly and Chilling: Bringing It All Together
Now comes the moment of truth—assembling and chilling your masterpiece:
- Fill the crust: Remove the chilled crust from the refrigerator and pour in the chocolate-raspberry filling, smoothing the top with a spatula.
- Create raspberry swirls: Drop spoonfuls of the remaining raspberry mixture on top of the filling and use a knife or skewer to create beautiful swirls.
- Initial chill: Cover the springform pan with plastic wrap (being careful not to touch the surface) and refrigerate for at least 6 hours, preferably overnight. This is non-negotiable—the cheesecake needs time to set properly.
- Prepare for serving: About 30 minutes before serving, remove the sides of the springform pan and transfer the cheesecake to a serving plate.
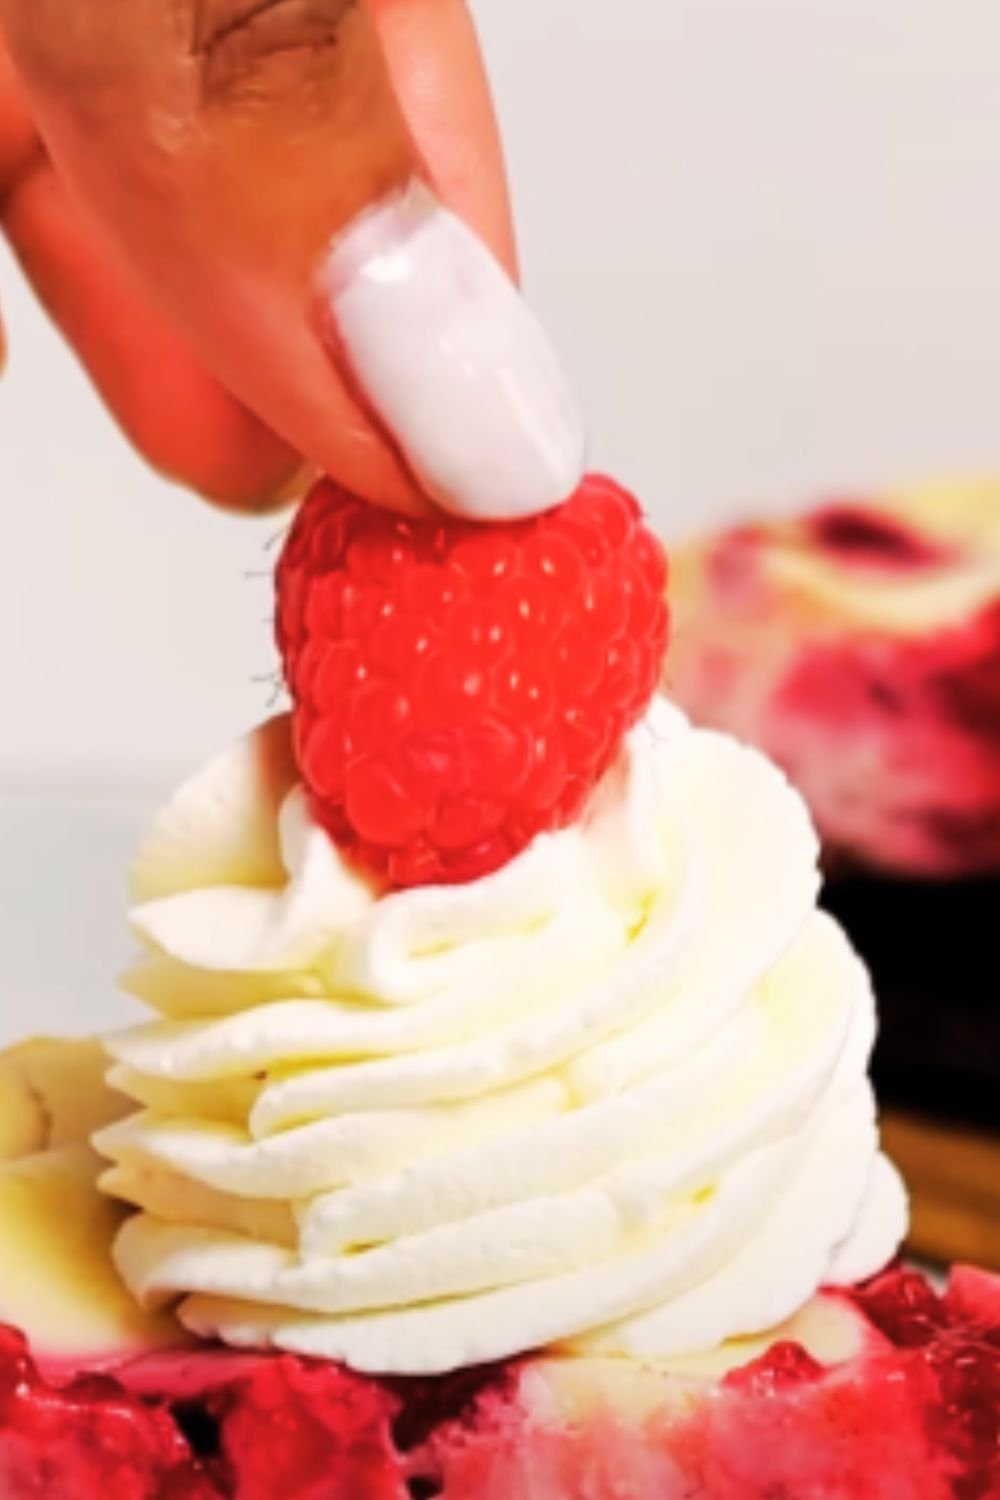
- Decorate: Top with fresh raspberries and chocolate curls for a professional finish. I like to arrange the raspberries in concentric circles and dust the edge with a bit of powdered sugar for extra drama.

Troubleshooting Common Issues
Even with a foolproof recipe, things can sometimes go awry. Here are solutions to common problems:
| Issue | Possible Cause | Solution |
|---|---|---|
| Filling isn’t setting properly | Gelatin wasn’t bloomed correctly or cream wasn’t whipped enough | Ensure gelatin blooms fully and whip cream to stiff peaks; allow more chilling time |
| Crust is crumbly and falls apart | Not enough butter or not pressed firmly enough | Add an extra tablespoon of butter next time and press firmly with measuring cup |
| Filling is lumpy | Cream cheese wasn’t at room temperature | Always bring cream cheese to room temp; beat longer to remove lumps |
| Raspberry swirls are bleeding too much | Preserves were too warm or raspberries too juicy | Drain excess juice from berries; make sure preserves aren’t hot |
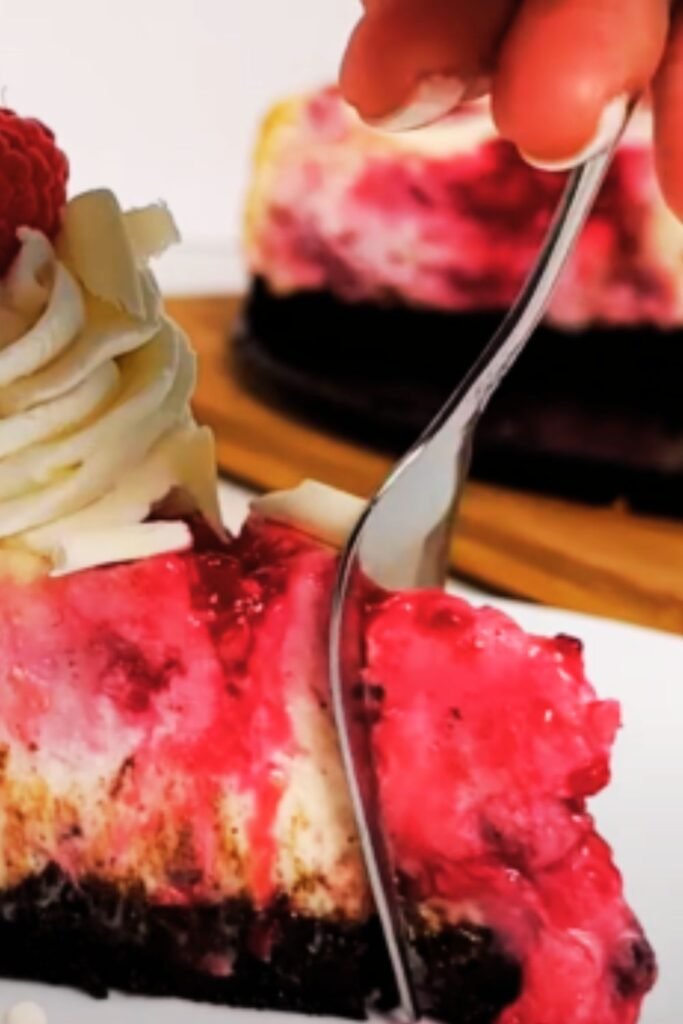
| Cheesecake is difficult to slice cleanly | Knife isn’t clean between cuts or cheesecake is too cold | Dip knife in hot water and wipe clean between each slice; let cake sit at room temperature for 15 minutes before cutting |
Serving Suggestions and Storage Tips
This no-bake chocolate raspberry cheesecake deserves to be presented with style:
Perfect Pairings:
- A dollop of freshly whipped cream
- Additional fresh raspberry sauce on the side
- Espresso or dark coffee to balance the sweetness
- Hot chocolate for an indulgent chocolate experience
- Sparkling water with lemon to cleanse the palate
Storage Instructions:
- Refrigeration: Store covered in the refrigerator for up to 4 days. I recommend placing toothpicks around the cheesecake before covering with plastic wrap to prevent the wrap from sticking to the surface.
- Freezing: This cheesecake freezes beautifully for up to 2 months. To freeze:
- Place the unmolded cheesecake (without toppings) on a cardboard round
- Freeze uncovered until firm (about 2 hours)
- Wrap in two layers of plastic wrap and one layer of foil
- To thaw, unwrap and place in the refrigerator overnight
- Add fresh toppings after thawing
Variations to Try
Once you’ve mastered the basic recipe, try these exciting variations:
Mini Chocolate Raspberry Cheesecakes
Use a muffin tin lined with paper liners for individual portions. Reduce chilling time to 4 hours.
White Chocolate Version
Replace semisweet chocolate with white chocolate for a stunning visual contrast with the raspberries.
Triple Chocolate Layer
Create a three-layer effect with dark, milk, and white chocolate layers for an impressive visual presentation.
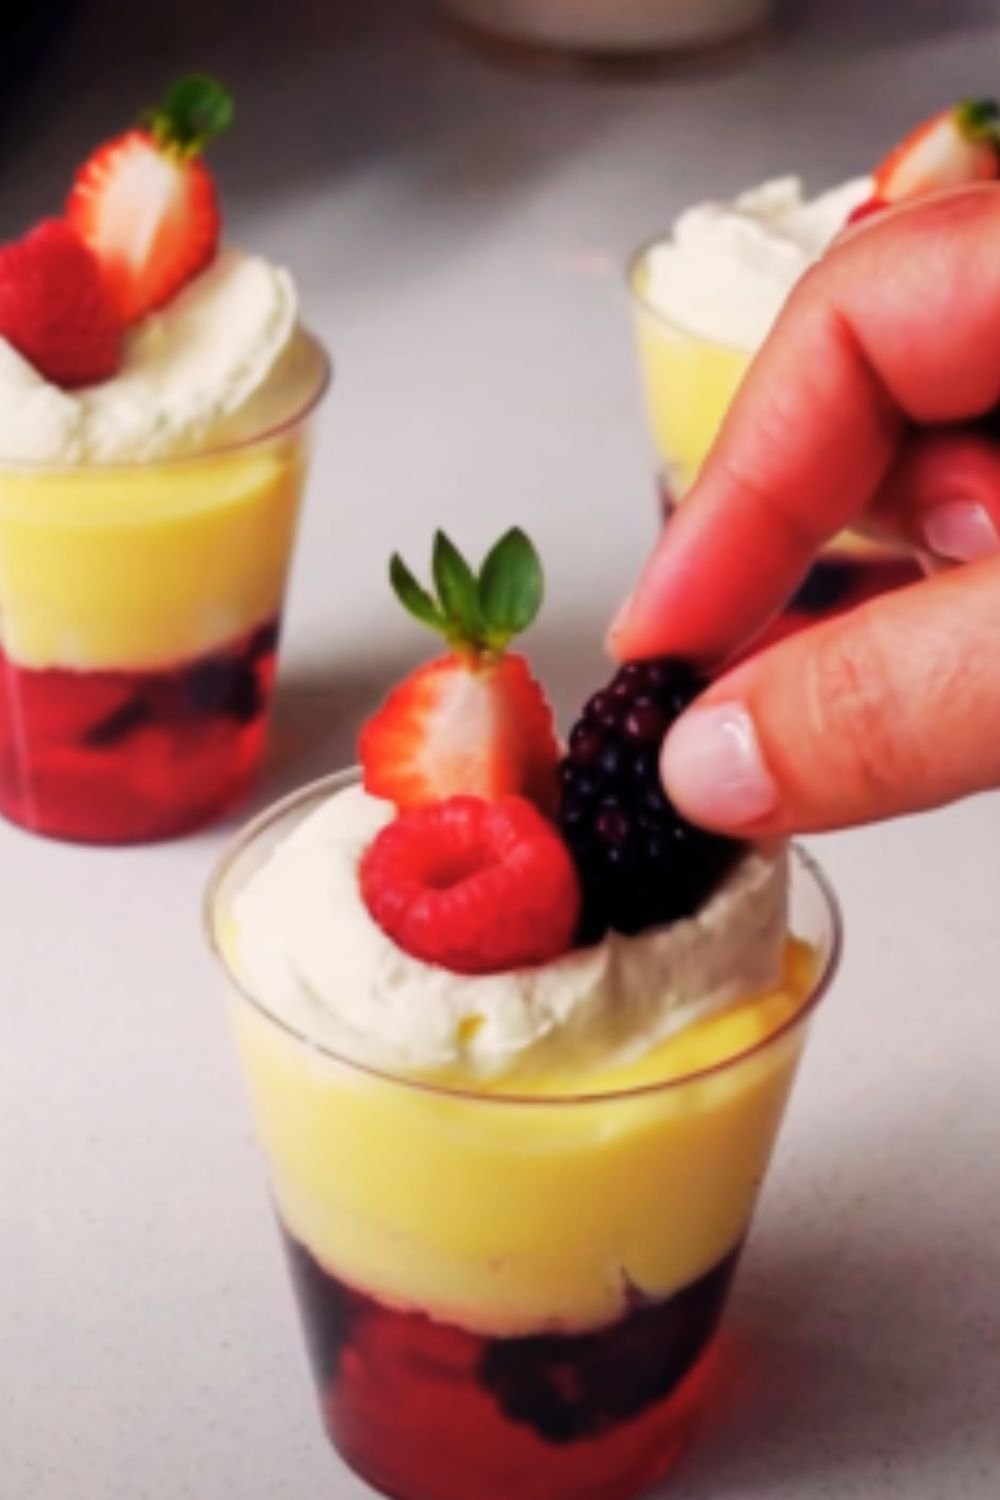
Chocolate Raspberry Cheesecake Parfaits
Layer the crust, filling, and fresh berries in clear glasses for an elegant deconstructed version.
Nutritional Information
For those who like to keep track of what they’re enjoying:
| Nutrient | Amount per Serving (1/12 of cheesecake) |
|---|---|
| Calories | 485 |
| Total Fat | 35g |
| Saturated Fat | 20g |
| Cholesterol | 98mg |
| Sodium | 280mg |
| Total Carbohydrates | 42g |
| Dietary Fiber | 3g |
| Sugars | 32g |
| Protein | 6g |
While this is definitely an indulgent treat, the addition of fresh raspberries provides antioxidants and vitamin C. Everything in moderation, right?
FAQ: Your Burning Questions Answered
After sharing this recipe with friends and family over the years, I’ve collected these frequently asked questions:
Q: Can I make this cheesecake without gelatin? Yes, you can substitute 2 teaspoons of agar-agar powder (dissolved according to package directions) for a vegetarian version. The texture will be slightly different but still delicious.
Q: How far in advance can I make this cheesecake? I recommend making it no more than 2 days before serving, though the crust can be prepared up to 3 days ahead and kept refrigerated.
Q: My cream cheese seems lumpy even after beating. What did I do wrong? The cream cheese wasn’t at room temperature. Next time, leave it out for at least 2 hours, or microwave in 10-second bursts, testing after each until it’s softened but not melted.
Q: Can I use frozen raspberries? Yes! Thaw them completely and drain well before using. They work perfectly in the filling, though I still recommend fresh berries for the topping.
Q: Why is my filling not as firm as I expected? This could be due to several factors: the gelatin wasn’t properly bloomed, the heavy cream wasn’t whipped to stiff peaks, or the cheesecake hasn’t chilled long enough. Always give it at least 6 hours, preferably overnight.
Q: Does this cheesecake travel well? Yes, with some precautions. Keep it in the springform pan during transport and keep chilled with ice packs. Decorate with fresh berries and chocolate curls at your destination.
Occasions Perfect for Serving This Cheesecake
I’ve found this no-bake chocolate raspberry cheesecake to be the star of many gatherings:
- Valentine’s Day: The combination of chocolate and raspberries is naturally romantic
- Summer dinner parties: No need to heat up the kitchen with the oven
- Holiday celebrations: Make it ahead to reduce day-of stress
- Anniversary celebrations: Elegant enough for special milestones
- Just because: Some days simply deserve cheesecake!
Creating this no-bake chocolate raspberry cheesecake has brought me countless compliments and recipe requests over the years. The rich chocolate flavor, the fresh burst of raspberries, and that perfectly textured crust create a dessert experience that feels sophisticated yet comforting.
The beauty of this recipe lies not just in its flavors but in its accessibility—anyone can create this impressive dessert with a bit of patience and attention to detail. I hope it becomes a favorite in your home as it has in mine, creating sweet moments and memories around your table for years to come.
Q&A Section
Q: Is this cheesecake suitable for vegetarians? The standard recipe includes gelatin, which is animal-derived. However, you can easily substitute agar-agar powder (a seaweed-based gelling agent) to make it vegetarian-friendly. Follow the package instructions for the correct substitution ratio.
Q: Can I make this recipe dairy-free? While it won’t be exactly the same, you can make a dairy-free version by substituting vegan cream cheese, coconut cream (the solid part from a can of coconut milk) instead of heavy cream, and coconut oil instead of butter in the crust. The texture will be slightly different but still delicious.
Q: How can I ensure my cheesecake slices cleanly? For picture-perfect slices, dip a long, sharp knife in hot water, wipe it dry, and make your cut. Clean and reheat the knife between each slice. Also, letting the cheesecake sit at room temperature for about 15 minutes before slicing helps.
Q: My chocolate seized when I was melting it. What happened? Chocolate typically seizes when it comes into contact with even a tiny amount of water or if it gets too hot. To prevent this, make sure your bowl and utensils are completely dry, and melt the chocolate slowly over low heat or in short microwave bursts, stirring frequently.
Q: Can I make this in a regular cake pan instead of a springform pan? Yes, but unmolding will be trickier. I recommend lining the pan with parchment paper with overhanging edges to create “handles” that will help you lift the cheesecake out after it’s set.
Q: Why do I need to bring the cream cheese to room temperature? Room temperature cream cheese blends more smoothly, preventing those dreaded lumps in your filling. If you’re short on time, cut the cream cheese into cubes and let sit for 30 minutes instead of waiting for the whole block to warm up.