Introduction: My Go-To Summer Dessert
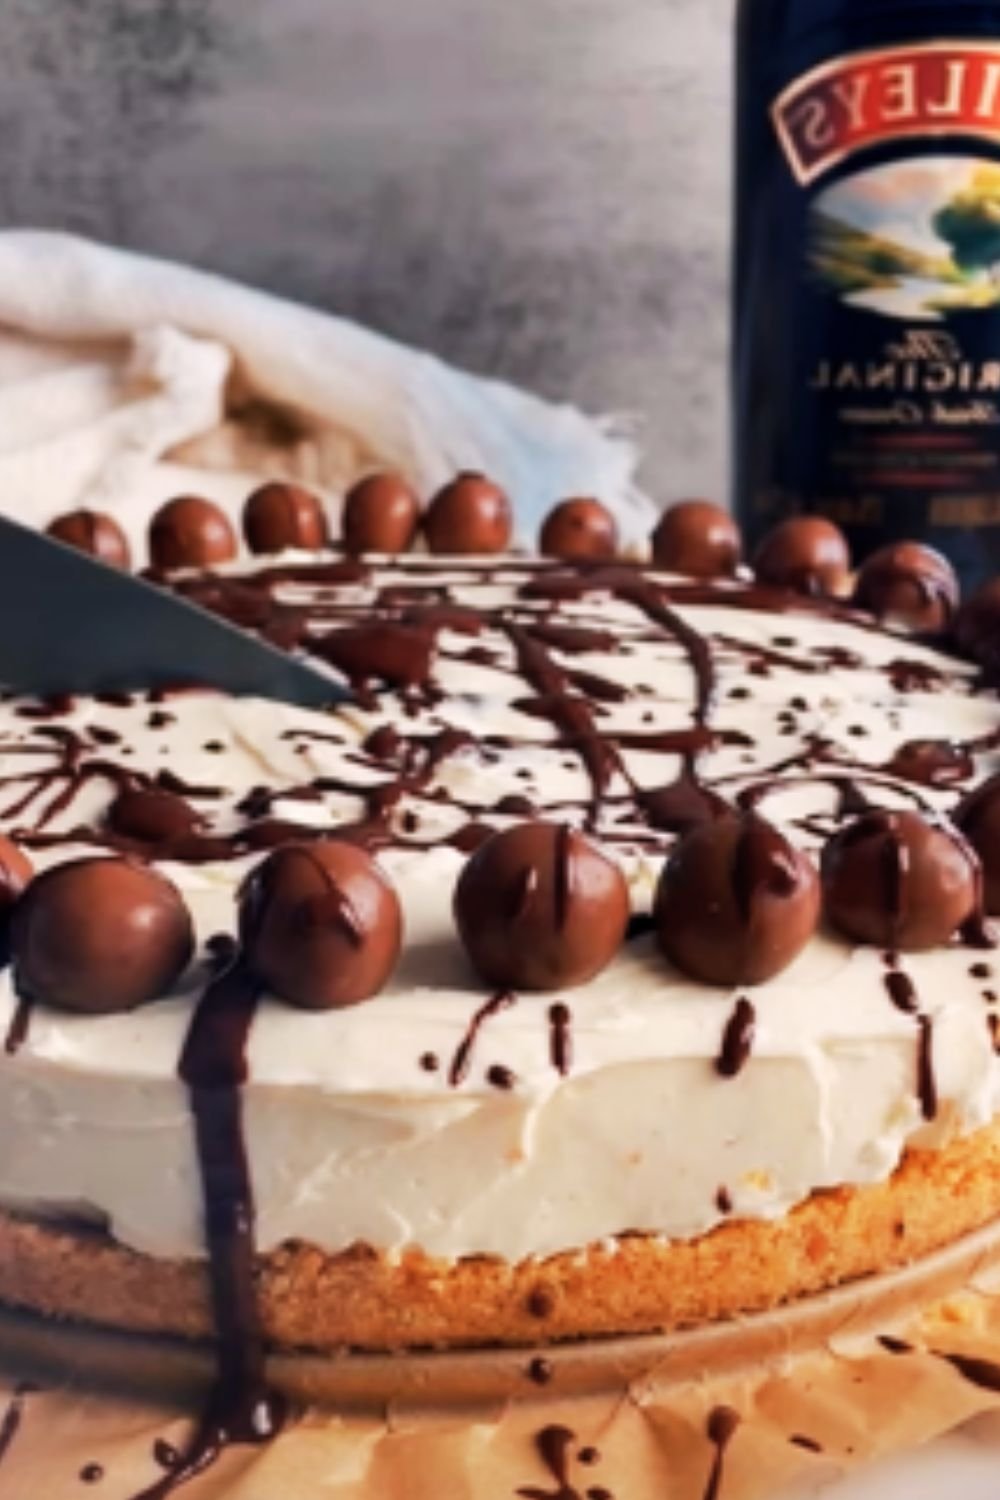
When the summer heat rolls in and the last thing I want to do is turn on my oven, this amazing no-bake cheesecake comes to my rescue. I’ve been perfecting this recipe for years, and it’s become my signature dessert for gatherings. The silky smooth texture, the perfect balance of sweetness, and that unmistakable tang of cream cheese create a dessert that never fails to impress my guests.
What I love most about this no-bake cheesecake is its versatility. You can dress it up with seasonal fruits, drizzle it with chocolate, or simply enjoy it plain in all its creamy glory. Plus, it’s so much easier than traditional baked cheesecake—no water baths, no worrying about cracks, and no long baking and cooling times.
I’m excited to share this foolproof recipe with you today. It’s perfect for beginners but delivers results that will make even seasoned bakers swoon. Let’s dive right in!
Why This No-Bake Cheesecake Stands Apart
Before we get to the recipe, let me tell you why this particular no-bake cheesecake deserves a spot in your dessert rotation:
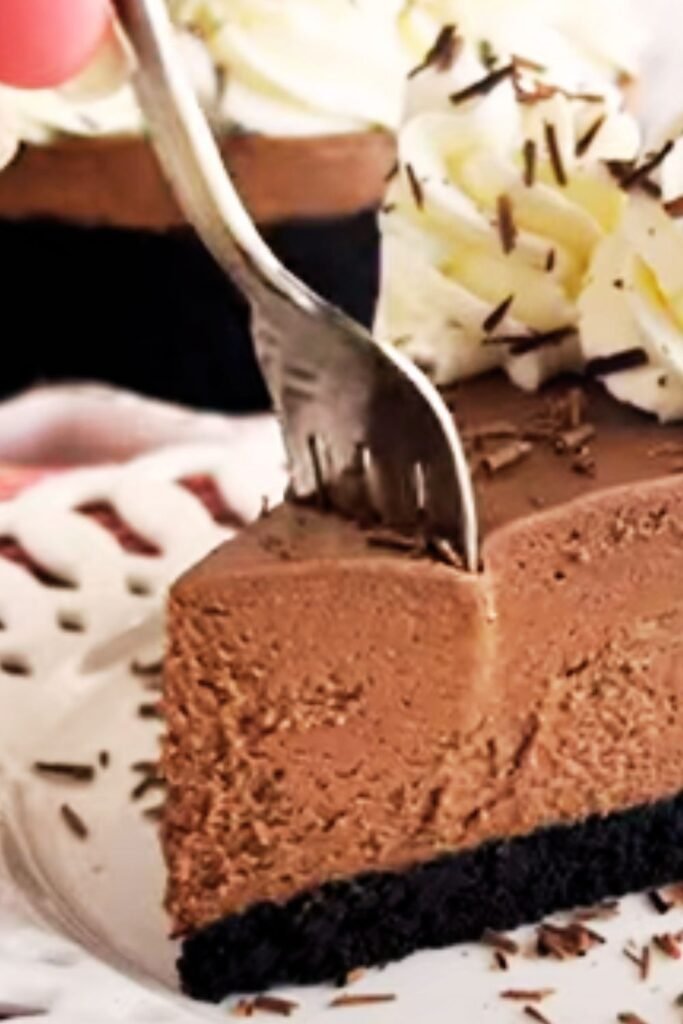
- Texture Perfection: This cheesecake has the perfect consistency—firm enough to hold its shape when sliced but still luxuriously creamy.
- Foolproof Method: Even if you’ve never made cheesecake before, this recipe is virtually impossible to mess up.
- Make-Ahead Friendly: Prepare it up to 3 days in advance, making it perfect for entertaining.
- No Gelatin Required: Unlike many no-bake recipes, this one sets perfectly without gelatin, making it vegetarian-friendly.
- Customizable: The neutral base pairs beautifully with countless toppings and mix-ins.
Essential Ingredients
The beauty of this recipe lies in its simplicity. You’ll need just a handful of quality ingredients:
For the Crust:
- 2 cups graham cracker crumbs (about 16 full sheets)
- 1/3 cup granulated sugar
- 1/2 cup (1 stick) unsalted butter, melted
- 1/4 teaspoon salt
For the Filling:
- 24 ounces full-fat cream cheese, softened to room temperature
- 1 cup granulated sugar
- 1/4 cup sour cream, at room temperature
- 3 tablespoons fresh lemon juice
- 1 tablespoon vanilla extract
- 1/4 teaspoon salt
- 1 1/2 cups heavy whipping cream, cold
For Optional Toppings:
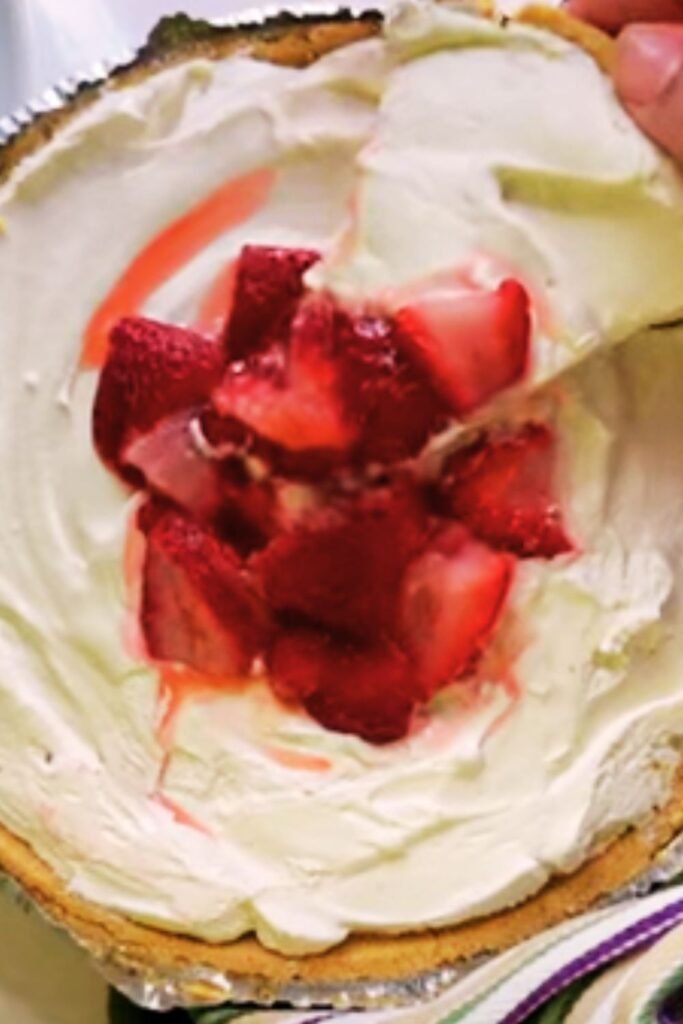
- Fresh berries (strawberries, blueberries, raspberries)
- Fruit compote or preserves
- Chocolate ganache
- Caramel sauce
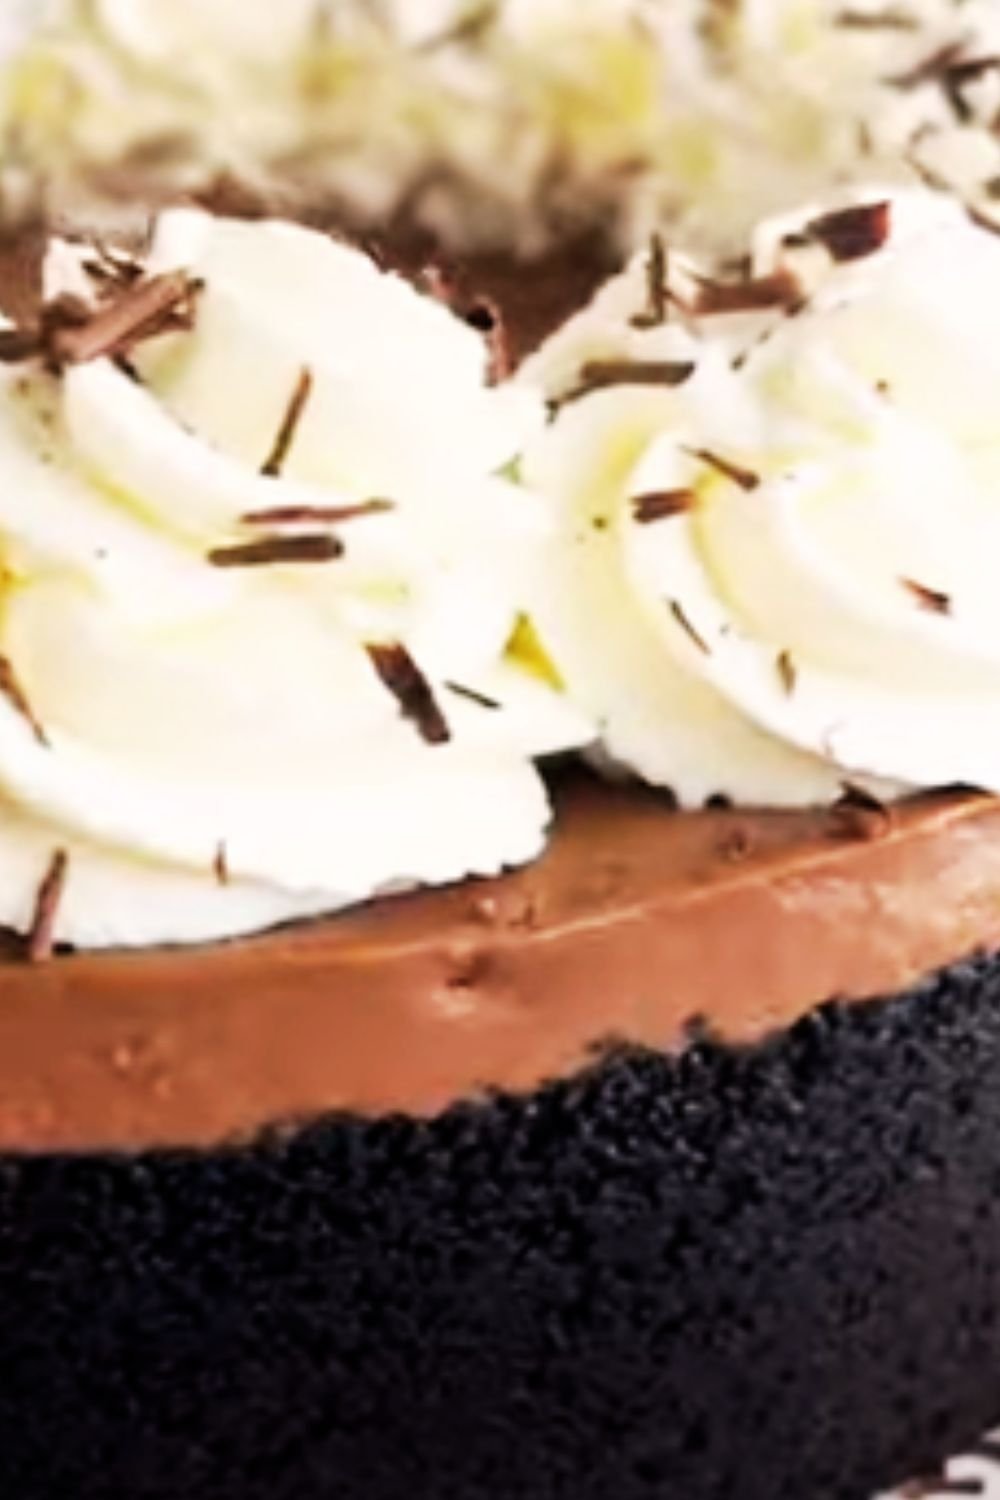
- Whipped cream
- Lemon curd
Kitchen Tools You’ll Need

To make this no-bake cheesecake, you’ll need:
- 9-inch springform pan
- Large mixing bowls
- Hand mixer or stand mixer
- Rubber spatula
- Measuring cups and spoons
- Microwave-safe bowl (for melting butter)
- Food processor (optional, for making graham cracker crumbs)
The Perfect No-Bake Cheesecake: Step-by-Step
Preparing the Crust
- In a medium bowl, combine the graham cracker crumbs, sugar, and salt.
- Pour in the melted butter and mix until the mixture resembles wet sand. The texture should be such that when you squeeze a handful, it holds together.
- Transfer the mixture to a 9-inch springform pan. Using a flat-bottomed measuring cup or glass, press the crumbs firmly into the bottom and about 1-1.5 inches up the sides of the pan.
- For the best results, refrigerate the crust for at least 30 minutes before filling. This helps it firm up and prevents it from crumbling when you add the filling.
Making the Filling
- In a large bowl, beat the softened cream cheese and sugar until completely smooth and fluffy, about 3 minutes. Scrape down the sides of the bowl several times during mixing.
- Add the sour cream, lemon juice, vanilla extract, and salt. Beat until smooth and fully incorporated.
- In a separate bowl, whip the cold heavy cream until stiff peaks form. This usually takes about 3-4 minutes.
- Using a rubber spatula, gently fold the whipped cream into the cream cheese mixture in three additions. Fold just until no streaks remain, being careful not to deflate the mixture.
Assembling and Chilling
- Pour the filling into the chilled crust, smoothing the top with a spatula.
- Cover the cheesecake with plastic wrap, making sure it doesn’t touch the surface of the filling.
- Refrigerate for at least 6 hours, but preferably overnight. This gives the cheesecake time to set properly.
- When ready to serve, run a thin knife around the edge of the pan before releasing the springform.
The Science Behind No-Bake Cheesecake
Understanding the science behind this dessert helps ensure perfect results every time:
| Element | Function | Science Behind It |
|---|---|---|
| Cream Cheese | Main structure | The fat content and proteins in cream cheese provide structure and creamy texture |
| Heavy Cream | Setting agent | When whipped, creates air bubbles that help the cheesecake hold its shape |
| Sugar | Sweetness & texture | Dissolves in the fat and liquid, providing sweetness and affecting texture |
| Lemon Juice | Flavor enhancer | Acid cuts through richness and helps thicken the mixture through reaction with dairy proteins |
| Chilling Time | Setting method | Cold temperature solidifies fats in the dairy, creating a firm but creamy texture |
Unlike baked cheesecakes which set through the coagulation of eggs when heated, no-bake cheesecakes rely on refrigeration to solidify the fats in the cream cheese and whipped cream. This is why it’s crucial to use full-fat dairy products and allow sufficient chilling time.
Troubleshooting Common Issues
Even with this foolproof recipe, you might encounter some challenges. Here’s how to address them:
Cheesecake Too Soft
- Possible Causes: Insufficient chilling time, cream not whipped enough, ingredients too warm when mixed
- Solutions: Chill longer (try freezing for 30 minutes before serving), make sure to whip cream to stiff peaks, ensure cream cheese is just softened, not warm
Crust Crumbles When Slicing
- Possible Causes: Not enough butter, crust not packed firmly enough
- Solutions: Add an extra tablespoon of melted butter, use more pressure when forming the crust, chill crust before filling
Lumpy Filling
- Possible Causes: Cream cheese not soft enough, insufficient mixing
- Solutions: Allow cream cheese to come to room temperature for at least 2 hours, beat until completely smooth before adding other ingredients
Creative Variation Ideas
One of the reasons I make this recipe so often is its versatility. Here are some of my favorite variations:
Flavor Additions (Mix into the filling)
- 1/3 cup strained lemon curd + 1 tablespoon lemon zest for Lemon Cheesecake
- 1/4 cup cocoa powder + 2 oz melted chocolate for Chocolate Cheesecake
- 1/4 cup mashed ripe banana + 1/2 teaspoon cinnamon for Banana Cream Pie Cheesecake
- 1/3 cup pumpkin puree + 1 teaspoon pumpkin pie spice for Fall Pumpkin Cheesecake
Crust Variations
- Chocolate cookie crumbs instead of graham crackers
- Gingersnap cookies for a spiced base
- Shortbread cookies for a buttery foundation
- Toasted coconut mixed with graham cracker crumbs for tropical flair
Layered Creations
- Create a beautiful layered dessert by dividing the base mixture and adding different flavors to each portion
- Swirl fruit compotes or chocolate through the filling before refrigerating
Make-Ahead and Storage Tips
No-bake cheesecake is the perfect make-ahead dessert, which is why I love serving it at dinner parties. Here’s how to store it for optimal freshness:
- Refrigerator Storage: Cover tightly and store in the refrigerator for up to 5 days.
- Freezing Instructions: Freeze the whole cheesecake or individual slices for up to 3 months. To freeze properly:
- Let the cheesecake set completely in the refrigerator
- Remove the sides of the springform pan and place the cheesecake on a cardboard round
- Freeze uncovered until firm, about 1-2 hours
- Wrap tightly in a layer of plastic wrap, followed by a layer of aluminum foil
- To thaw, transfer to the refrigerator overnight
- Topping Strategy: For best results, add fresh fruit, whipped cream, or other perishable toppings just before serving.
Serving Suggestions
Presentation can elevate this simple dessert to restaurant-quality status. Here are my favorite ways to serve this no-bake cheesecake:
- Fresh Fruit Medley: Arrange a mixture of fresh berries on top, lightly dusted with powdered sugar
- Sauce Drizzles: Serve with small pitchers of chocolate sauce, caramel, and fruit coulis so guests can customize their slice
- Elegant Plating: Place each slice on a chilled dessert plate with a small mound of whipped cream and a mint sprig
- Dessert Bar: Set up a cheesecake bar with plain cheesecake slices and various toppings for a fun interactive dessert experience
- Refreshing Accompaniments: Serve alongside a scoop of sorbet for a refreshing contrast
- Hot Beverage Pairing: Offer with coffee, espresso, or tea to balance the richness
Nutritional Information
For those who like to know the nutritional content of their indulgences:
| Nutrient | Amount per Serving (1/12 of cheesecake) |
|---|---|
| Calories | 425 |
| Total Fat | 32g |
| Saturated Fat | 19g |
| Cholesterol | 105mg |
| Sodium | 295mg |
| Total Carbohydrates | 32g |
| Dietary Fiber | 0.5g |
| Sugars | 25g |
| Protein | 5g |
Note: Values are approximate and may vary based on specific brands of ingredients used.
Frequently Asked Questions
Q: Why didn’t my cheesecake set properly?
A: The most common reason is that the heavy cream wasn’t whipped to stiff peaks before folding into the cream cheese mixture. Make sure your heavy cream is very cold, and whip until it stands up firmly when the beaters are lifted. Also, ensure you’ve allowed enough chilling time—at least 6 hours, but preferably overnight.
Q: Can I use low-fat cream cheese?
A: While you can use low-fat cream cheese, I don’t recommend it. The full-fat version provides the richness and structure needed for the cheesecake to set properly. Low-fat versions contain more moisture and less fat, which can result in a softer, less stable cheesecake.
Q: How far in advance can I make this cheesecake?
A: This cheesecake can be made up to 3 days in advance and stored in the refrigerator. If you need to make it further ahead, I recommend freezing it according to the instructions in the storage section above.
Q: My crust is too hard to cut through. What went wrong?
A: This typically happens when the crust is packed too firmly. When pressing the crust into the pan, use moderate pressure—enough to ensure it holds together but not so much that it becomes compacted like concrete.
Q: Can I use this recipe to make mini cheesecakes?
A: Absolutely! This recipe works beautifully for individual servings. Line a muffin tin with paper liners, press a small amount of crust into each, and fill with the cheesecake mixture. They’ll set more quickly—about 3-4 hours in the refrigerator should be sufficient.
Q: Do I need a springform pan, or can I use something else?
A: While a springform pan is ideal because it allows for easy removal of the whole cheesecake, you have alternatives. You can use a deep pie dish or a cake pan lined with parchment paper with overhanging edges to help lift the cheesecake out after it’s set.
Personal Tips From My Kitchen to Yours
After years of making this recipe, I’ve gathered some insider tips that make a significant difference:
- Temperature Matters: All refrigerated ingredients (except the heavy cream) should be at room temperature to prevent lumps in your filling.
- The Fold Technique: When incorporating the whipped cream into the cream cheese mixture, use a large rubber spatula and a gentle hand. Cut down through the center, sweep across the bottom, and come up the side of the bowl in one fluid motion, turning the bowl slightly with each fold.
- Taste As You Go: Before pouring the filling into the crust, taste it to ensure the sweetness and tanginess are balanced to your liking. This is your opportunity to adjust.
- Clean Slices: For picture-perfect slices, dip your knife in hot water and wipe it clean between each cut.
- Patience Pays Off: The longer you can refrigerate this cheesecake, the better the flavor and texture will be. If possible, make it a day ahead.
A Final Word
This no-bake cheesecake has been my reliable dessert companion through countless dinner parties, holidays, and family gatherings. Its simplicity belies its impressive results—a testament to the fact that sometimes, the most straightforward recipes yield the most extraordinary pleasures.
I hope this cheesecake brings as much joy to your table as it has to mine. It’s more than just a dessert; it’s a canvas for creativity and a reliable crowd-pleaser that allows you to enjoy the process of creating something delicious without breaking a sweat—literally!
Happy no-baking!