There’s something magical about walking into a bakery and being greeted by the sweet aroma of freshly fried apple fritters. As someone who’s spent countless hours perfecting pastries in my home kitchen, I’ve always wanted to capture that same enchanting experience in a more approachable format. That’s exactly why I created this Apple Fritter Cake recipe – it delivers all the beloved flavors of a traditional apple fritter but in a convenient cake form that anyone can master.
The Story Behind This Recipe
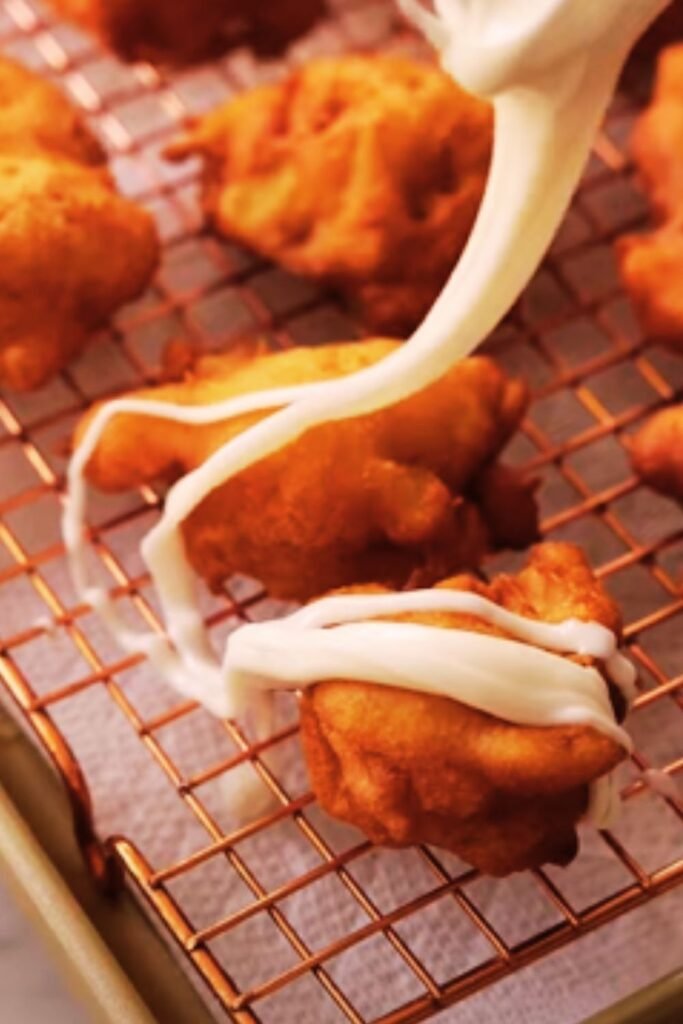
My journey to creating this recipe started during apple picking season last fall. I found myself with an abundance of crisp apples and a craving for something that would transform these fresh fruits into a memorable dessert. While I love traditional apple fritters, the process of frying individual portions can be time-consuming and intimidating for many home bakers. That’s when inspiration struck – why not combine the best elements of an apple fritter with the simplicity of a cake?
What Makes This Recipe Special
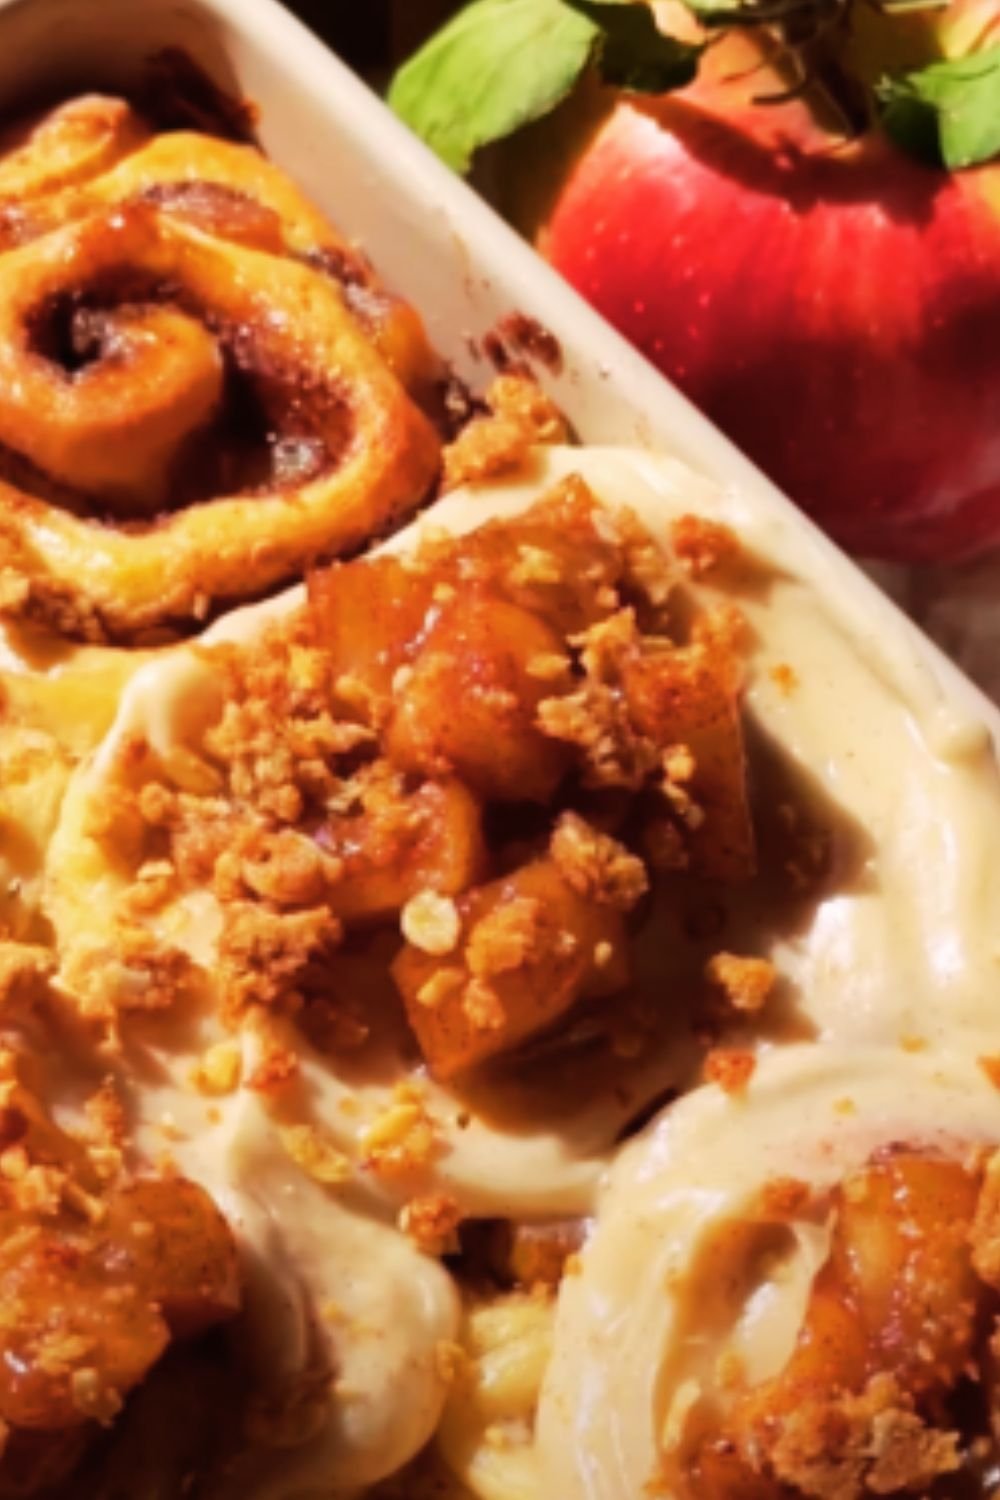
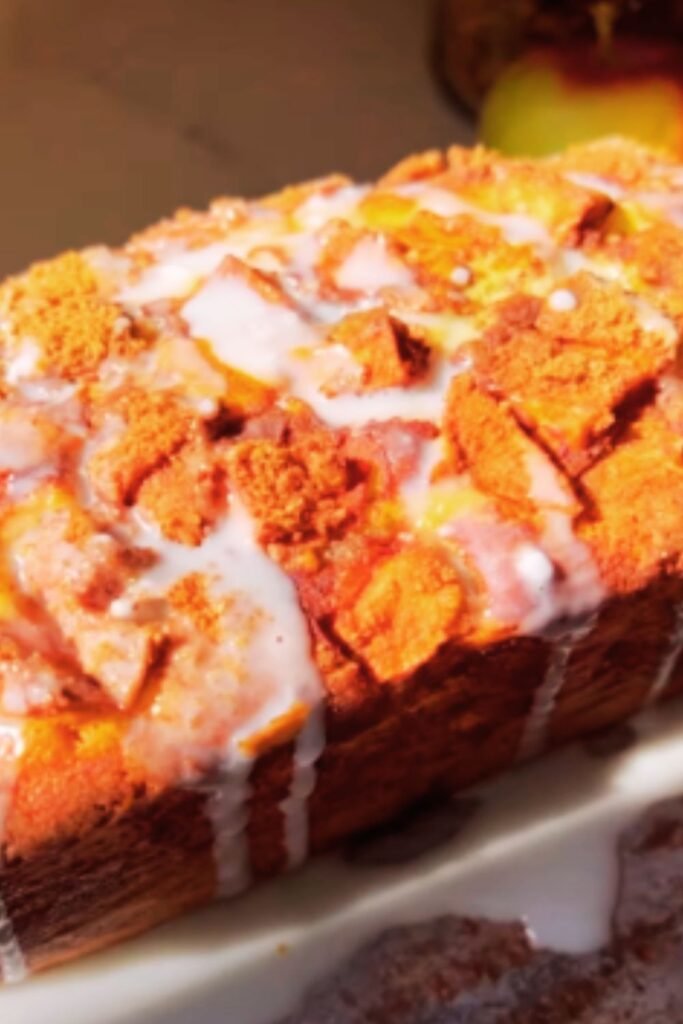
What sets this Apple Fritter Cake apart is its clever layering technique that creates pockets of cinnamon-spiced apples throughout the cake, mimicking the irregular texture that makes traditional fritters so appealing. The cake itself has a tender, buttery crumb that’s enhanced by a ribbon of brown sugar-cinnamon swirl, while the crown of caramelized apples on top provides that signature fritter appearance.
Essential Ingredients
For the Cake Batter:
- 3 cups all-purpose flour
- 2½ teaspoons baking powder
- 1 teaspoon salt
- 1 cup unsalted butter, softened
- 2 cups granulated sugar
- 4 large eggs, room temperature
- 2 teaspoons vanilla extract
- 1¼ cups whole milk
- ½ cup sour cream
For the Apple Filling:
- 4 large apples (preferably Honeycrisp or Granny Smith)
- ⅓ cup brown sugar
- 2 teaspoons ground cinnamon
- ¼ teaspoon ground nutmeg
- 2 tablespoons lemon juice
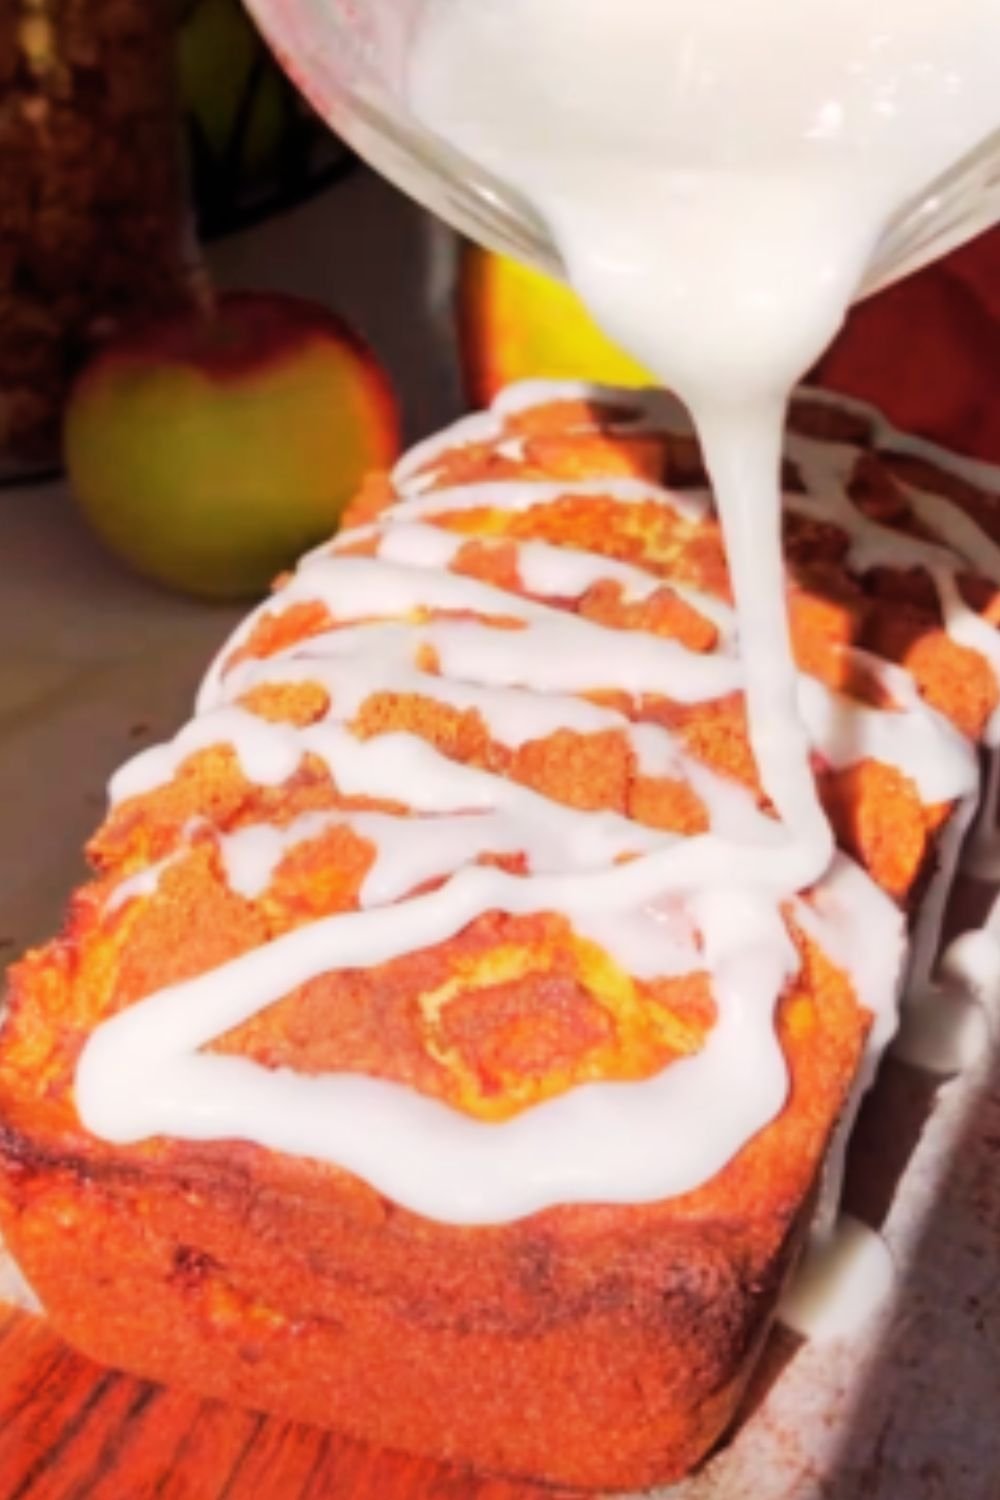
For the Glaze:
- 2 cups powdered sugar
- ¼ cup heavy cream
- 1 teaspoon vanilla extract
- Pinch of salt
Baking Equipment Needed
Essential Tools:
- 9×13 inch baking pan
- Stand mixer or hand mixer
- Large mixing bowls
- Apple peeler and corer
- Measuring cups and spoons
- Rubber spatula
- Wire cooling rack
Step-by-Step Instructions
Preparing the Apples
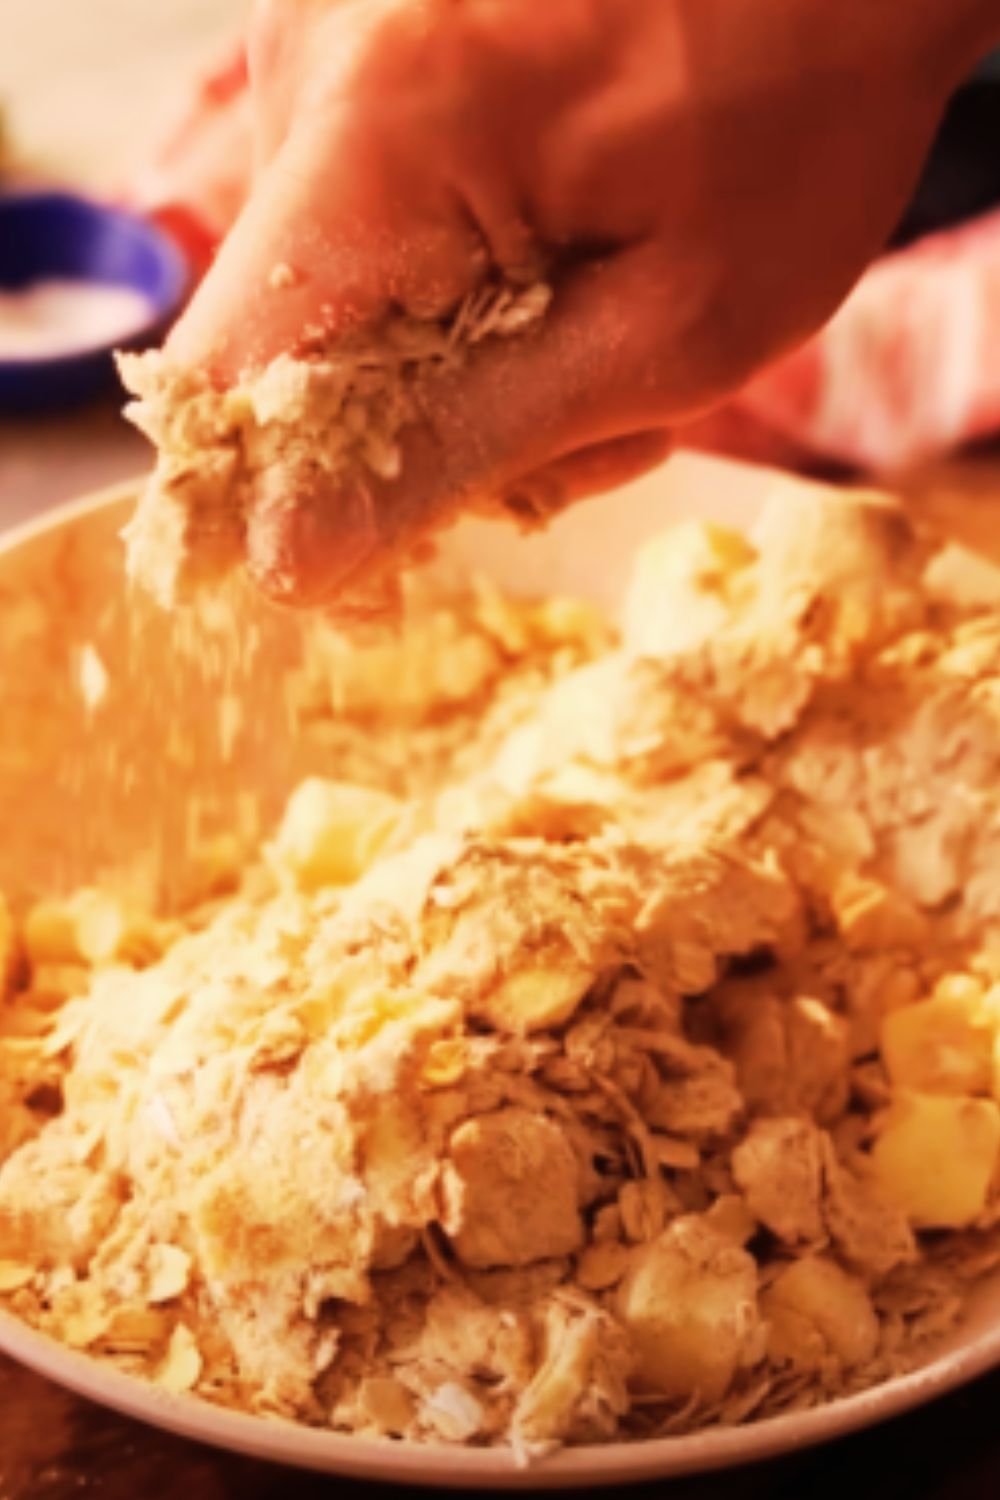
- Peel, core, and dice the apples into ¼-inch cubes
- Toss with lemon juice to prevent browning
- Mix with brown sugar, cinnamon, and nutmeg
- Set aside to allow flavors to meld (about 15 minutes)
Making the Cake Batter
- Preheat oven to 350°F (175°C)
- Grease and flour your baking pan
- Whisk together dry ingredients in a medium bowl
- Cream butter and sugar until light and fluffy (about 5 minutes)
- Add eggs one at a time, beating well after each addition
- Stir in vanilla extract
- Alternate adding flour mixture and milk, beginning and ending with flour
- Fold in sour cream until just combined
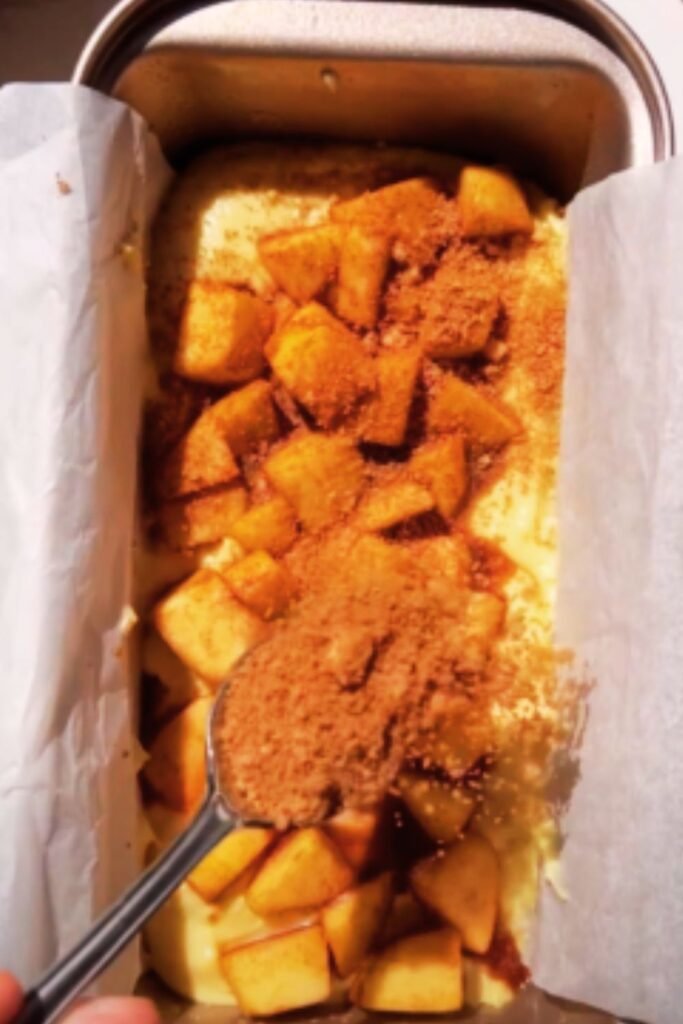
Assembly and Baking
- Pour half the batter into the prepared pan
- Layer half of the apple mixture over the batter
- Add remaining batter
- Top with remaining apples
- Bake for 50-60 minutes until a toothpick comes out clean
- Cool in pan for 15 minutes before glazing
Pro Tips from My Kitchen
After making this cake dozens of times, I’ve discovered several tricks that ensure success:
- Room Temperature Ingredients: This isn’t just baking folklore – room temperature eggs, milk, and butter create a smoother, more evenly textured cake.
- Apple Selection: While I prefer Honeycrisp or Granny Smith apples for their firmness and flavor, any baking apple will work. Just avoid softer varieties like Red Delicious.
- Proper Pan Preparation: A well-greased and floured pan is crucial. I sometimes use parchment paper for extra insurance against sticking.
- Testing for Doneness: Because of the moisture from the apples, traditional toothpick testing can be tricky. Look for golden brown edges that are just starting to pull away from the pan.
Storage and Serving Suggestions
This cake stays fresh at room temperature for up to 3 days when stored in an airtight container. For longer storage, refrigerate for up to a week. Here are my favorite serving suggestions:
- Warm a slice for 15-20 seconds in the microwave
- Top with a scoop of vanilla ice cream
- Serve alongside hot coffee or apple cider
- Drizzle with caramel sauce for extra decadence
Troubleshooting Common Issues
Here are solutions to common questions I’ve received about this recipe:
Q: Why did my apples sink to the bottom of the cake?
A: This can happen if the apple pieces are too large or if the batter is too thin. Make sure to cut the apples into small, uniform pieces and ensure your batter is properly thick.
Q: The center of my cake isn’t cooking through. What’s wrong?
A: This is usually due to either an oven temperature issue or too much moisture from the apples. Make sure your oven is properly preheated and calibrated, and don’t skip the step of tossing the apples with lemon juice and sugar before adding them to the batter.
Q: Can I make this cake ahead of time for an event?
A: Yes! The cake actually develops more flavor after a day. I recommend baking it the day before and glazing it the morning of your event.
Q: Can I freeze this cake?
A: Absolutely. Wrap individual slices or the whole unglazed cake well in plastic wrap and aluminum foil. Freeze for up to 3 months. Thaw overnight in the refrigerator and glaze before serving.
Recipe Variations
While I love the classic version, here are some successful variations I’ve tried:
- Pear Fritter Cake: Replace apples with firm pears and add a touch of cardamom to the spice mixture.
- Maple Glaze Version: Substitute maple syrup for half of the powdered sugar in the glaze.
- Streusel-Topped: Add a simple streusel topping before baking for extra crunch.
- Whole Wheat Blend: Replace up to 1 cup of all-purpose flour with whole wheat flour for a nuttier flavor.
Nutritional Information
Per serving (based on 12 servings):
- Calories: 425
- Total Fat: 18g
- Saturated Fat: 11g
- Cholesterol: 98mg
- Sodium: 245mg
- Total Carbohydrates: 63g
- Dietary Fiber: 2g
- Sugar: 42g
- Protein: 6g
Final Thoughts
This Apple Fritter Cake has become one of my most requested recipes, and it’s easy to see why. It transforms a beloved pastry into a format that’s perfect for sharing, while maintaining all the characteristics that make apple fritters so irresistible. Whether you’re an experienced baker or just starting out, this recipe offers the perfect balance of impressive results and achievable technique. I hope you’ll give it a try and experience the joy of pulling a perfectly baked, apple-studded cake from your oven.
Remember, baking is both a science and an art – don’t be afraid to trust your instincts and adjust the recipe slightly to suit your taste. Happy baking!