There’s something undeniably magical about the perfect chocolate dessert. That velvety texture that melts on your tongue, the rich depth of flavor that satisfies your deepest cravings – these are the hallmarks of a truly exceptional chocolate experience. And few desserts deliver this experience quite like a well-made chocolate cremeux.
I’ve spent years perfecting this recipe, testing countless variations and tweaking every detail until I achieved what I believe is the most foolproof chocolate cremeux recipe you’ll ever try. This silky, custard-like dessert sits somewhere between a mousse and a ganache in texture, offering the perfect balance of richness and lightness that will impress even the most discerning dessert connoisseurs.
What is Cremeux?
Before we dive into the recipe, let’s clarify what makes a cremeux special:
Cremeux : A French term meaning “creamy,” cremeux is a custard-based dessert with a silky, ultra-smooth texture that holds its shape when plated. It’s richer than a mousse but lighter than a ganache.
Chocolate Cremeux
: A chocolate version of this classic French dessert that combines the intensity of chocolate with the luxurious mouthfeel of custard.
Temperature-Sensitive
: Unlike many desserts, cremeux is best enjoyed slightly cool but not cold from the refrigerator, allowing the flavors to fully bloom on your palate.
Why This Recipe Works
I’ve eliminated all the guesswork from this notoriously finicky dessert. Here’s why this recipe delivers perfect results every time:
- Precise temperature control ensures the custard sets properly without scrambling the eggs
- Balanced chocolate-to-cream ratio creates the ideal texture that’s rich without being heavy
- Detailed step-by-step instructions walk you through the entire process, from tempering eggs to achieving the perfect set
- Make-ahead friendly so you can prepare it up to 3 days before serving
- Versatile serving options allow you to customize presentation based on your occasion
Ingredients
Here’s everything you’ll need to create this luxurious dessert:
| Ingredient | Amount | Notes |
|---|---|---|
| High-quality dark chocolate (70% cocoa) | 8 oz (225g) | Finely chopped; avoid chocolate chips which contain stabilizers |
| Heavy cream | 1¼ cups (300ml) | Use full-fat for best results; minimum 36% fat content |
| Whole milk | ½ cup (120ml) | Adds lightness while maintaining richness |
| Granulated sugar | ⅓ cup (67g) | Balances the bitterness of dark chocolate |
| Egg yolks | 6 large | Room temperature; reserve whites for another use |
| Fine sea salt | ¼ teaspoon | Enhances chocolate flavor |
| Pure vanilla extract | 1 teaspoon | Use real extract, not imitation |
| Unsalted butter | 3 tablespoons (42g) | Softened, cuts richness and adds shine |
For Garnish (Optional)
| Ingredient | Amount | Notes |
|---|---|---|
| Fresh berries | 2 cups | Raspberries, blackberries, or strawberries work beautifully |
| Gold leaf | Small sheets | For an elegant touch on special occasions |
| Sea salt flakes | Pinch | Maldon or fleur de sel, for sprinkling |
| Cocoa nibs | 2 tablespoons | For textural contrast |
| Fresh mint leaves | Small bunch | For color and freshness |
Equipment Needed
Gather these tools before you begin:
- Digital thermometer (crucial for perfect results)
- Fine-mesh sieve
- Medium saucepan
- Heatproof bowl (preferably stainless steel)
- Whisk
- Silicone spatula
- Serving glasses or ramekins
- Plastic wrap (for chilling)

Step-by-Step Instructions
1. Prepare Your Chocolate Base
- Place your finely chopped chocolate in a large heatproof bowl. The finer you chop it, the more evenly it will melt.
- Set a fine-mesh sieve over the bowl with chocolate. You’ll strain your custard through this later.
- Have your softened butter ready nearby at room temperature.
2. Create the Custard Base
- In a medium saucepan, combine heavy cream, milk, half of the sugar (about 33g), and salt.
- Heat this mixture over medium heat until it reaches a gentle simmer. Small bubbles should form around the edges, but don’t let it boil.
- Meanwhile, in a separate bowl, whisk together egg yolks and remaining sugar until the mixture becomes pale yellow and slightly thickened (about 2 minutes of vigorous whisking).
3. Master the Tempering Technique
This is the most critical step where many recipes fail. Pay close attention:
- When cream mixture is simmering, remove from heat.
- Very slowly pour about ¼ cup of the hot cream into the egg mixture while whisking constantly. This prevents the eggs from scrambling.
- Continue adding hot cream in a slow, steady stream while whisking continuously until about half the cream has been incorporated.
- Now pour the tempered egg mixture back into the saucepan with the remaining cream.
4. Cook the Custard to Perfection
- Return the saucepan to medium-low heat.
- Cook, stirring constantly with a silicone spatula (make sure to scrape the bottom and sides), until the mixture reaches exactly 175°F (79°C) on a digital thermometer.
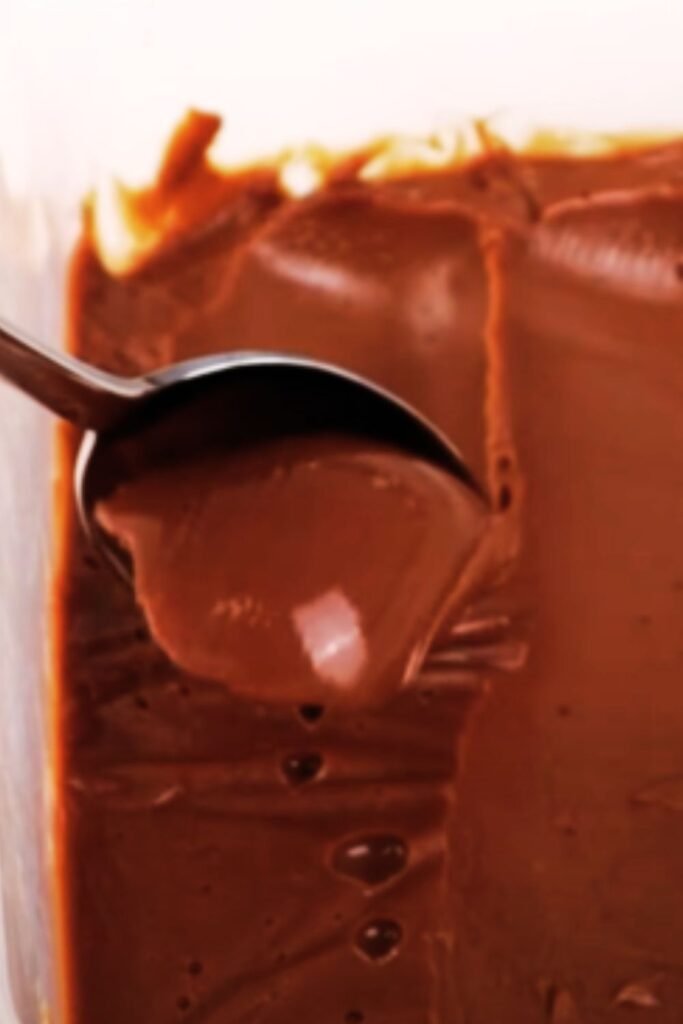
- At this temperature, the custard will be thick enough to coat the back of a spoon, and when you run your finger through it, it should leave a clear path.
- Immediately remove from heat once target temperature is reached.
5. Finish the Cremeux
- Quickly strain the hot custard through the fine-mesh sieve onto the chopped chocolate.
- Let sit untouched for 1 minute to allow the chocolate to melt.
- Add vanilla extract.
- Gently stir from the center outward until completely smooth and glossy.
- When mixture is around 95°F (35°C), add butter, 1 tablespoon at a time, fully incorporating each addition before adding the next.
6. Set and Chill
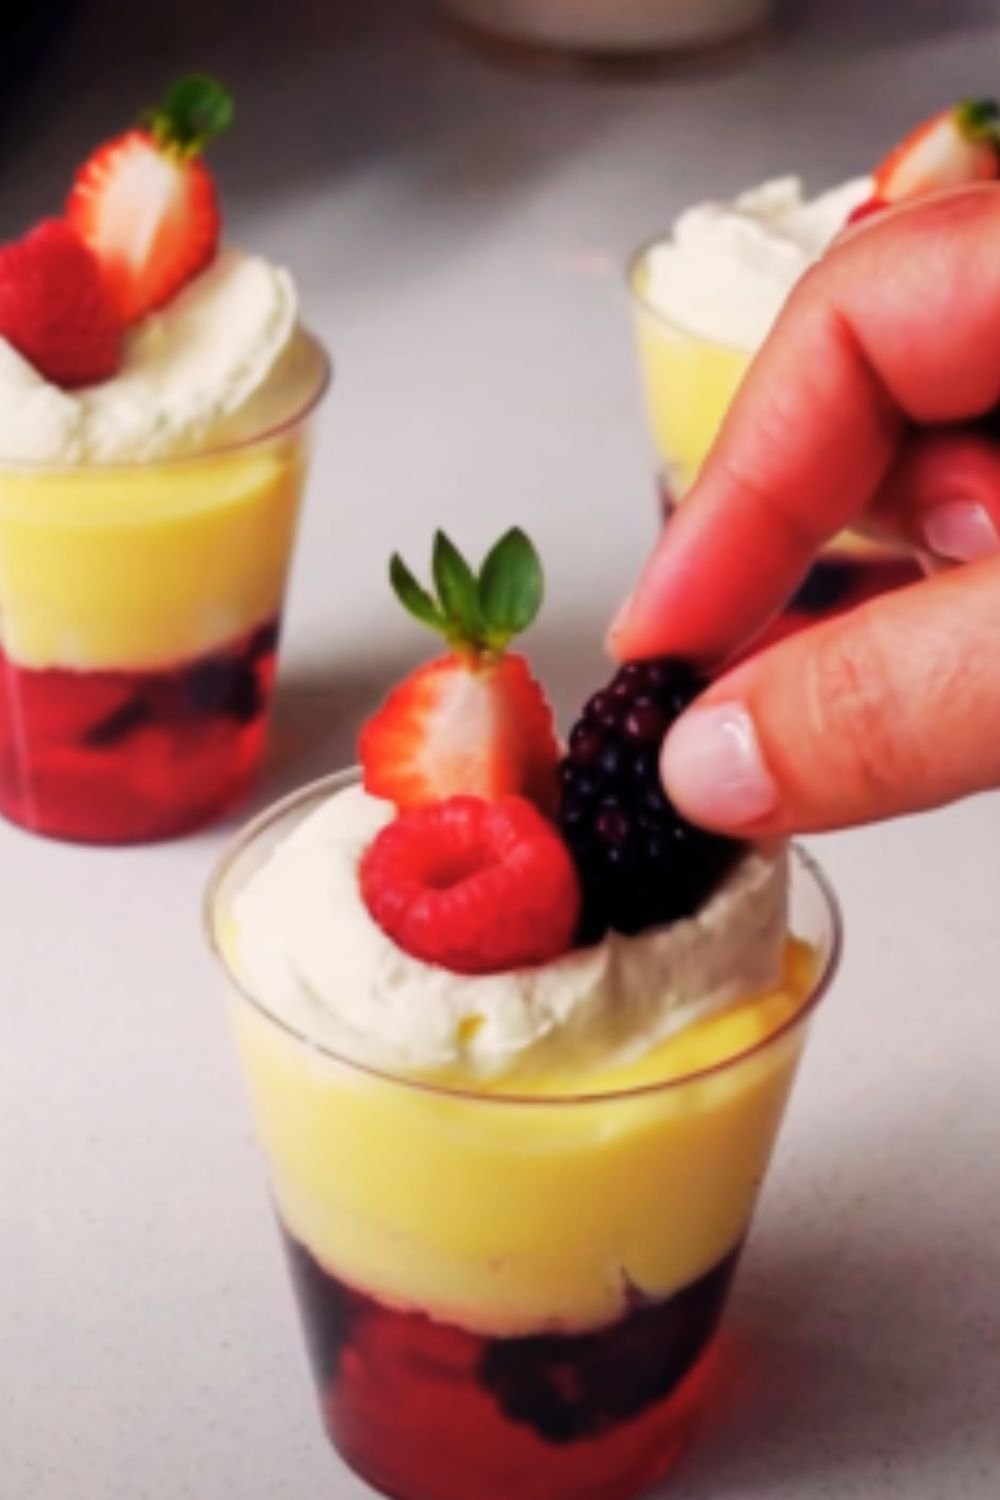
- Pour the cremeux into your serving vessels of choice. Individual glasses, small ramekins, or a single large dish all work well.
- Tap containers gently on counter to remove any air bubbles.
- Press plastic wrap directly onto the surface of each cremeux to prevent a skin from forming.
- Refrigerate for at least 4 hours, preferably overnight, until firmly set.
Serving Suggestions
For the best experience, remove cremeux from refrigerator 20-30 minutes before serving to take the chill off. This allows the flavors to fully develop and the texture to reach its ideal creaminess.
Here are my favorite ways to serve this luxurious dessert:
Classic Presentation
- Top with a small mound of fresh berries
- Add a light dusting of cocoa powder
- Finish with a tiny pinch of flaky sea salt to enhance the chocolate flavor
Elegant Dinner Party Version
- Layer cremeux in clear glasses alternating with thin shortbread cookies
- Add a small sheet of gold leaf on top
- Serve with a small espresso on the side
Family-Style Approach
- Pour into a large shallow dish for sharing
- Serve with various toppings in small bowls (crushed cookies, toasted nuts, different berries)
- Let everyone customize their portion
Plated Dessert
- Place a small portion on a chilled plate
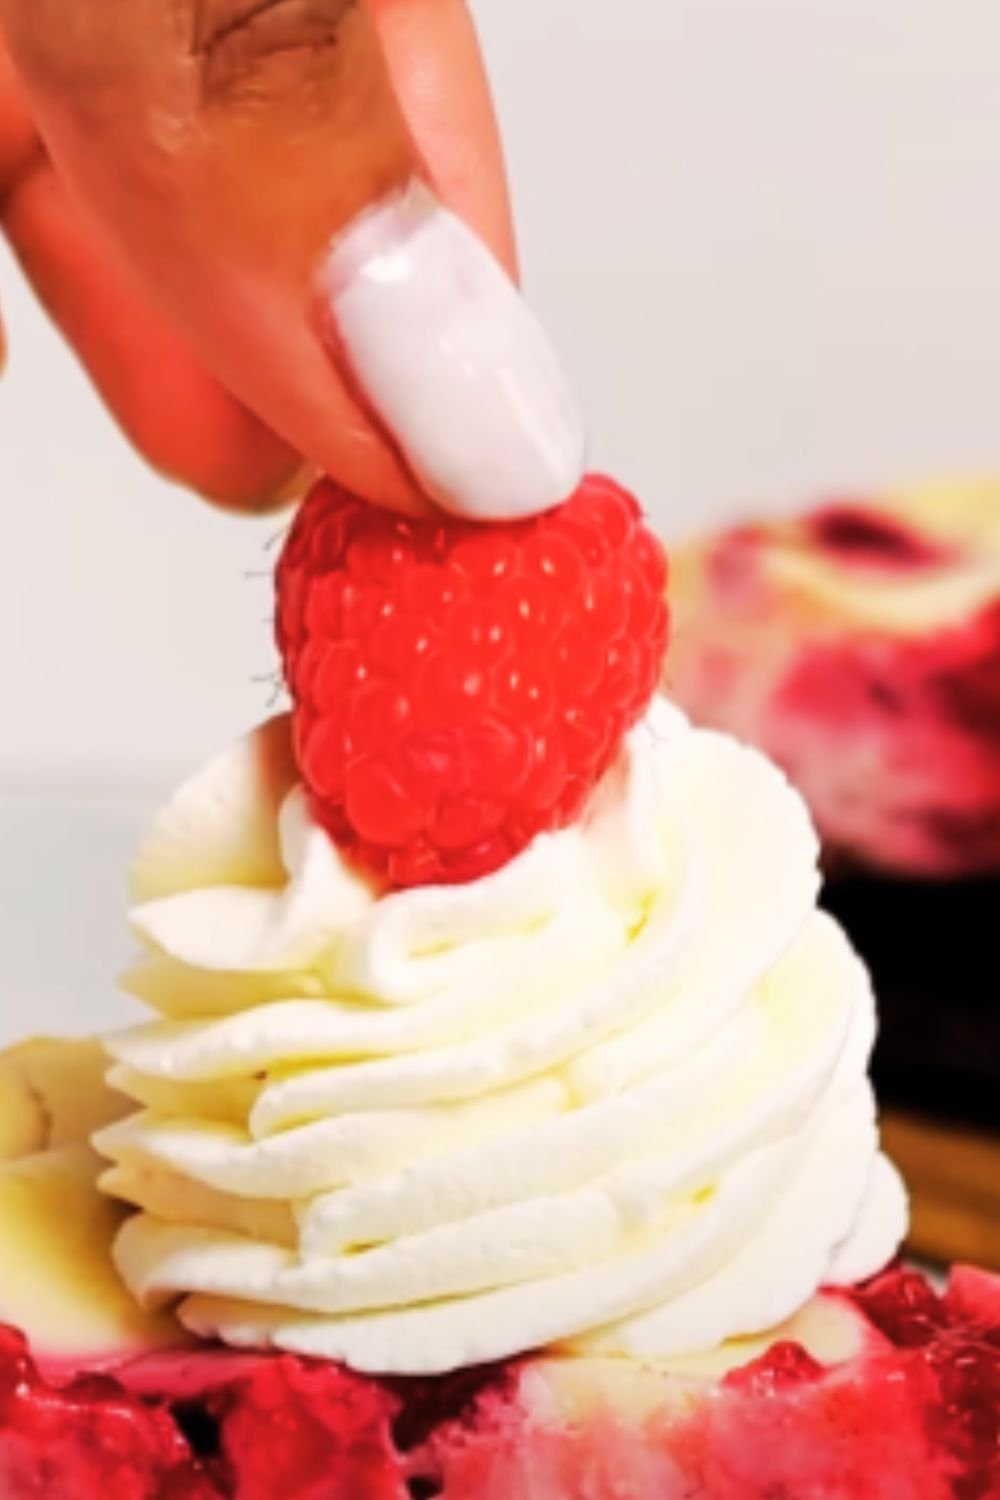
- Add a quenelle of lightly sweetened whipped cream
- Garnish with a tuile cookie and fresh mint
Flavor Variations
While the classic chocolate cremeux is magnificent on its own, here are some exciting variations to try:
| Variation | Method | Pairing Suggestion |
|---|---|---|
| Orange-Infused | Add 1 tablespoon orange zest to the cream mixture | Candied orange peel garnish |
| Espresso | Dissolve 1 tablespoon instant espresso in the hot cream | Chocolate-covered coffee beans |
| Hazelnut | Replace 2 tablespoons of butter with hazelnut paste | Crushed toasted hazelnuts |
| Spiced | Add ¼ teaspoon cinnamon, pinch of chili powder to cream | Cinnamon whipped cream |
| Coconut | Replace milk with coconut milk | Toasted coconut flakes |
| Mint | Steep fresh mint leaves in the hot cream for 30 minutes before straining and reheating | Fresh berries and mint leaves |
Troubleshooting Tips
Even with a foolproof recipe, things can sometimes go awry. Here are solutions to common issues:
Cremeux Didn’t Set Properly
This usually means the custard didn’t reach the proper temperature. Ensure your thermometer is calibrated correctly and that you hit 175°F (79°C).
Grainy Texture
This typically occurs when the chocolate wasn’t chopped finely enough or the mixture wasn’t stirred sufficiently. Make sure chocolate is very finely chopped and stir until completely smooth.
Separated or Oily Appearance
This happens when butter is added while the mixture is too hot. Let the chocolate-custard mixture cool to about 95°F (35°C) before adding butter.
Air Bubbles in Final Product
Tap serving vessels firmly on counter after pouring and consider using an immersion blender (carefully, on low speed) to remove bubbles before pouring.
Make-Ahead and Storage Tips
One of the best aspects of cremeux is that it actually benefits from being made ahead:
Optimal Timeline
- 24 hours ahead: The ideal preparation time, allowing flavors to fully develop
- Up to 3 days: Can be made 3 days in advance when kept properly covered in refrigerator
Storage Guidelines
- Keep cremeux covered with plastic wrap directly on the surface
- Store in refrigerator at all times when not serving
- Not suitable for freezing as this will damage the delicate texture
Gift-Giving
Cremeux makes a wonderful gift for chocolate lovers. Pour into small jars with tight-fitting lids, attach a ribbon and serving instructions, and gift within 24 hours.
Health and Dietary Considerations
This dessert is naturally:
- Gluten-free
- Vegetarian
- Free from artificial preservatives when made with quality ingredients
Dietary Adaptations
| Dietary Need | Adaptation | Notes |
|---|---|---|
| Dairy-Free | Use coconut cream and dairy-free chocolate | Texture will be slightly different but still delicious |
| Lower Sugar | Reduce sugar to ¼ cup and use 85% dark chocolate | Will have a more intense, less sweet flavor |
| Egg-Free | Replace eggs with 2 tablespoons cornstarch mixed with cold water | Texture will be closer to pudding than traditional cremeux |
| Vegan | Use coconut cream, vegan chocolate, cornstarch instead of eggs | Best served in smaller portions as it will be richer |
The Science Behind Perfect Cremeux
Understanding the science helps you master this dessert:
- Egg Yolks: Contain lecithin, a natural emulsifier that helps bind the water and fat molecules together
- Temperature Control: Heating to 175°F (79°C) activates the egg proteins enough to thicken the mixture without scrambling
- Chocolate Percentage: The 70% cocoa provides enough cocoa butter to assist with setting while maintaining flavor intensity
- Butter Addition: Creates a smoother mouthfeel and adds shine when incorporated at the right temperature
Q&A Section
What’s the difference between chocolate cremeux and chocolate mousse? Cremeux has a denser, silkier texture than mousse. Mousse incorporates air (usually through whipped cream or beaten egg whites) making it lighter and fluffier, while cremeux is richer and more custard-like in consistency.
Can I use milk chocolate instead of dark chocolate? Yes, but you’ll need to adjust the recipe. Reduce the sugar to 3 tablespoons and increase the chocolate to 9 ounces to compensate for milk chocolate’s higher sugar content and lower cocoa solids.
Why is my cremeux not setting properly even after overnight refrigeration? The most common reason is that the custard didn’t reach the proper temperature (175°F/79°C). Without reaching this temperature, the eggs won’t properly thicken the mixture. Always use a reliable digital thermometer for best results.
Can I make this recipe without a thermometer? While a thermometer gives the most reliable results, you can test for doneness using the “nappe” technique: dip a spoon in the custard and run your finger through it. If it leaves a clear path that doesn’t fill in, it’s ready. However, this method is less precise.
How far in advance can I make cremeux? Cremeux can be made up to 3 days in advance and kept refrigerated. In fact, it often tastes better on the second day as the flavors have time to develop fully.
My cremeux has a grainy texture. What went wrong? Graininess usually occurs when either the chocolate wasn’t chopped finely enough or when the eggs were accidentally scrambled during the cooking process. Make sure to temper the eggs properly by slowly adding hot cream while whisking constantly.
Can I freeze leftover cremeux? I don’t recommend freezing cremeux as it can break the emulsion and damage the silky texture. It’s best enjoyed within 3 days of making.
What’s the best way to serve cremeux at a dinner party? For an elegant presentation, prepare individual servings in small glasses or ramekins the day before. Remove from the refrigerator 20-30 minutes before serving and garnish just before bringing to the table.
Final Tips for Chocolate Cremeux Success
After years of making this dessert, here are my most important tips:
- Use the highest quality chocolate you can afford. The flavor of the finished dessert depends largely on the quality of chocolate used.
- Don’t rush the process. Each step builds toward the perfect texture.
- Temperature is everything. From tempering eggs to adding butter at the right moment, paying attention to temperature details makes all the difference.
- Allow cremeux to sit at room temperature for 20-30 minutes before serving for the best flavor experience.
- Keep garnishes simple to let the cremeux shine. A small contrasting element like fresh berries or a touch of sea salt is all you need.
The beauty of cremeux lies in its apparent simplicity that conceals the careful technique behind it. Master this recipe, and you’ll have a dessert worthy of the finest restaurants right at home—one that never fails to elicit gasps of delight from lucky guests.