There’s something magical about combining two beloved desserts into one spectacular creation. As a pastry chef who’s spent countless hours perfecting chocolate recipes, I can confidently say that this Chocolate Brownie Cake is the best of both worlds – the rich, fudgy texture of a brownie married with the elegant presentation of a layer cake. Today, I’m excited to share my foolproof recipe that’ll have your friends and family begging for seconds.
The Story Behind My Chocolate Brownie Cake
I discovered this recipe during a rainy afternoon when I couldn’t decide between making brownies or a chocolate cake for a family gathering. After several attempts at combining these two classics, I finally cracked the code to create the perfect hybrid – a cake with the dense, chocolatey interior of a brownie but the sophisticated look of a layer cake.
What Makes This Recipe Special
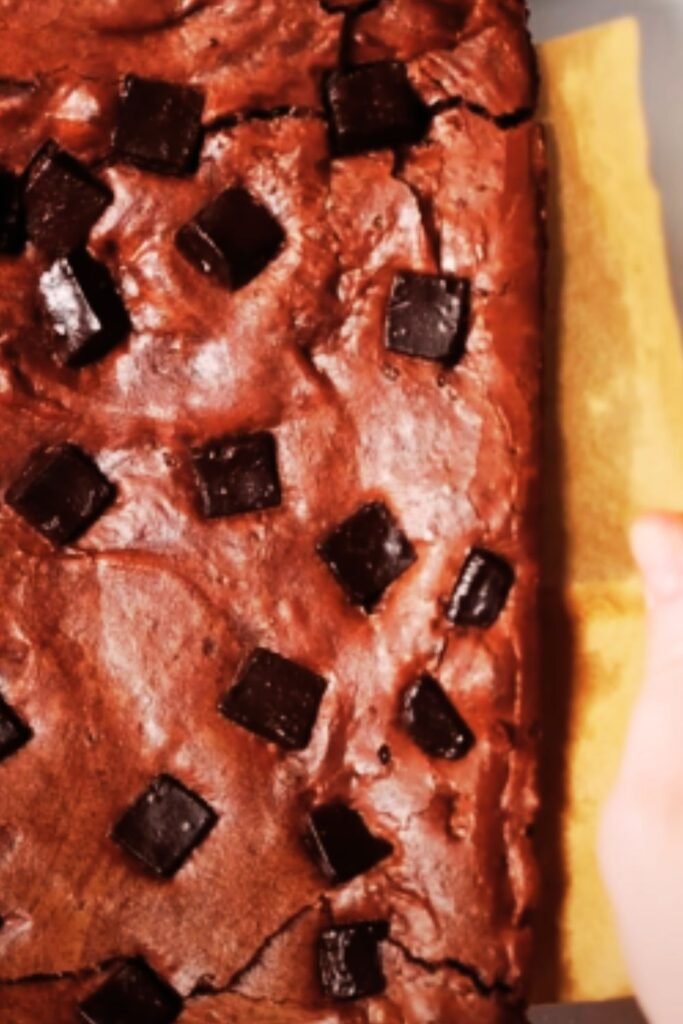
This isn’t your ordinary chocolate cake. The texture is intentionally more dense and fudgy than a traditional layer cake, but it still maintains enough structure to hold multiple layers. The secret lies in the specific ratio of ingredients and the precise baking temperature that creates that signature brownie crackle on top while keeping the inside perfectly moist.
Ingredients
For the Brownie Cake Layers
- 2½ cups (350g) high-quality dark chocolate, chopped
- 1 cup (226g) unsalted butter
- 2 cups (400g) granulated sugar
- 6 large eggs, room temperature
- 2 teaspoons pure vanilla extract
- 1½ cups (180g) all-purpose flour
- ¾ cup (75g) unsweetened cocoa powder
- 1 teaspoon espresso powder
- ½ teaspoon salt
- ¼ teaspoon baking powder
For the Chocolate Ganache Frosting
- 2 cups (480ml) heavy cream
- 16 ounces (450g) semi-sweet chocolate, finely chopped
- ¼ teaspoon fine sea salt
For the Chocolate Glaze
- 1 cup (240ml) heavy cream
- 8 ounces (225g) dark chocolate, chopped
- 2 tablespoons light corn syrup
Essential Equipment
- 3 8-inch round cake pans
- Parchment paper
- Double boiler or heatproof bowl
- Stand mixer or hand mixer
- Offset spatula
- Wire cooling rack
- Digital thermometer
Step-by-Step Instructions
Preparing the Cake Layers
- Preheat and Prep
- Set your oven to 325°F (165°C)
- Grease three 8-inch round cake pans
- Line bottoms with parchment paper
- Dust sides with cocoa powder
- Melt Chocolate and Butter
- Create a double boiler with simmering water
- Combine chocolate and butter
- Stir until completely smooth
- Let cool slightly
- Mix Wet Ingredients
- Whisk sugar into chocolate mixture
- Add eggs one at a time, mixing well
- Stir in vanilla extract
- Combine Dry Ingredients
- Sift together flour, cocoa powder, espresso powder, salt, and baking powder
- Fold into wet ingredients until just combined
- Don’t overmix
- Bake
- Divide batter evenly between pans
- Bake for 25-30 minutes
- Test with toothpick (should have few moist crumbs)
- Cool in pans for 10 minutes
- Transfer to wire racks
Making the Ganache Frosting
- Heat cream until just simmering
- Pour over chopped chocolate
- Let stand 5 minutes
- Stir until smooth
- Add salt
- Cool until spreadable (2-3 hours)
Creating the Chocolate Glaze
- Heat cream until hot
- Pour over chocolate
- Add corn syrup
- Stir until smooth
- Let cool slightly before using
Assembly
- Level cake layers if needed
- Place first layer on cake board
- Spread with ganache frosting
- Repeat with second layer
- Add final layer
- Crumb coat entire cake
- Chill 30 minutes
- Apply final coat of frosting
- Chill 1 hour
- Pour glaze over top
Pro Tips for Success
- Room temperature ingredients are crucial for proper mixing
- Don’t overbake – the cake should be fudgy
- Cool layers completely before frosting
- Chill between each step of assembly
- Use a heated knife for clean slices
Storage and Make-Ahead Instructions
This cake can be:
- Stored at room temperature for up to 3 days
- Refrigerated for up to 1 week
- Frozen (unfrosted layers) for up to 2 months
Serving Suggestions
- Fresh raspberries or strawberries
- Whipped cream
- Vanilla ice cream
- Caramel sauce
- Chopped nuts
- Fresh mint leaves
Troubleshooting Common Issues
Q: Why did my cake sink in the middle?
A: This usually happens when the oven door is opened during baking or if the oven temperature isn’t accurate. Use an oven thermometer and resist opening the door until the minimum baking time has passed.
Q: My ganache is too runny. What should I do?
A: Let it cool longer at room temperature, or speed up the process by refrigerating in 10-minute intervals, stirring between each until it reaches spreading consistency.
Q: Can I make this cake in different size pans?
A: Yes, but you’ll need to adjust baking times. For 9-inch pans, reduce the time by 3-5 minutes. For 6-inch pans, increase by 5-7 minutes and reduce the recipe by one-third.
Q: Why did my chocolate seize when melting?
A: This happens when water comes into contact with the chocolate. Make sure all utensils are completely dry and avoid letting steam from the double boiler touch the chocolate.
Nutritional Information
Per slice (1/12 of cake):
- Calories: 685
- Total Fat: 42g
- Saturated Fat: 25g
- Cholesterol: 155mg
- Sodium: 180mg
- Total Carbohydrates: 75g
- Dietary Fiber: 5g
- Sugar: 55g
- Protein: 10g
Recipe Variations
- Mocha Brownie Cake
- Add 2 tablespoons instant coffee to the batter
- Replace vanilla extract with coffee liqueur
- Mint Chocolate
- Add ½ teaspoon peppermint extract to batter
- Garnish with fresh mint leaves
- Nutella Swirl
- Swirl ½ cup warmed Nutella into batter
- Add chopped hazelnuts between layers
- Orange Chocolate
- Add orange zest to batter
- Replace vanilla with orange extract
Special Occasion Adaptations
For Birthdays
- Add sprinkles between layers
- Top with chocolate curls
- Decorate with fresh flowers
For Holidays
- Add peppermint (Christmas)
- Heart decorations (Valentine’s)
- Orange zest (Halloween)
For Weddings
- White chocolate drip
- Gold leaf decoration
- Fresh flower garnish
Remember, this cake is rich and decadent, so small slices are recommended. The combination of brownie-like texture with traditional cake layers makes it perfect for special occasions or when you want to really impress your guests. Don’t be intimidated by the multiple steps – take your time, follow the instructions carefully, and you’ll create a showstopping dessert that everyone will remember.