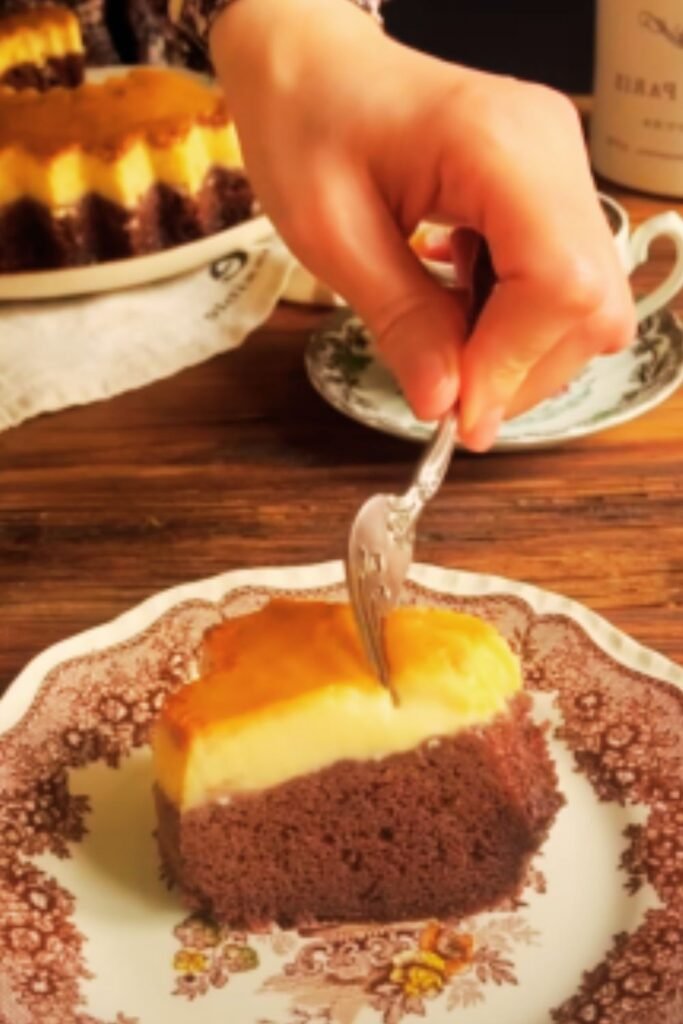
There’s something magical that happens when chocolate and caramel come together. It’s like a culinary love story that’s been told for generations, yet never gets old. Today, I’m sharing my absolute favorite dessert recipe that combines these two beloved flavors with a silky, creamy custard base to create what I call the Crème Choco Caramel.
This dessert has been my secret weapon at dinner parties for years. It’s elegant enough for special occasions yet simple enough to make when those sweet cravings hit on a random Tuesday night. The contrast between the bitter-sweet chocolate, the buttery caramel, and the smooth custard creates a dessert experience that’s truly unforgettable.
I first stumbled upon this recipe during a culinary workshop in Paris. The chef called it “Le Petit Miracle” because of how such simple ingredients transform into something extraordinary. I’ve tweaked it over the years, adjusting the sweetness and adding my own little twists, and now I’m thrilled to share it with you.
Why You’ll Love This Dessert
Before we dive into the recipe, let me tell you why this Crème Choco Caramel deserves a spot in your dessert repertoire:
- It’s a show-stopper that looks like you spent hours in the kitchen, even though it’s surprisingly manageable
- The make-ahead factor is perfect for entertaining
- The combination of textures—from the crunchy caramel top to the silky custard—creates a multi-dimensional experience
- It strikes the perfect balance between chocolate richness and caramel sweetness
- Each spoonful delivers a different ratio of flavors, making every bite a new discovery
Essential Ingredients
I believe in understanding not just what goes into a recipe, but why each ingredient matters. Here’s a breakdown of what you’ll need:
Caramel Layer: : 1 cup granulated sugar : ¼ cup water : 1 tablespoon light corn syrup (helps prevent crystallization)
Chocolate Custard: : 2 cups heavy cream : 1 cup whole milk : 8 large egg yolks (room temperature) : ½ cup granulated sugar : 6 ounces high-quality dark chocolate (70% cocoa), finely chopped : 2 teaspoons pure vanilla extract : ¼ teaspoon fine sea salt
Garnish Options: : Flaky sea salt : Fresh berries : Shaved chocolate : Whipped cream
The Science Behind Perfect Custard
The magic of custard lies in the delicate cooking process. When egg proteins are gently heated, they unfold and reconnect with each other, creating a network that traps liquid and gives custard its characteristic texture. The fat in the cream and egg yolks provides richness and smoothness, while the sugar not only sweetens but also helps stabilize the proteins.
Understanding this science helps explain why we need to:
- Heat the mixture slowly (too much heat will cause curdling)
- Use a water bath (provides gentle, even heat)
- Strain the custard (removes any bits that might have curdled)
Kitchen Equipment You’ll Need
Having the right tools makes this recipe much easier to execute:
- 8 ramekins (4-6 oz capacity)
- Large roasting pan (for water bath)
- Heavy-bottomed saucepan (for caramel)
- Medium saucepan (for heating cream)
- Whisk
- Fine-mesh strainer
- Instant-read thermometer (optional but helpful)
- Heat-resistant spatula
- Kitchen torch (optional, for finishing)
Step-by-Step Instructions
Preparing the Caramel Base
- Preheat your oven to 325°F (163°C) and place a rack in the middle position.
- Arrange your ramekins in a large roasting pan.
- In a heavy-bottomed saucepan, combine the sugar, water, and corn syrup. Stir gently just to moisten the sugar.
- Place over medium-high heat and cook without stirring. If sugar crystals form on the sides of the pan, wash them down with a wet pastry brush.
- As the mixture begins to color, swirl the pan gently to ensure even caramelization.
- When the caramel reaches a deep amber color (about 350°F on a candy thermometer if you’re using one), remove from heat immediately.
- Working quickly but carefully, pour a thin layer of caramel into each ramekin, swirling to coat the bottom evenly.
- Allow the caramel to harden completely while you prepare the custard.
Creating the Chocolate Custard
- In a medium saucepan, combine the heavy cream and milk. Heat until just simmering (small bubbles form around the edge), then remove from heat.
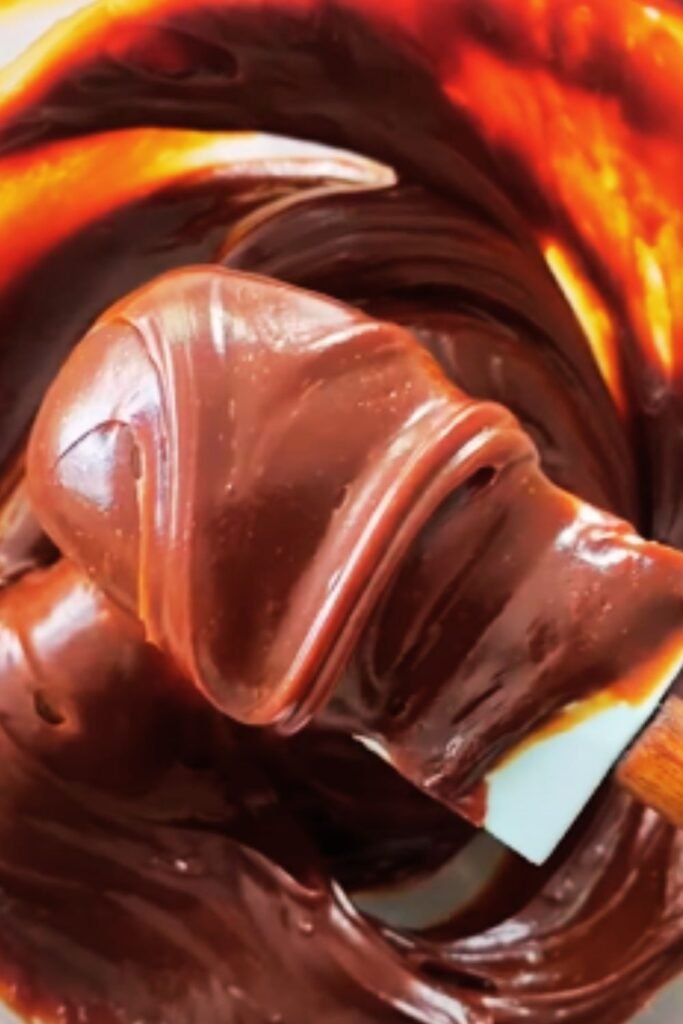
- Add the chopped chocolate to the hot cream mixture and let it sit for 1 minute to soften.
- Whisk until the chocolate is completely melted and the mixture is smooth.
- In a large bowl, whisk together the egg yolks, sugar, vanilla extract, and salt until pale and slightly thickened.
- Very slowly pour the hot chocolate cream mixture into the egg mixture while whisking constantly. This is called tempering, and it prevents the eggs from scrambling.
- Pour the custard mixture through a fine-mesh strainer into a clean bowl or large measuring cup with a spout (this makes it easier to pour into ramekins).
Assembling and Baking
- Divide the chocolate custard mixture evenly among the caramel-lined ramekins.
- Pour hot water into the roasting pan until it reaches halfway up the sides of the ramekins, being careful not to splash water into the custards.
- Cover the entire roasting pan loosely with aluminum foil, poking a few holes to allow steam to escape.
- Carefully transfer to the preheated oven.
- Bake until the custards are set around the edges but still slightly jiggly in the center, about 35-40 minutes. The internal temperature should reach 170-175°F if you’re using a thermometer.
- Carefully remove the roasting pan from the oven and let the custards cool in the water bath for 10 minutes.
- Transfer the ramekins to a wire rack and cool completely.
- Cover each ramekin with plastic wrap and refrigerate for at least 4 hours, preferably overnight.
The Grand Finale: Serving Your Masterpiece
- About 30 minutes before serving, remove the custards from the refrigerator to take the chill off slightly.
- Run a thin knife around the edge of each ramekin to loosen the custard.
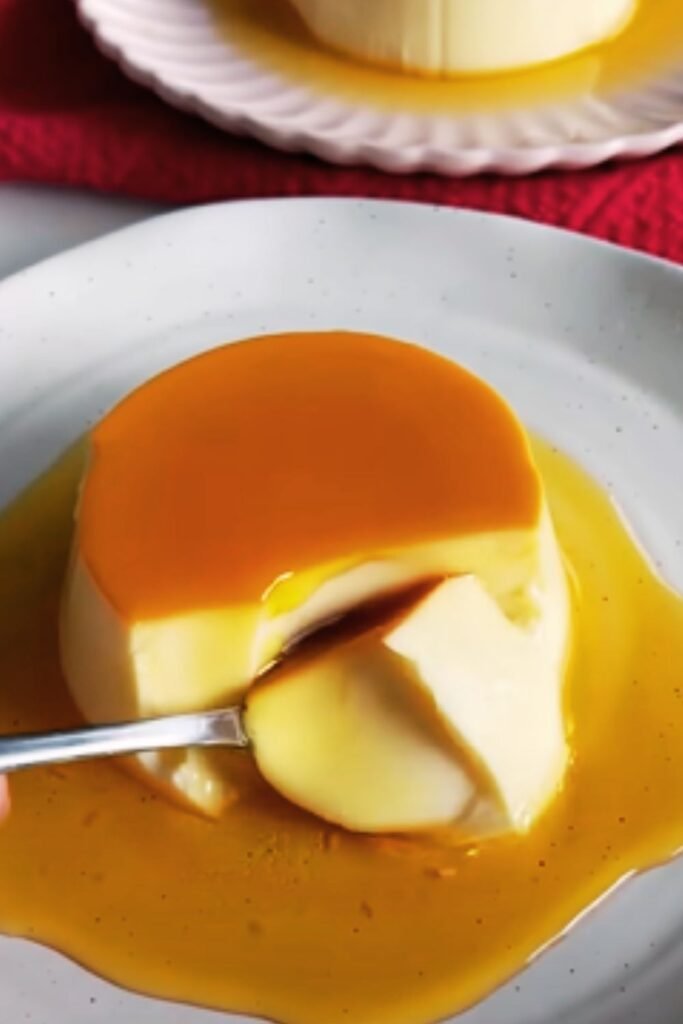
- Place a dessert plate upside down on top of a ramekin, then quickly invert both, giving a gentle shake if needed to release the custard.
- The caramel will now be on top and will flow down the sides of the custard, creating a beautiful sauce.
- If some caramel remains stuck to the ramekin, don’t worry! It’s part of the charm of this dessert.
- Garnish with your chosen toppings just before serving.
Alternative Finishing Method
If you prefer to serve directly in the ramekins:
- Skip the unmolding step.
- Optionally, sprinkle a thin layer of granulated sugar on top of each custard.
- Use a kitchen torch to caramelize the sugar until it forms a crisp, golden crust.
- This creates a crème brûlée-like top with the caramel sauce waiting underneath – a delightful surprise!
Troubleshooting Common Issues
| Problem | Possible Cause | Solution |
|---|---|---|
| Caramel crystallized | Sugar crystals fell back into the mixture | Add a tablespoon of water and reheat gently |
| Caramel too light | Removed from heat too soon | Cook until deep amber for rich flavor |
| Caramel too dark/bitter | Cooked too long | Use as is for a more bittersweet result, or start over |
| Custard curdled | Heat too high or eggs not tempered properly | Strain thoroughly or start over if badly curdled |
| Custard not setting | Not baked long enough or incorrect ratio of ingredients | Bake longer or verify your measurements |
| Caramel won’t release | Not enough caramel or hardened too much | Warm the bottom of the ramekin briefly in hot water |
| Custard too firm | Overbaked | Next time, reduce baking time by 5 minutes |
| Weeping custard | Overbaking or unstable emulsion | Serve immediately or blot gently with paper towel |
Make-Ahead and Storage Tips
One of the best things about this dessert is how well it works with busy schedules:
- The caramel can be prepared up to 3 days ahead and stored at room temperature in the ramekins.
- The complete desserts can be refrigerated, covered, for up to 3 days.
- For the best texture, I recommend unmolding them just before serving.
- These do not freeze well as the texture changes upon thawing.
Serving Suggestions and Pairings
The Crème Choco Caramel is wonderful on its own, but for special occasions, consider these pairings:
- Fresh seasonal berries (raspberries and blackberries offer a beautiful color contrast and tartness)
- A small dollop of barely sweetened whipped cream
- A dusting of cocoa powder or shaved chocolate
- A sprinkle of flaky sea salt to enhance the caramel notes
- A thin butter cookie or langue de chat for textural contrast
- A shot of espresso on the side
- Hot chocolate for a double chocolate experience
- A cup of chai tea, whose spices complement both the chocolate and caramel
Nutritional Information
For those who like to keep track, here’s an approximate nutritional breakdown per serving:
| Nutrient | Amount per Serving |
|---|---|
| Calories | 385 |
| Total Fat | 28g |
| Saturated Fat | 16g |
| Cholesterol | 245mg |
| Sodium | 125mg |
| Total Carbohydrates | 31g |
| Sugars | 29g |
| Protein | 6g |
| Calcium | 10% DV |
| Iron | 8% DV |
Variations to Explore
Once you’ve mastered the basic recipe, why not experiment with these delicious variations?
Espresso Chocolate Caramel
Add 2 tablespoons of instant espresso powder to the cream mixture before heating. The coffee enhances the chocolate flavor while adding its own complexity.
Orange-Infused Chocolate Caramel
Add the zest of one orange to the cream mixture and let it infuse during heating. Remove the zest before adding the chocolate for a subtle citrus background note.
Spiced Chocolate Caramel
Add a cinnamon stick, 2 star anise, and 3 cardamom pods to the cream mixture. Heat and let steep for 20 minutes, then strain and reheat before continuing with the recipe.
Salted Caramel Chocolate
Add ½ teaspoon of flaky sea salt to the caramel just as it reaches the right color. It will sputter slightly, so be careful!
Coconut Chocolate Caramel
Replace half the heavy cream with full-fat coconut milk for a tropical twist. Garnish with toasted coconut flakes.
The Health Benefits (Yes, Really!)
While this is definitely an indulgence, it does offer some nutritional benefits:
- Dark chocolate contains antioxidants and flavonoids that support heart health
- The egg yolks provide vitamin A, D, E, and B vitamins
- Consuming small amounts of quality chocolate has been linked to improved mood and cognitive function
- The fat content helps slow sugar absorption, preventing rapid blood sugar spikes
That said, it’s still a dessert meant to be enjoyed in moderation – but without guilt!
Sustainability Notes
As I’ve become more conscious of my environmental impact, I’ve made these adjustments to the recipe:
- I source fair-trade, organic chocolate whenever possible
- I use eggs from pasture-raised chickens
- I opt for locally produced dairy when available
- I choose organic sugar, which is processed without bone char
These small choices don’t change the flavor but do align the recipe with more ethical consumption practices.

Questions & Answers
Is it possible to make this dessert dairy-free? Yes, you can substitute the heavy cream and milk with full-fat coconut milk and cashew cream. The texture will be slightly different, but still delicious. For the chocolate, ensure you use a high-quality dairy-free dark chocolate.
Can I make this in one large dish instead of individual ramekins? Absolutely! Use an 8-inch round baking dish and increase the baking time to about 50-60 minutes. The center should still have a slight jiggle when it’s done.
My caramel hardened before I could pour it into all the ramekins. What happened? Caramel continues to cook from residual heat even after removing from the stove. Work quickly when pouring, and if it hardens, gently reheat it until fluid again.
Can I use milk chocolate instead of dark chocolate? Yes, but reduce the sugar in the custard by 2 tablespoons since milk chocolate is sweeter. The flavor profile will be less complex but still delicious.
How do I know when my custard is done baking without a thermometer? Gently shake the pan – the edges should be set, but the center should jiggle like Jell-O, not ripple like liquid.
Can I make this recipe in advance for a dinner party? This is the perfect make-ahead dessert! Prepare it up to 3 days in advance and keep refrigerated until about 30 minutes before serving.
Why did my caramel turn gritty? This happens when sugar crystals form. Next time, avoid stirring once the mixture is boiling and wash down any crystals on the side of the pan with a wet pastry brush.
Is it necessary to strain the custard mixture? Yes, straining ensures a silky-smooth texture by removing any egg bits that might have started to coagulate during the tempering process.
What’s the difference between this and a regular crème caramel? Traditional crème caramel is vanilla-flavored custard with caramel. This version adds chocolate for a richer, more complex flavor profile.
Can I reduce the sugar content? You can reduce the sugar in the custard portion by up to 25% without affecting the texture significantly. The caramel, however, needs the full amount of sugar to achieve the proper consistency.
Final Thoughts
Creating the perfect Crème Choco Caramel is partly science, partly art, and entirely worth the effort. There’s something truly special about that moment when you unmold the dessert and the caramel flows down the sides of the chocolate custard – it never fails to elicit gasps of delight from dinner guests.
I hope you’ll try this recipe and make it your own. Perhaps you’ll add a signature spice or serve it with a fruit that holds special meaning. That’s the beauty of cooking – we pass recipes down, but each person adds their own touch, their own story. This dessert has been part of my story for years, and now I’m thrilled that it might become part of yours.
Remember, the first time you make caramel can be intimidating, but with practice, you’ll develop an intuition for exactly when it’s ready. Trust your senses – the color, the aroma, even the sound of the bubbling sugar changes as it caramelizes.
Happy cooking, and even happier eating!