Have you ever craved the luxurious taste of tiramisu but been put off by the raw eggs or lengthy preparation time? I certainly have! As someone who adores Italian desserts but often finds myself short on time (and occasionally catering to friends with egg allergies), I’ve spent years perfecting this 10-minute eggless tiramisu recipe that doesn’t compromise on flavor.
Traditional tiramisu typically requires raw eggs, which not everyone is comfortable consuming, especially pregnant women, young children, or those with compromised immune systems. Plus, the classic version usually needs hours of chilling to set properly. My version solves both problems while delivering that incredible coffee-infused, creamy delight we all love.
What Makes This Tiramisu Special?
This eggless tiramisu isn’t just quick—it’s genuinely delicious. By cleverly substituting ingredients and streamlining the process, I’ve created a dessert that:
- Takes just 10 minutes of hands-on preparation
- Requires no raw eggs (perfect for those with allergies or concerns)
- Needs minimal chilling time (though you can make it ahead if desired)
- Uses readily available ingredients from any supermarket
- Maintains the authentic flavor profile of traditional tiramisu
- Can be easily customized to your taste preferences
Ingredients You’ll Need
For this quick eggless tiramisu, you’ll need surprisingly few ingredients:
| Ingredient | Quantity | Notes |
|---|---|---|
| Mascarpone cheese | 250g (8oz) | Room temperature works best |
| Heavy whipping cream | 200ml (¾ cup) | Very cold for better whipping |
| Powdered sugar | 60g (½ cup) | Adjust to taste |
| Vanilla extract | 1 teaspoon | Pure, not imitation for best flavor |
| Strong brewed coffee | 180ml (¾ cup) | Cooled to room temperature |
| Coffee liqueur (optional) | 2 tablespoons | Kahlúa or any coffee liqueur works well |
| Ladyfinger cookies | 12-14 pieces | Also called Savoiardi |
| Unsweetened cocoa powder | 2 tablespoons | For dusting |
| Dark chocolate | 30g (1oz) | For grating or shaving as garnish |
Essential Equipment
You’ll need minimal equipment for this recipe:
- Medium-sized mixing bowl
- Electric hand mixer or stand mixer
- Serving dish (traditional rectangular dish, individual glasses, or ramekins)
- Measuring cups and spoons
- Sifter or fine-mesh strainer for the cocoa powder
Step-by-Step Instructions
Preparing the Coffee Dipping Mixture
- Brew a strong cup of coffee (espresso is ideal, but any strong coffee works) and allow it to cool to room temperature. This is crucial as hot coffee will dissolve your ladyfingers!
- Once cooled, pour the coffee into a shallow dish and add the coffee liqueur if using. Mix well.
Pro tip: If making for children or those who avoid alcohol, simply omit the liqueur and add an extra teaspoon of vanilla to the cream mixture instead.
Making the Creamy Filling
- In a medium bowl, add the mascarpone cheese and beat it with an electric mixer for about 30 seconds until smooth and creamy.
- In a separate bowl, pour in the cold heavy whipping cream, powdered sugar, and vanilla extract.
- Whip the cream mixture on medium-high speed until stiff peaks form (about 2-3 minutes). The cream should hold its shape when you lift the beaters.
- Gently fold the whipped cream into the mascarpone using a spatula. Move the spatula in a figure-eight motion, being careful not to deflate the mixture.
Pro tip: Make sure your mascarpone is at room temperature before beating. This prevents the dreaded curdling that can happen when cold mascarpone meets other ingredients.
Assembling Your Tiramisu
- Quickly dip each ladyfinger into the coffee mixture, about 1-2 seconds per side. Don’t soak them too long, or they’ll become soggy and fall apart.
- Arrange a layer of soaked ladyfingers in your serving dish, breaking them if necessary to fit.
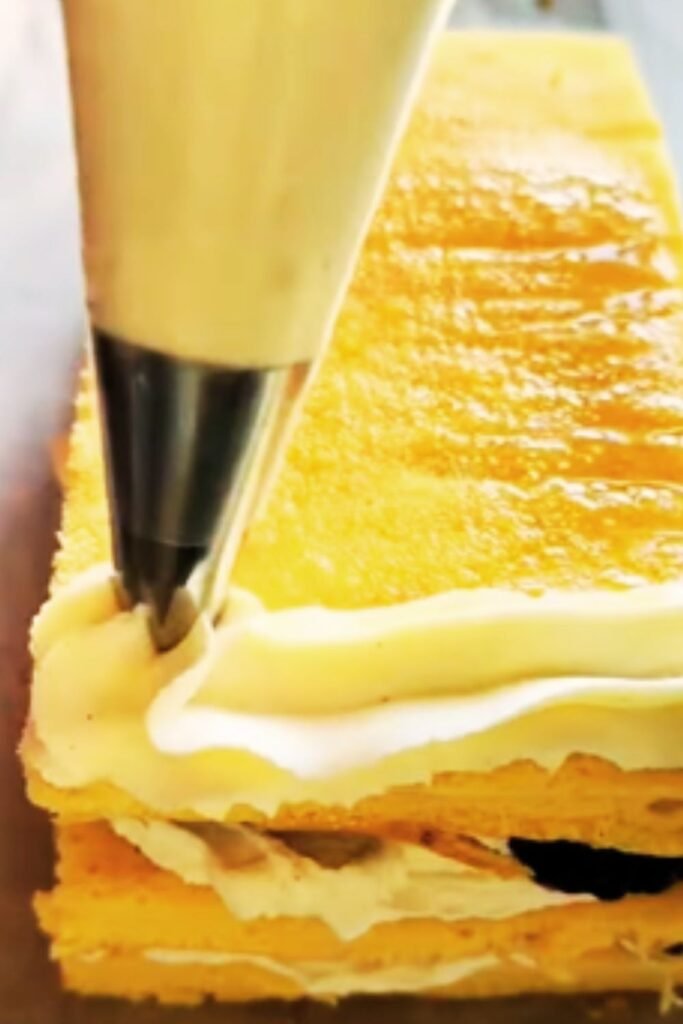
- Spread half of the mascarpone-cream mixture evenly over the ladyfingers.
- Add another layer of coffee-dipped ladyfingers.
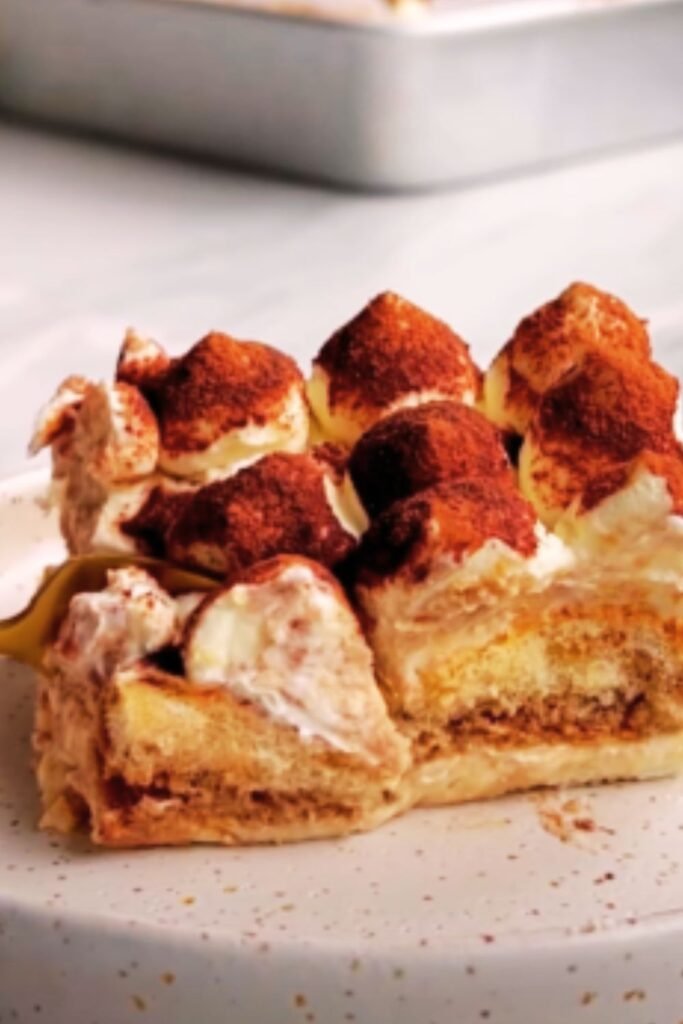
- Top with the remaining mascarpone-cream mixture, spreading it smooth.
- Using a fine-mesh strainer or sifter, dust the top with cocoa powder.
- Grate or shave dark chocolate over the top for an extra touch of decadence.
Customization Options
What I love about this recipe is how versatile it is! Here are some of my favorite variations:
Flavor Twists
- Chocolate Lover’s Version: Add 2 tablespoons of unsweetened cocoa powder to the mascarpone mixture
- Citrus Brightness: Add 1 teaspoon of orange zest to the cream mixture
- Nutty Delight: Sprinkle crushed amaretti cookies or toasted hazelnuts between layers
- Caramel Infusion: Drizzle caramel sauce between layers for a sweet twist
- Spiced Tiramisu: Add ¼ teaspoon of cinnamon and a pinch of nutmeg to the coffee mixture
Presentation Ideas
I’ve found that presentation can really elevate this quick dessert to something that feels special:
| Serving Style | Perfect For | Tips |
|---|---|---|
| Individual glasses | Dinner parties | Use clear glasses to show off the beautiful layers |
| Trifle bowl | Family gatherings | Creates an impressive centerpiece dessert |
| Ramekins | Portion control | Perfect for controlling serving sizes |
| Mason jars | Picnics or gifts | Portable and adorable presentation |
| Traditional rectangular dish | Authentic experience | Creates the classic slice presentation |
Troubleshooting Common Issues
Even with this simplified recipe, a few things can go wrong. Here’s how to fix them:
Runny Filling
Issue: Your mascarpone-cream mixture is too soft and doesn’t hold its shape.
Solution:
- Make sure your heavy cream is very cold before whipping
- Whip the cream until stiff peaks form before folding into mascarpone
- Chill your mixing bowl and beaters in the freezer for 10 minutes before whipping cream
- If it’s already mixed and still too soft, refrigerate the mixture for 30 minutes before assembling
Soggy Ladyfingers
Issue: Your ladyfingers have become mushy and fall apart.
Solution:
- Dip each ladyfinger for just 1 second per side
- Use a spoon to drizzle coffee over ladyfingers instead of dipping for more control
- If your ladyfingers are very soft to begin with, skip the dipping and lightly brush them with coffee instead
Bitter Taste
Issue: Your tiramisu tastes too bitter.
Solution:
- Add more powdered sugar to the mascarpone mixture
- Use a milder coffee or dilute your coffee slightly
- Make sure you’re using dutch-processed cocoa powder, which is less bitter than natural cocoa
Make-Ahead and Storage Tips
While this tiramisu can be enjoyed almost immediately, I’ve found the flavors develop beautifully with a little time:
| Storage Method | Duration | Notes |
|---|---|---|
| Refrigerator (covered) | Up to 3 days | Flavors actually improve after 4-6 hours |
| Freezer | Up to 3 months | Thaw overnight in refrigerator |
Pro tip: If making ahead, wait to dust with cocoa powder until just before serving to prevent it from absorbing moisture and disappearing into the cream.
Nutrition Information
For those watching their intake, here’s the approximate nutrition information per serving (assuming 6 servings from this recipe):
| Nutrient | Amount Per Serving |
|---|---|
| Calories | 380 |
| Total Fat | 28g |
| Saturated Fat | 17g |
| Cholesterol | 90mg |
| Sodium | 95mg |
| Total Carbohydrates | 26g |
| Dietary Fiber | 1g |
| Sugars | 17g |
| Protein | 5g |
Serving Suggestions
I love serving this eggless tiramisu with:
- A shot of espresso on the side for coffee lovers
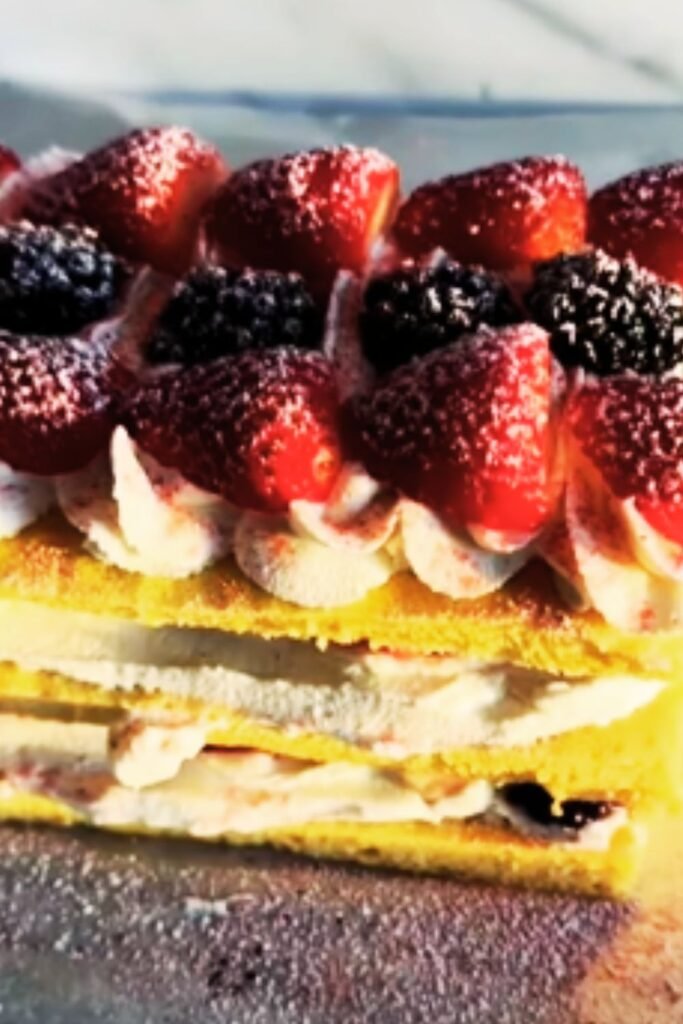
- Fresh berries for a fruity contrast
- A sprig of mint for color and freshness
- A scoop of vanilla ice cream for an extra indulgent dessert
- A sprinkle of chopped pistachios for crunch and color
- Hot chocolate for a cozy winter dessert pairing
Why This Recipe Works: The Science Behind It
As a cooking enthusiast, I find the science behind recipes fascinating. Here’s why this eggless version works so well:
Traditional tiramisu uses raw eggs in two ways:
- Egg yolks are mixed with sugar and mascarpone to create richness
- Egg whites are whipped to add volume and lightness
In this eggless version:
- The mascarpone itself provides plenty of richness without egg yolks
- Whipped cream creates the volume and lightness typically provided by egg whites
- The powdered sugar not only sweetens but helps stabilize the whipped cream
The result is a dessert with nearly identical texture and flavor, but without the concerns of using raw eggs.
Frequently Asked Questions
Q: Can I make this dairy-free or vegan? A: Yes! You can substitute the mascarpone with dairy-free cream cheese and the heavy cream with coconut cream (the solid part from a refrigerated can of full-fat coconut milk). Just make sure to choose dairy-free ladyfingers as well.
Q: What if I can’t find ladyfingers? A: Plain sponge cake cut into strips works as a great substitute. You can also use sponge fingers, Italian savoiardi, or even pound cake in a pinch!
Q: How strong should the coffee be? A: I recommend making it stronger than you’d typically drink it since the flavor will be diluted in the dessert. Espresso or double-strength brewed coffee works best.
Q: Can I use decaffeinated coffee? A: Absolutely! The flavor will be identical, just without the caffeine.
Q: Is mascarpone the same as cream cheese? A: No, they’re different. Mascarpone is sweeter, less tangy, and has a higher fat content than cream cheese. However, in a pinch, you can substitute cream cheese mixed with a little heavy cream.
Q: How far in advance can I make this? A: This tiramisu can be made up to 3 days in advance and kept refrigerated. In fact, making it a day ahead allows the flavors to meld beautifully!
Q: Can children eat this dessert? A: Yes! Since there are no raw eggs, it’s safer for children. If using coffee liqueur, keep in mind that not all the alcohol cooks off. For a completely child-friendly version, omit the liqueur.
A Perfect Dessert for Any Occasion
What I love most about this 10-minute eggless tiramisu is its versatility. I’ve served it at:
- Last-minute dinner parties (when I forgot about dessert!)
- Summer picnics (in individual jars)
- Holiday celebrations (dressed up with seasonal berries)
- Casual family dinners (when we need a little something special)
- Office potlucks (always the first dish to disappear!)
The beauty of this recipe is that it feels special without requiring special skills or ingredients. It’s my go-to when I want to impress without stress.
The next time you’re craving a luxurious dessert but don’t have hours to spend in the kitchen, give this 10-minute eggless tiramisu a try. I promise it will become a regular in your dessert rotation, just as it has in mine!
Happy cooking, and even happier eating!