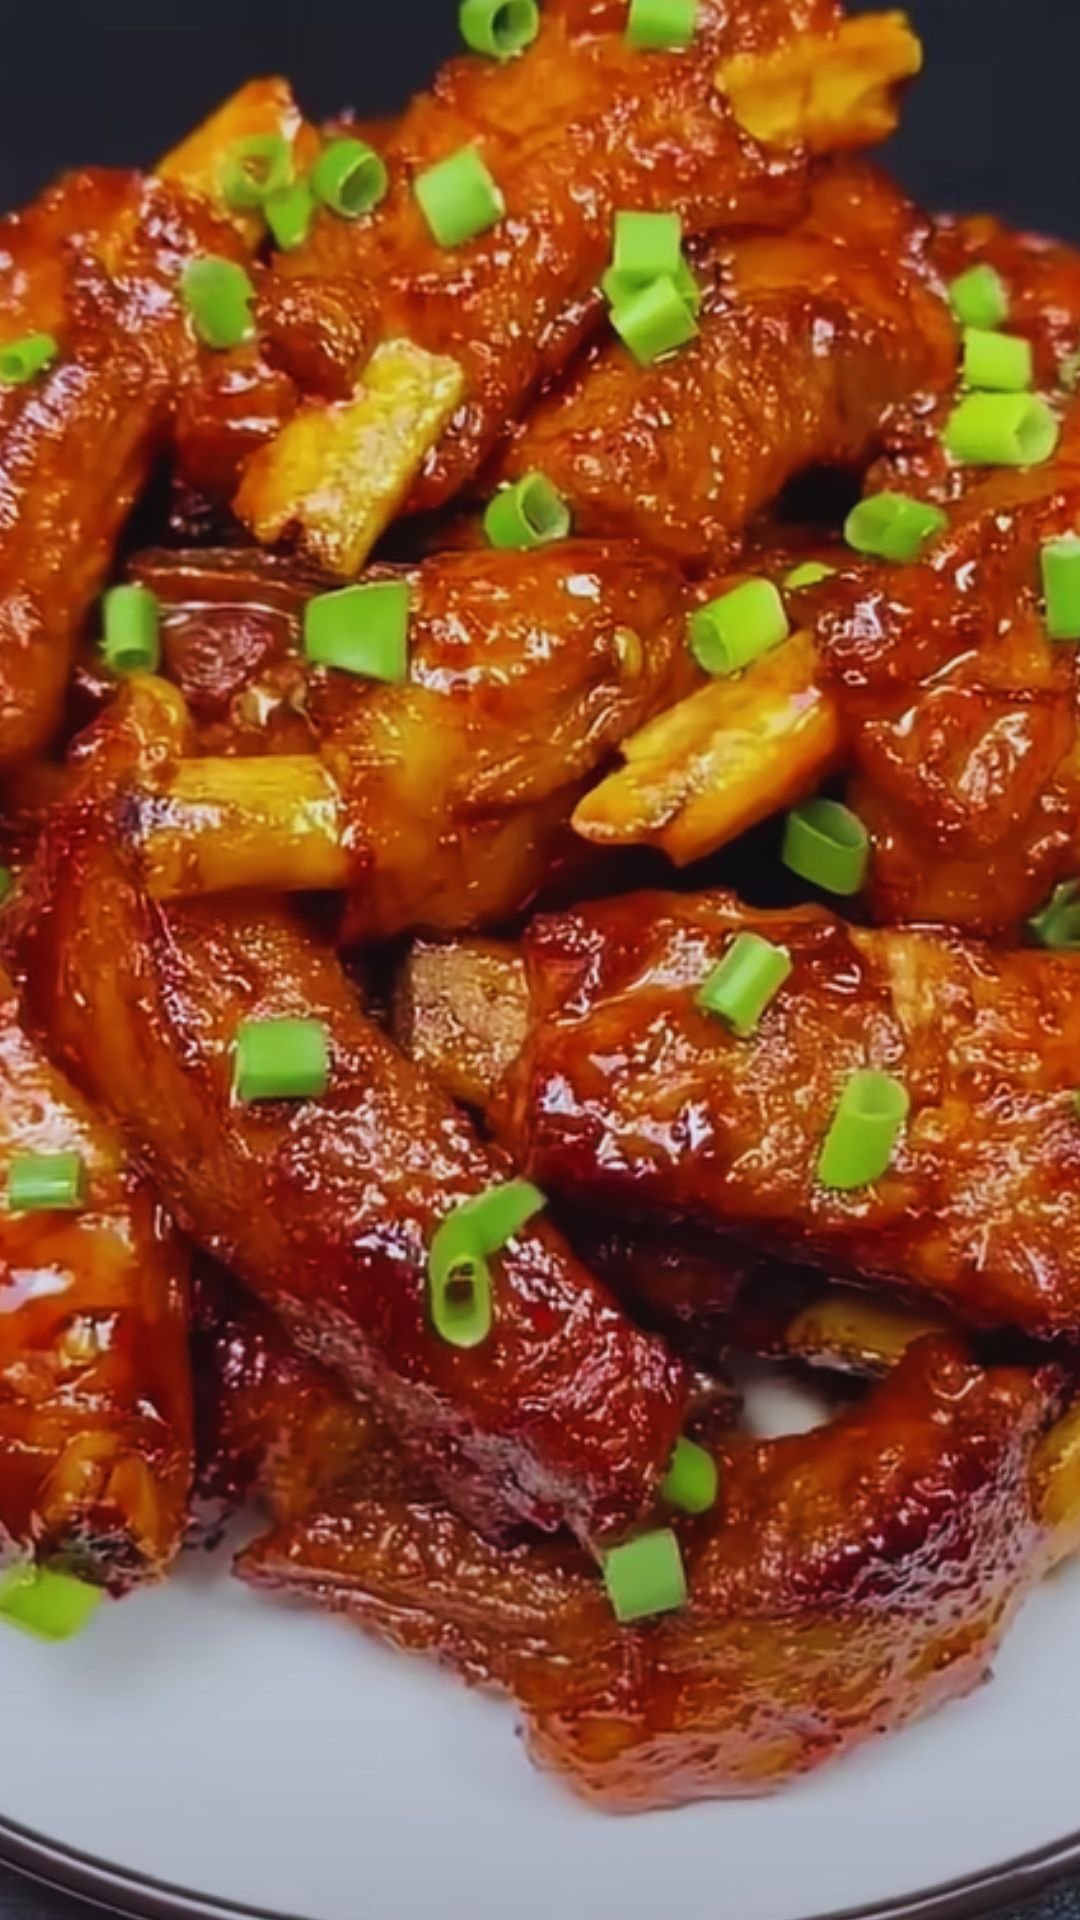
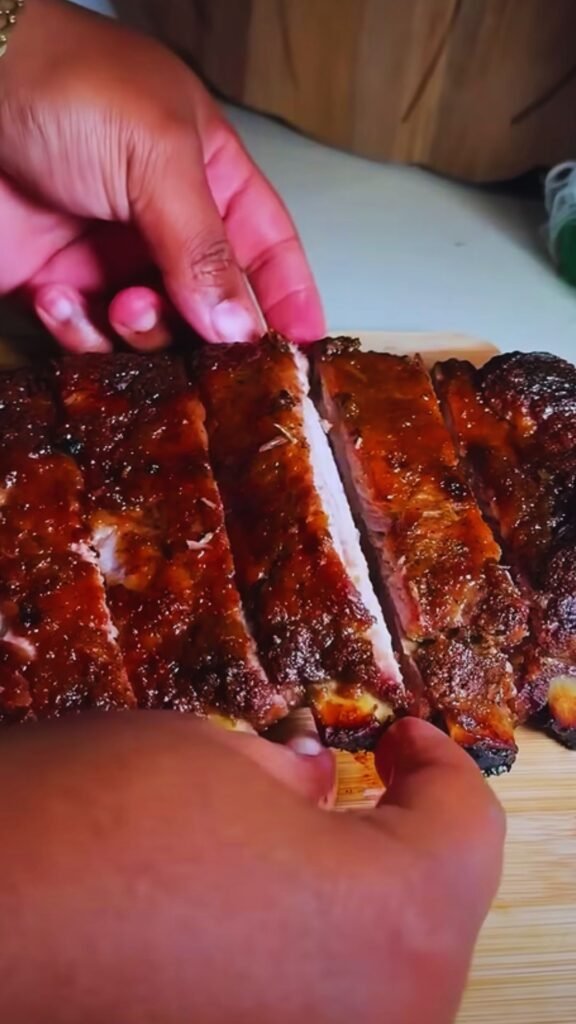
There’s something almost magical about sinking your teeth into tender, fall-off-the-bone ribs slathered in sticky, sweet BBQ sauce. For years, I thought amazing ribs were only possible with a smoker or grill and hours of careful tending. Boy, was I wrong! These oven-baked ribs have become my go-to method for creating mouthwatering, restaurant-quality ribs right in my kitchen—no special equipment required.
Today, I’m sharing my foolproof method for making the most incredible oven-baked ribs you’ve ever tasted. This recipe creates that perfect balance of tender meat with a caramelized exterior, and the best part? It’s practically hands-off cooking time. Whether you’re a rib aficionado or trying them for the first time, these easy BBQ ribs will become your new favorite comfort food.
What Makes These Oven Ribs Special
The secret to these amazing ribs lies in the cooking method. We’ll use a low-and-slow approach in the oven, giving the tough connective tissues in the meat time to break down and become melt-in-your-mouth tender. Then, we’ll finish with a high-heat caramelization step that creates that beautiful sticky exterior that makes ribs so irresistible.
I’ve perfected this recipe over dozens of family gatherings, and it never fails to impress. Even my BBQ purist friends have been converted after trying these oven-baked beauties!
Ingredients You’ll Need
For the ribs:
- 2 racks baby back ribs (about 4-5 pounds total)
- 2 tablespoons olive oil
- 1/4 cup brown sugar
- 2 tablespoons paprika
- 1 tablespoon garlic powder
- 1 tablespoon onion powder
- 1 tablespoon kosher salt
- 2 teaspoons black pepper
- 1 teaspoon cayenne pepper (adjust to your heat preference)
- 1 teaspoon dried thyme
- 1/2 teaspoon cumin
For the BBQ sauce (or use 1 1/2 cups of your favorite bottled sauce):
- 1 cup ketchup
- 1/3 cup brown sugar
- 1/4 cup apple cider vinegar
- 2 tablespoons Worcestershire sauce
- 2 tablespoons Dijon mustard
- 1 tablespoon molasses
- 2 teaspoons smoked paprika
- 1 teaspoon garlic powder
- 1/2 teaspoon onion powder
- 1/2 teaspoon black pepper
- 1/4 teaspoon cayenne pepper
Equipment Needed
- Rimmed baking sheets
- Aluminum foil
- Basting brush
- Sharp knife
- Paper towels
- Measuring spoons and cups
- Small saucepan (if making homemade BBQ sauce)
- Meat thermometer (optional but recommended)
Preparation Time
| Task | Time |
|---|---|
| Prep Work | 15 minutes |
| Dry Rub Rest (optional) | 2-24 hours |
| Initial Baking | 2.5-3 hours |
| Final Glazing | 15-20 minutes |
| Total Time | 3-3.5 hours (+ optional resting time) |
How to Make Perfect Oven-Baked Ribs
Step 1: Prepare the Ribs
The first key to amazing ribs is proper preparation:
- Preheat your oven to 275°F (135°C).
- Remove the ribs from packaging and pat dry with paper towels.
- Place each rack bone-side up and locate the silvery membrane covering the bones. This membrane can make ribs tough if left on.
- To remove it, slide a dull knife under the membrane at one end of the rack to loosen a corner.
- Grab the loosened corner with a paper towel (it helps with grip) and pull the membrane off in one piece if possible.
- Trim off any excess fat if desired, but leave some for flavor.
I can’t stress enough how important removing the membrane is! It’s the difference between good ribs and “OH MY GOODNESS” ribs. The first time I made ribs without removing it, they were noticeably tougher and less enjoyable.
Step 2: Create Your Dry Rub
In a small bowl, combine all the dry rub ingredients:
- Brown sugar
- Paprika
- Garlic powder
- Onion powder
- Kosher salt
- Black pepper
- Cayenne pepper
- Dried thyme
- Cumin
The brown sugar helps create that beautiful caramelized exterior, while the blend of spices adds deep flavor that penetrates the meat during cooking.
Step 3: Apply the Rub
- Brush both sides of the ribs with olive oil.
- Generously apply the dry rub to both sides of each rack, pressing it into the meat.
- For best results, wrap the seasoned ribs in plastic wrap and refrigerate for 2 hours up to overnight. This allows the flavors to penetrate deeper. (If you’re short on time, you can cook them immediately.)
Step 4: Bake Low and Slow
- Line two baking sheets with aluminum foil (for easy cleanup).
- Place each rack of ribs on a sheet, bone-side down.
- Cover tightly with another sheet of aluminum foil.
- Bake at 275°F for 2.5 to 3 hours, or until the meat is tender and starts to pull away from the bones.
During this low and slow cooking phase, something wonderful happens—the tough collagen in the meat breaks down into gelatin, creating that tender, juicy texture we all love.
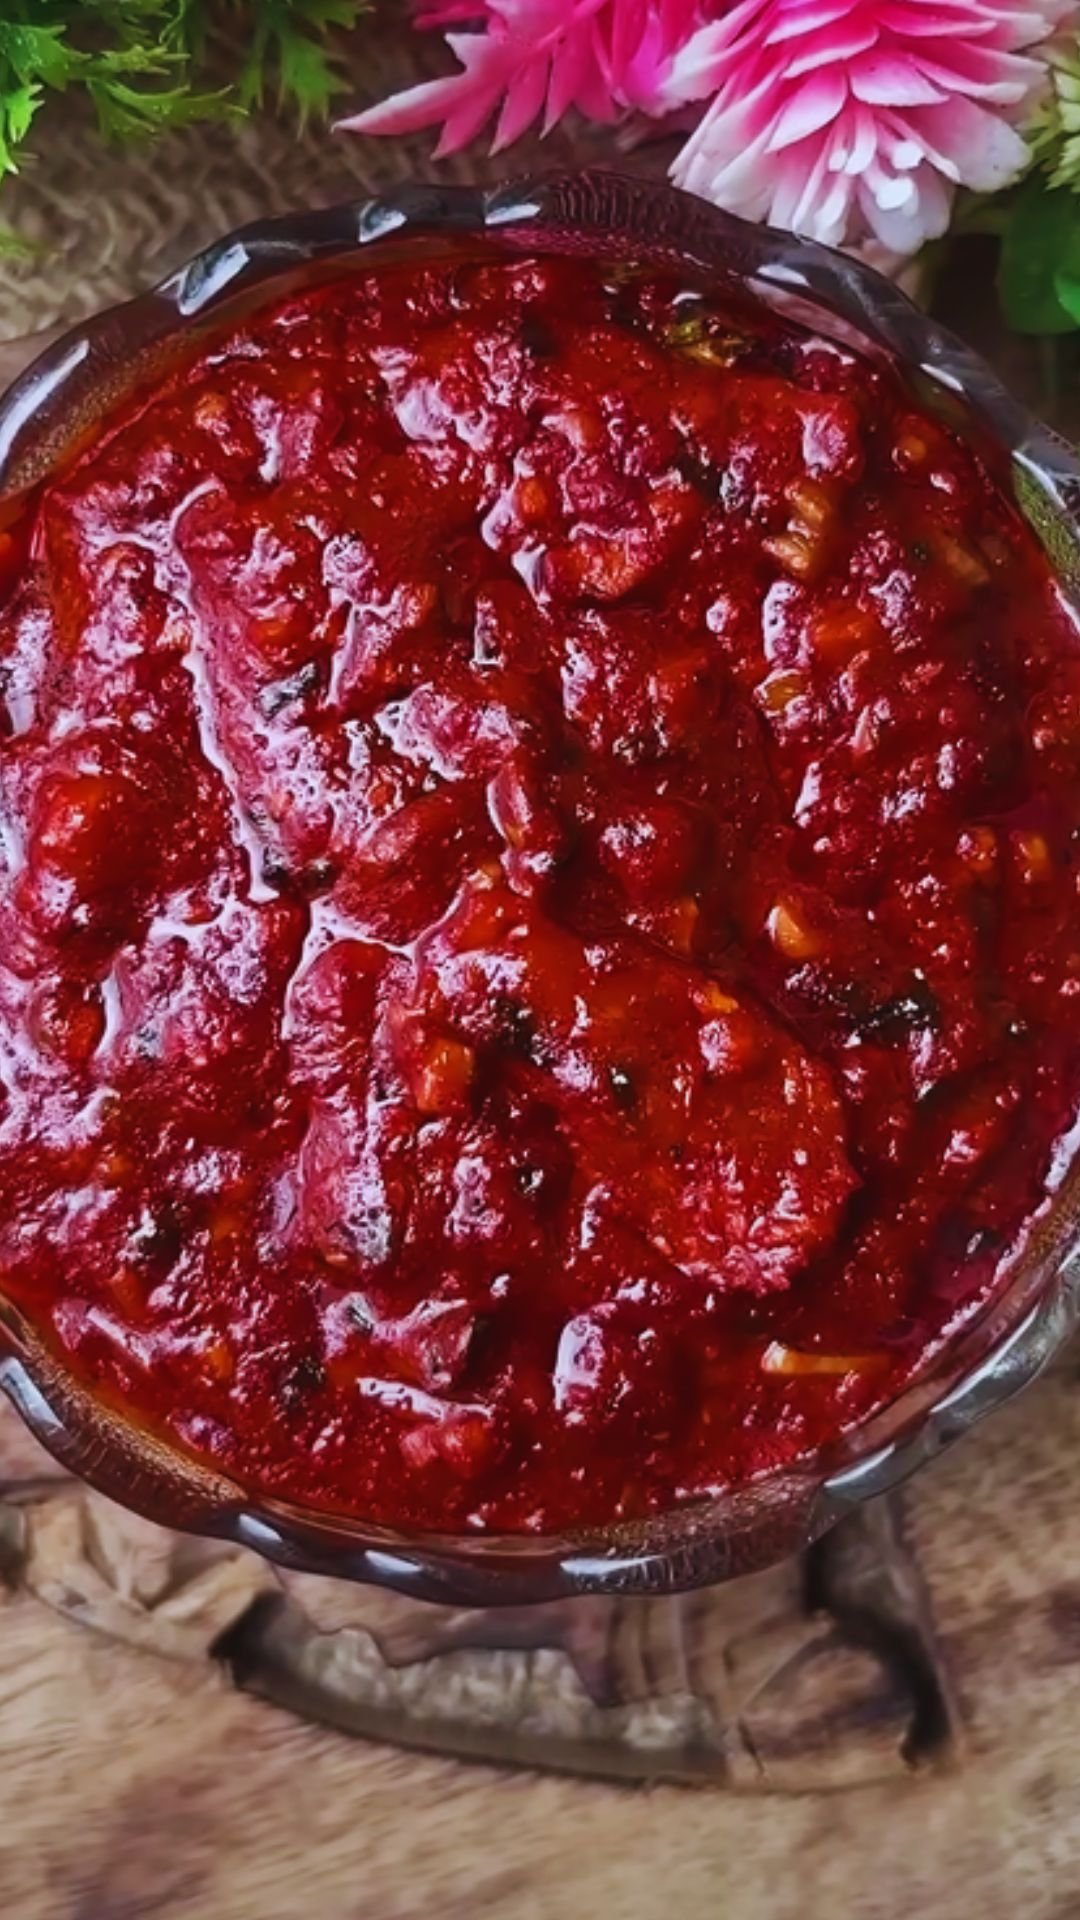
Step 5: Prepare the BBQ Sauce
While the ribs are cooking, prepare your BBQ sauce (unless using store-bought):
- Combine all sauce ingredients in a small saucepan.
- Bring to a simmer over medium heat, stirring occasionally.
- Reduce heat to low and let simmer for 15-20 minutes, until slightly thickened.
- Remove from heat and let cool slightly.
My homemade sauce has a perfect balance of sweet, tangy, and smoky flavors that complement the ribs beautifully. However, a good quality store-bought sauce works well too if you’re short on time.
Step 6: Glaze and Finish
Here’s where the magic happens:
- After the initial cooking time, remove the ribs from the oven and carefully peel back the foil.
- Increase oven temperature to 425°F (220°C).
- Brush both sides of the ribs generously with BBQ sauce.
- Return to the oven, uncovered, bone side down.
- Bake for 10-15 minutes until the sauce caramelizes.
- Apply another layer of sauce and bake for an additional 5-10 minutes until sticky and slightly charred in spots.
This final high-heat step creates that beautiful sticky, caramelized exterior that makes ribs so irresistible.
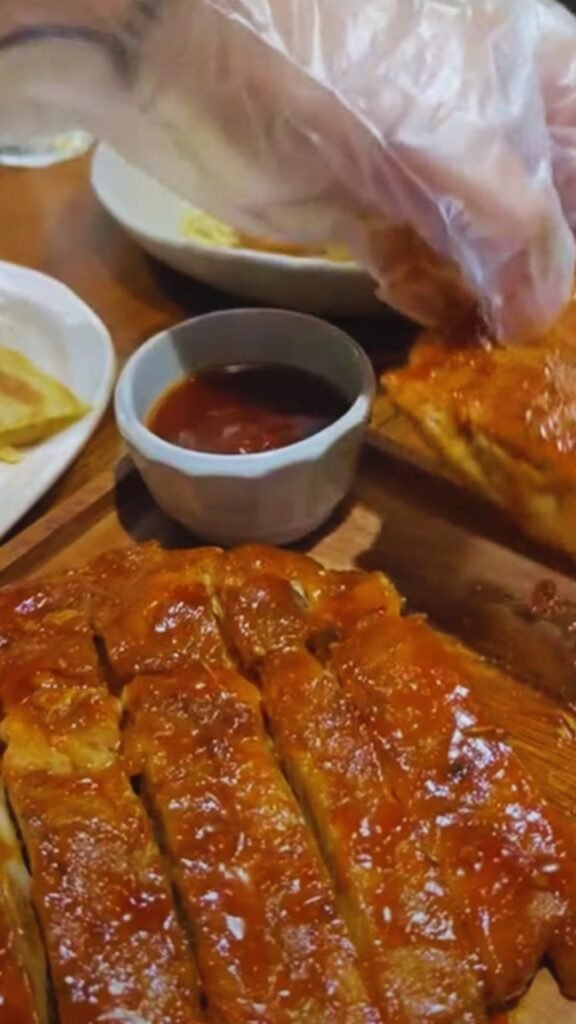
Step 7: Rest and Serve
- Remove from oven and let rest for 5-10 minutes.
- Cut between the bones into individual ribs.
- Serve with any remaining BBQ sauce on the side.
How to Know When Ribs Are Done
Perfectly cooked ribs should:
- Have meat that’s pulling back from the bone ends (about 1/4 inch)
- Bend easily when you pick up the rack with tongs
- Reach an internal temperature of around 195°F to 203°F on a meat thermometer
- Pass the “twist test” – when you grab an exposed bone and twist, it should move easily with little resistance
If you’re new to cooking ribs, a meat thermometer is your best friend. The ideal temperature range for tender ribs is between 195°F and 203°F.
Common Problems and Solutions
| Problem | Possible Cause | Solution |
|---|---|---|
| Tough ribs | Undercooked or membrane not removed | Ensure membrane is removed; cook longer at low temperature |
| Dry ribs | Overcooked or cooked at too high temperature | Maintain low temp (275°F); use foil to retain moisture |
| Sauce burns | Too much sugar in sauce or too high temperature | Apply sauce later in cooking process; reduce oven temp |
| Ribs lack flavor | Insufficient seasoning or not enough resting time | Season generously; allow dry rub to penetrate overnight if possible |
| Fall-apart ribs (too tender) | Cooked too long | Reduce cooking time slightly; watch for proper doneness indicators |
Different Types of Ribs
While this recipe focuses on baby back ribs, you can adapt it for other cuts:
| Rib Type | Characteristics | Cooking Adjustments |
|---|---|---|
| Baby Back Ribs | Leaner, more tender, from backbone | Recipe as written (2.5-3 hours) |
| Spare Ribs | Larger, more fat, from belly | Add 30-45 minutes to cooking time |
| St. Louis Style | Trimmed spare ribs, more uniform | Add 20-30 minutes to cooking time |
| Country Style | Meatiest cut, from shoulder area | Reduce time by 30 minutes, check tenderness |
Make-Ahead and Storage Tips
These ribs are perfect for entertaining because you can prepare them in advance:
- Make ahead fully cooked: Complete the entire recipe, let cool, then refrigerate. Reheat covered in a 300°F oven for 20-30 minutes.
- Prep ahead uncooked: Apply the dry rub, wrap tightly, and refrigerate for up to 24 hours before cooking. This actually improves flavor!
- Storage: Leftover ribs will keep in an airtight container in the refrigerator for 3-4 days.
- Freezing: Wrap cooled ribs tightly in plastic wrap, then foil, and freeze for up to 3 months. Thaw overnight in the refrigerator before reheating.
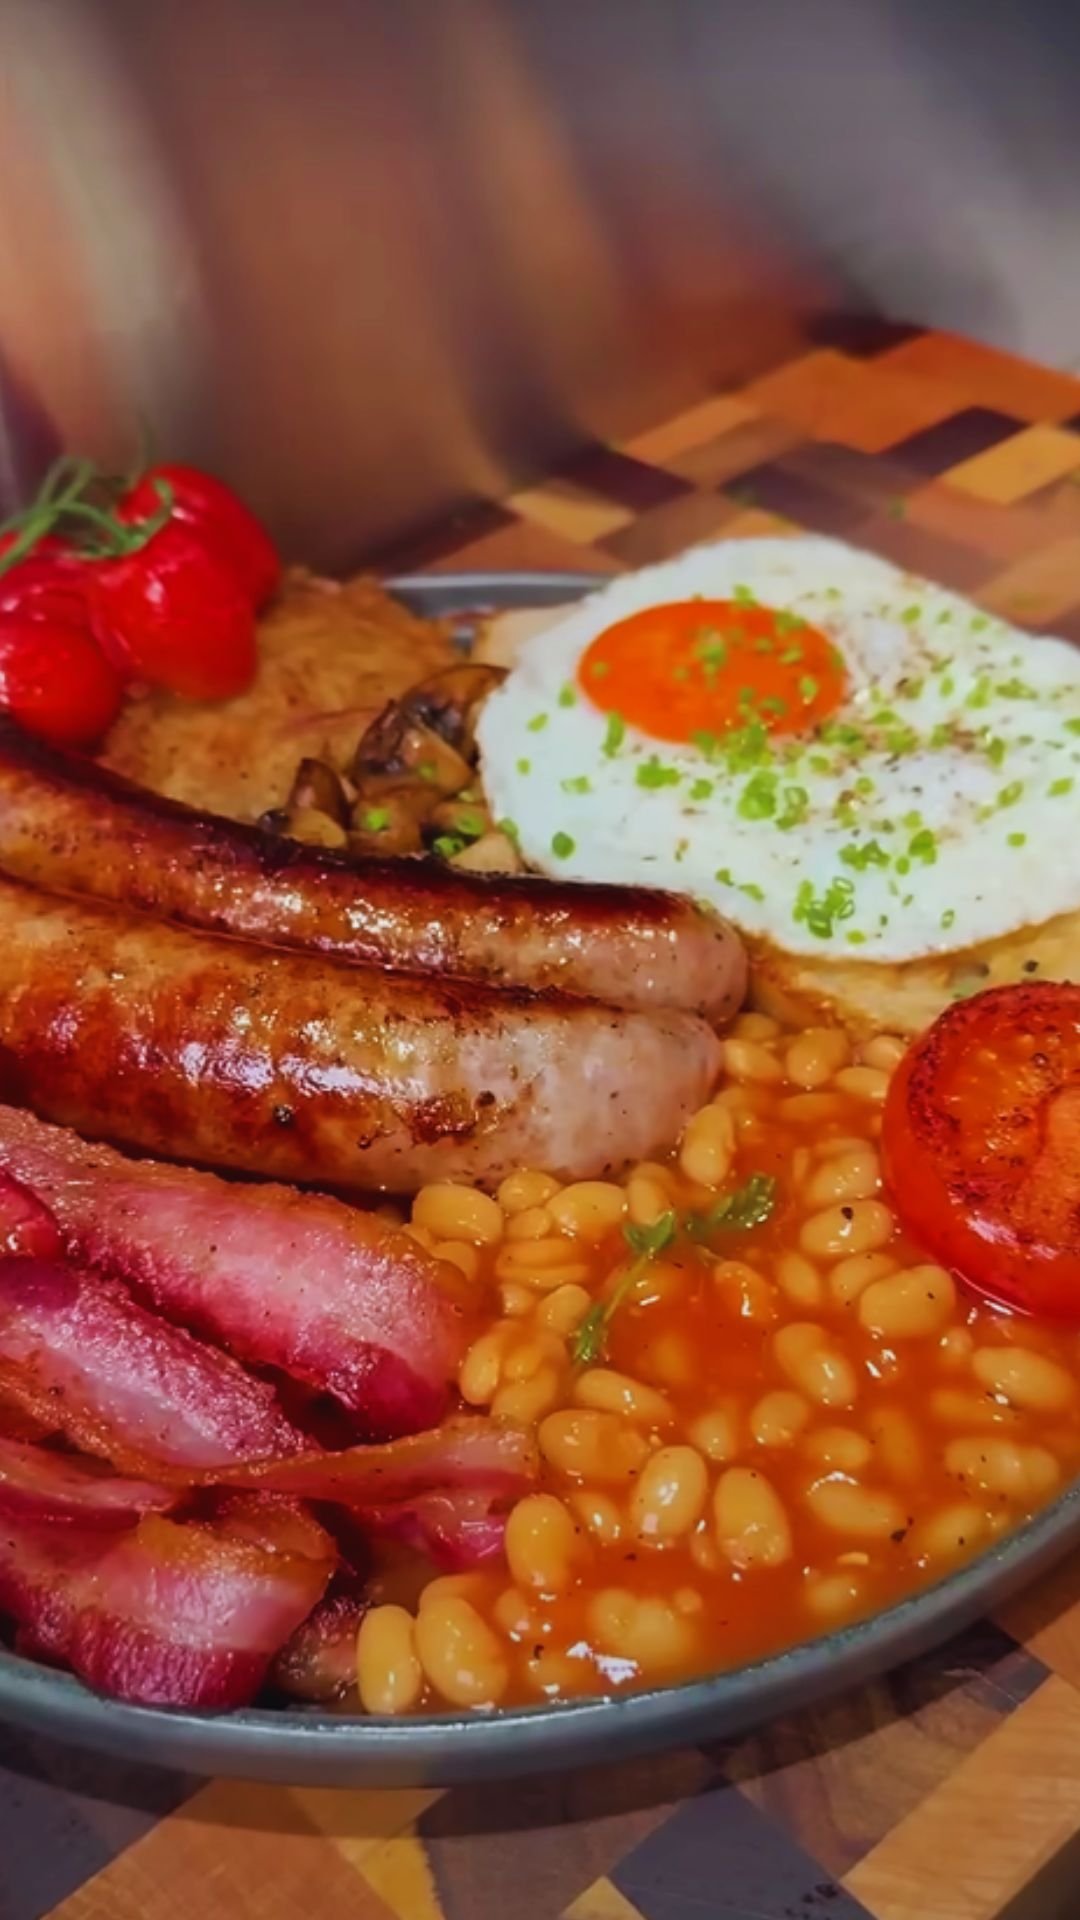
Serving Suggestions
These ribs pair beautifully with classic BBQ sides:
- Creamy coleslaw
- Baked beans
- Corn on the cob
- Mac and cheese
- Potato salad
- Cornbread
- Collard greens
- Garlic bread
For a complete feast, I like to serve these ribs with my loaded baked potato salad and honey butter cornbread. The combination of flavors is absolutely divine!
Recipe Variations to Try
Want to mix things up? Here are some delicious variations on this basic recipe:
- Spicy Chipotle: Add 1-2 tablespoons of pureed chipotle peppers in adobo sauce to your BBQ sauce
- Asian-Inspired: Replace BBQ sauce with a mixture of hoisin, soy sauce, honey, ginger, and garlic
- Honey Garlic: Add 1/4 cup honey and 4 minced garlic cloves to your BBQ sauce
- Coffee Rubbed: Add 2 tablespoons of ground coffee to your dry rub for a rich, deep flavor
- Maple Bourbon: Add 3 tablespoons of bourbon and 2 tablespoons of maple syrup to your BBQ sauce
Advanced Tips for Rib Perfection
After years of making these ribs, I’ve picked up some professional tips that take them to the next level:
- Mustard base: Before applying the dry rub, coat ribs with a thin layer of yellow mustard. It helps the rub adhere better and the mustard flavor disappears during cooking.
- Apple juice steam: Pour 1/4 cup apple juice or cider into the foil packet before sealing. The steam adds moisture and subtle flavor.
- Broiler finish: For an extra caramelized finish, broil the sauced ribs for 2-3 minutes at the very end (watch carefully to prevent burning).
- Rest in foil: After cooking, wrap ribs in fresh foil and rest for 15-30 minutes. This allows juices to redistribute for maximum tenderness.
- Sauce on the side: For rib purists, serve some ribs with just the dry rub and offer sauce on the side.
Nutritional Information (Approximate per serving)
| Nutrient | Amount |
|---|---|
| Calories | 450-550 |
| Protein | 30g |
| Fat | 32g |
| Carbohydrates | 20g |
| Fiber | 1g |
| Sugar | 16g |
| Sodium | 950mg |
Note: Values are approximate and will vary based on specific ingredients and portion sizes.
Q&A Section
Q: Can I make these ribs in a slow cooker? Absolutely! Place the seasoned ribs in your slow cooker, cook on low for 7-8 hours or high for 3-4 hours, then finish under the broiler with BBQ sauce for 3-5 minutes to caramelize.
Q: What’s the difference between baby back ribs and spare ribs? Baby back ribs are smaller, leaner, and more tender, coming from the area where the rib meets the spine. Spare ribs are larger, fattier, and come from the belly side of the rib cage. Baby backs cook faster, while spare ribs have more flavor from the additional fat.
Q: My ribs turned out tough. What went wrong? The most common reasons for tough ribs are: not removing the membrane, cooking at too high a temperature, or not cooking long enough. Ribs need that low and slow approach to break down the tough connective tissues.
Q: Can I prepare these ribs the day before serving? Yes! Complete all steps through the initial baking (before adding sauce). Cool completely, refrigerate overnight, then bring to room temperature, add sauce, and finish in a 425°F oven for 15-20 minutes before serving.
Q: Do I have to remove the membrane from the back of the ribs? For the best texture, yes. The membrane can become tough and chewy when cooked. Removing it allows the seasoning to penetrate better and results in more tender ribs.
Q: How many servings does this recipe make? This recipe makes about 4-6 servings, depending on appetite and what sides you’re serving. Plan for about half a rack per hungry adult.
Q: Can I use this same method for beef ribs? Yes, but beef ribs typically require longer cooking times. I’d recommend increasing the initial baking time by about 45-60 minutes and checking for tenderness.
Final Thoughts
Making restaurant-quality ribs at home is one of those cooking achievements that feels incredibly satisfying. The look on my guests’ faces when they take that first bite of these tender, flavorful ribs is priceless. They simply can’t believe they came from an oven, not a smoker or grill!
Remember that the key to perfect ribs is patience. That low-and-slow cooking method is non-negotiable if you want that fall-off-the-bone tenderness. But the good news is that while they take time, they require very little active work from you.
Give this recipe a try for your next gathering or family dinner, and I promise you’ll never look at oven-baking the same way again. And don’t forget to save some leftovers for yourself—these ribs make an amazing next-day lunch too!
Happy cooking!