When I first started cooking fish at home, I was intimidated by the thought of overcooking or undercooking it. After years of experimenting in my kitchen, I’ve discovered that oven-baking is hands down the most reliable method for achieving perfectly cooked fish with minimal effort. There’s something magical about sliding a seasoned fillet into the oven and knowing it will emerge tender, flaky, and delicious every single time.
Oven-baking fish has become my go-to technique because it’s virtually foolproof, requires minimal active cooking time, and allows me to prepare other components of the meal while the fish cooks. Whether I’m cooking for my family on a busy weeknight or preparing an elegant dinner for guests, this method never fails to deliver restaurant-quality results in the comfort of my own kitchen.
Understanding Fish Selection for Oven Baking
The foundation of any great baked fish dish starts with selecting the right type of fish. Through my experience, I’ve learned that certain varieties work exceptionally well for oven baking, while others are better suited for different cooking methods.
Firm Fish Varieties : These fish hold their shape well during baking and are ideal for beginners. Examples include salmon, cod, halibut, mahi-mahi, and sea bass.
Delicate Fish Options : While requiring more careful handling, these fish create incredibly tender results. Examples include sole, flounder, tilapia, and trout.
Oily Fish Choices : These naturally moist fish are nearly impossible to overcook and offer rich flavors. Examples include salmon, mackerel, sardines, and arctic char.
Lean Fish Selections : These require careful attention to prevent drying out but offer clean, mild flavors. Examples include cod, haddock, pollock, and grouper.
When I’m at the fish counter, I always look for fillets that appear firm to the touch, have a fresh ocean smell (never fishy), and display bright, clear colors. The flesh should spring back when gently pressed, and there shouldn’t be any browning around the edges.
Essential Equipment and Tools
My years of baking fish have taught me that having the right equipment makes all the difference in achieving consistent results. Here’s what I consider essential in my kitchen:
I rely on a heavy-duty rimmed baking sheet that distributes heat evenly and prevents warping at high temperatures. My go-to size is 18×13 inches, which provides ample space for multiple fillets without overcrowding. I always line it with parchment paper or aluminum foil for easy cleanup and to prevent sticking.
An instant-read thermometer has become indispensable in my cooking routine. Fish is perfectly cooked when it reaches an internal temperature of 145°F (63°C), and guessing can lead to disappointing results. I insert the thermometer into the thickest part of the fillet for the most accurate reading.
For seasoning and marinating, I use glass or ceramic dishes that won’t react with acidic ingredients like lemon juice or vinegar. My collection includes various sizes to accommodate different quantities of fish.
A sharp, flexible fillet knife helps me remove any remaining pin bones and trim the fish if needed. Even when buying pre-cut fillets, I often find small bones that need removal.
My Step-by-Step Baking Method
Over the years, I’ve refined my technique to ensure consistent, delicious results every time. Here’s my proven method:
First, I remove the fish from the refrigerator 15-20 minutes before cooking to allow it to come closer to room temperature. This ensures more even cooking throughout the fillet. I use this time to preheat my oven to 400°F (200°C), which I’ve found to be the ideal temperature for most fish varieties.
Next, I pat the fish completely dry with paper towels. This step is crucial because excess moisture prevents proper browning and can make the fish steam rather than bake. I check both sides of each fillet and remove any remaining scales or pin bones I might have missed.
For seasoning, I brush each fillet lightly with olive oil or melted butter, then season generously with salt and freshly ground black pepper. I add any additional seasonings at this point, pressing them gently into the flesh to help them adhere.
I arrange the fillets on my prepared baking sheet, ensuring they don’t touch each other. Overcrowding leads to uneven cooking and steaming rather than proper baking. If I’m cooking different types of fish, I group similar thicknesses together since cooking times may vary.
The actual baking time depends on the thickness of the fillets. I use the general rule of 10 minutes per inch of thickness, but I always rely on my thermometer for the final determination. Thin fillets (½ inch) typically take 6-8 minutes, while thicker pieces (1½ inches) may need 12-15 minutes.
Detailed Cooking Time and Temperature Guide
Through extensive testing, I’ve developed this comprehensive guide that takes the guesswork out of timing:
| Fish Type | Thickness | Temperature | Cooking Time | Internal Temp |
|---|---|---|---|---|
| Salmon | ¾ inch | 400°F | 8-10 minutes | 145°F |
| Salmon | 1 inch | 400°F | 10-12 minutes | 145°F |
| Cod | ¾ inch | 425°F | 8-10 minutes | 145°F |
| Cod | 1 inch | 425°F | 10-12 minutes | 145°F |
| Halibut | 1 inch | 400°F | 12-15 minutes | 145°F |
| Halibut | 1½ inch | 400°F | 15-18 minutes | 145°F |
| Tilapia | ½ inch | 400°F | 6-8 minutes | 145°F |
| Mahi-Mahi | ¾ inch | 400°F | 8-10 minutes | 145°F |
| Sea Bass | 1 inch | 400°F | 10-12 minutes | 145°F |
| Trout | ¾ inch | 375°F | 8-10 minutes | 145°F |
I’ve learned that slightly lower temperatures work better for delicate fish like trout and sole, while firmer fish can handle higher heat. The key is maintaining consistency once you find what works for your oven and preferred doneness.
Flavor Combinations and Seasoning Ideas
One of the aspects I love most about baking fish is how it serves as a blank canvas for countless flavor combinations. Over the years, I’ve developed several signature seasoning blends that never fail to impress:
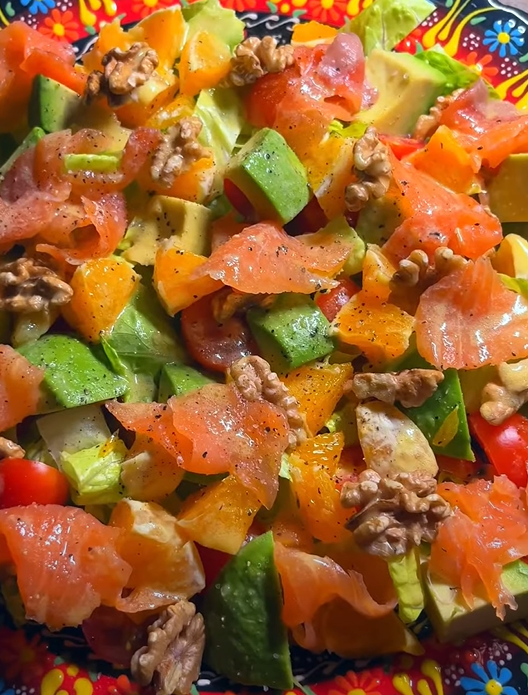
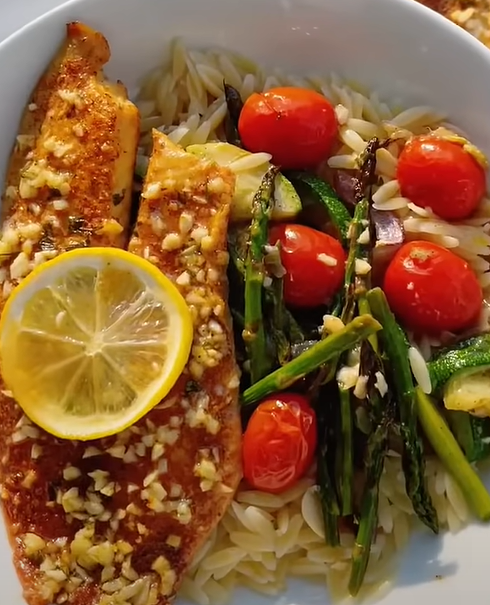
My Mediterranean blend combines dried oregano, thyme, garlic powder, and lemon zest with a drizzle of good olive oil. I often add halved cherry tomatoes and sliced red onions to the baking sheet for a complete one-pan meal.
For Asian-inspired flavors, I create a mixture of sesame oil, rice vinegar, fresh ginger, and a touch of soy sauce. I garnish the finished fish with sliced green onions and toasted sesame seeds.
When I want something bold and spicy, I use a Cajun-style blend with paprika, cayenne pepper, garlic powder, onion powder, and dried thyme. This works particularly well with firm fish like mahi-mahi or grouper.
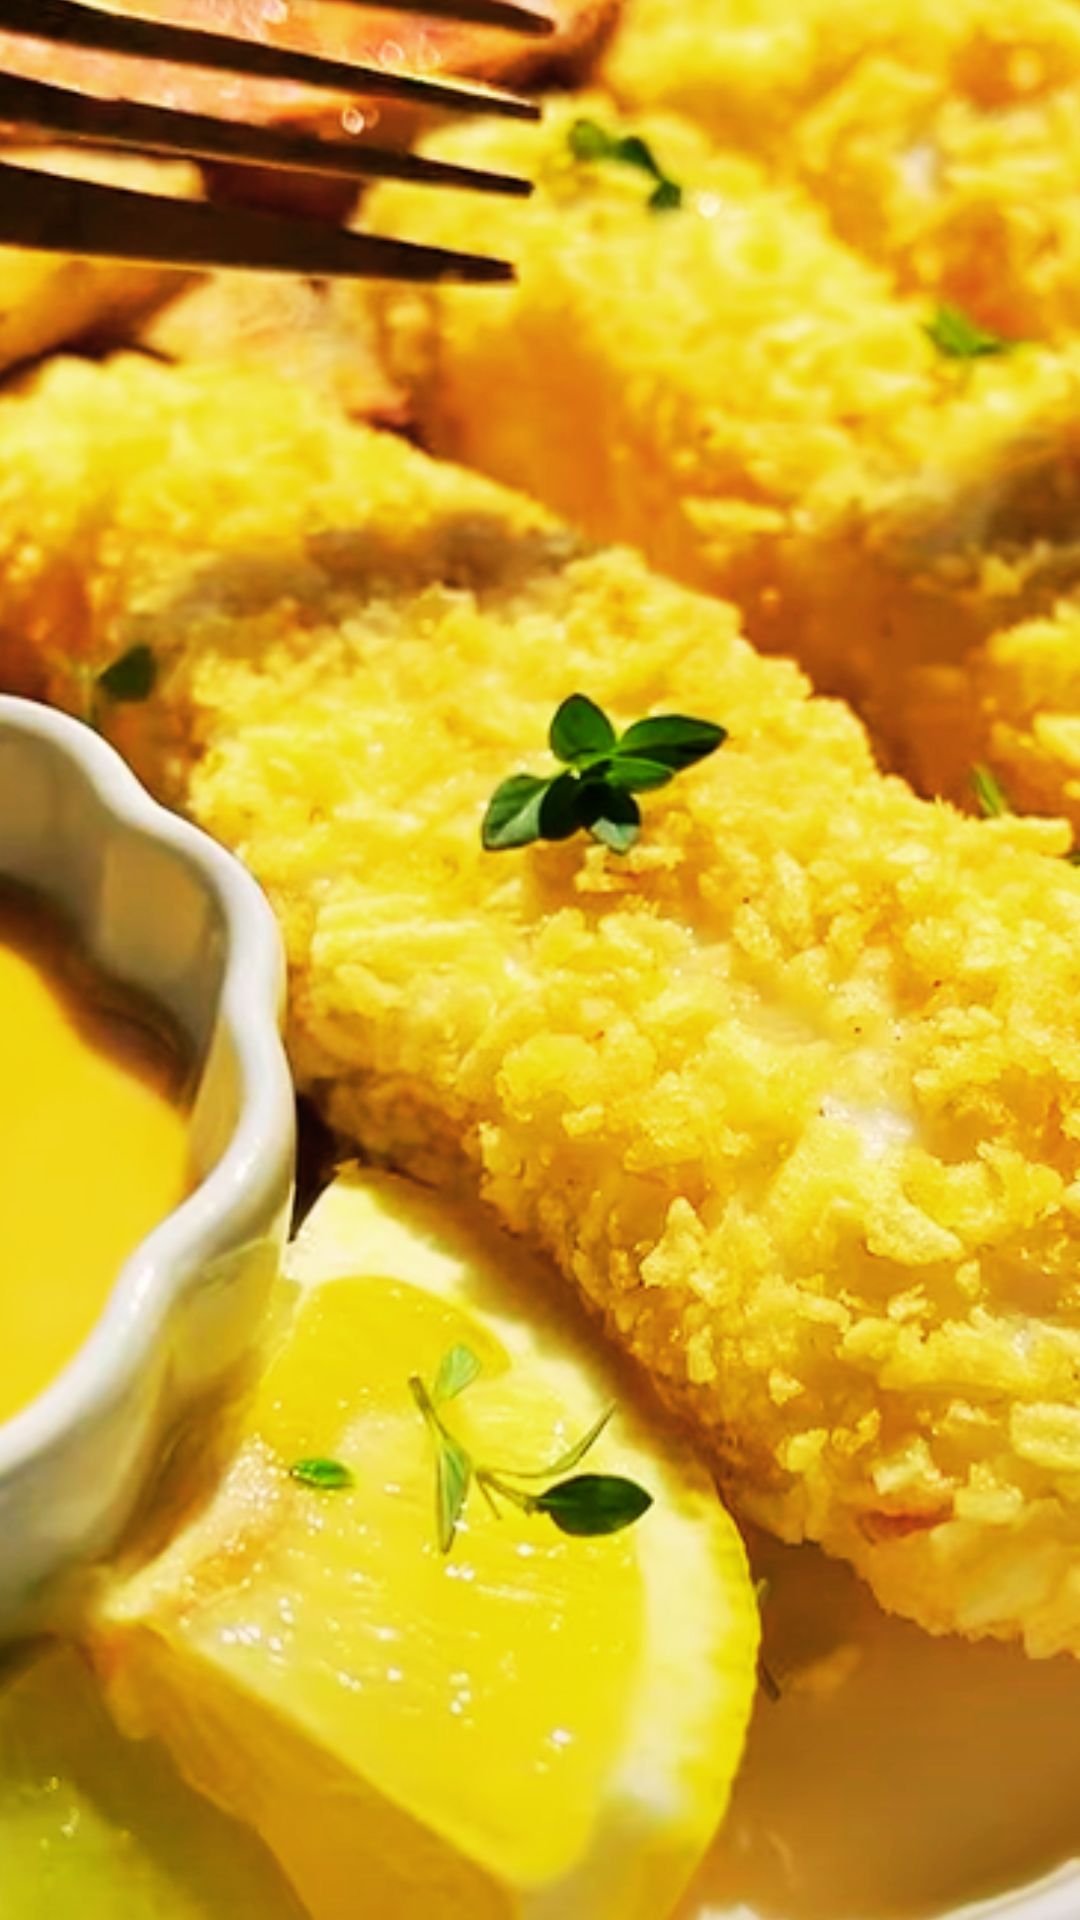
My herb-crusted version involves mixing fresh chopped parsley, dill, and chives with breadcrumbs and a little melted butter. I press this mixture onto the top of the fillets before baking for a crispy, flavorful crust.
Sauce Pairings and Accompaniments
The right sauce can elevate baked fish from simple to spectacular. I’ve developed several go-to sauces that complement rather than overpower the delicate fish flavors:
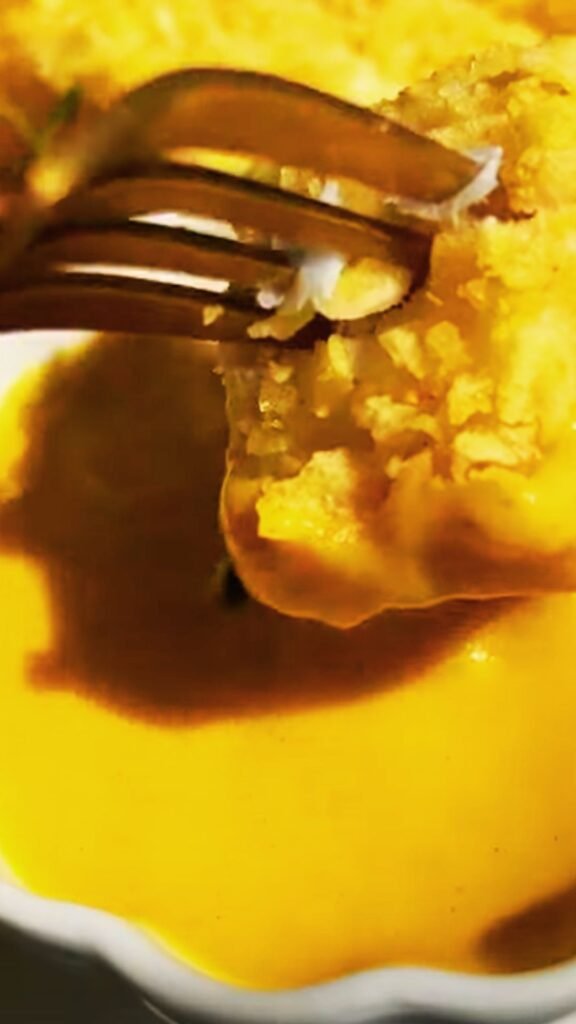
My lemon butter sauce is perhaps the most versatile. I melt butter in a small saucepan, add fresh lemon juice, minced garlic, and chopped fresh herbs. The key is adding the lemon juice off the heat to prevent the sauce from breaking.
For a creamy option, I prepare a dill yogurt sauce by mixing Greek yogurt with fresh dill, lemon zest, minced garlic, and a pinch of salt. This works beautifully with salmon or cod and adds a healthy, tangy element to the meal.
When I want something with more depth, I make a tomato-caper relish by combining diced fresh tomatoes, capers, red onion, and fresh basil with olive oil and balsamic vinegar. This Mediterranean-inspired sauce pairs wonderfully with white fish varieties.
Vegetable Side Dish Combinations
I’ve discovered that certain vegetables not only complement baked fish perfectly but can also be cooked alongside the fish for convenient one-pan meals:
Asparagus spears tossed with olive oil, salt, and pepper can be added to the baking sheet during the last 10-12 minutes of cooking. They emerge perfectly tender-crisp and infused with the fish’s flavors.
Brussels sprouts, halved and seasoned, need about 15-20 minutes at 400°F, so I start them before adding the fish. The slight caramelization they develop pairs beautifully with salmon or sea bass.
Cherry tomatoes burst and release their juices when roasted, creating a natural sauce for the fish. I add them to the pan from the beginning and let them roast until they’re slightly wrinkled and concentrated in flavor.
Zucchini, yellow squash, and bell peppers cut into similar-sized pieces cook at roughly the same rate as most fish fillets, making them ideal companions for one-pan meals.
Nutritional Benefits and Health Information
Incorporating baked fish into my regular meal rotation has provided numerous health benefits that I’ve come to appreciate over the years. Fish is an excellent source of high-quality protein, typically containing 20-25 grams per 4-ounce serving, which supports muscle maintenance and provides sustained energy.
The omega-3 fatty acids found in fish, particularly in varieties like salmon, mackerel, and sardines, have been linked to heart health, brain function, and reduced inflammation. I try to include these oily fish in my weekly meal planning at least twice per week.
| Nutrient | Salmon (4oz) | Cod (4oz) | Halibut (4oz) | Tilapia (4oz) |
|---|---|---|---|---|
| Calories | 206 | 119 | 159 | 109 |
| Protein (g) | 28.8 | 26.0 | 30.3 | 22.8 |
| Fat (g) | 9.0 | 1.0 | 3.3 | 2.3 |
| Omega-3 (mg) | 1,900 | 284 | 465 | 115 |
| Selenium (mcg) | 59.9 | 46.8 | 46.8 | 48.4 |
| Vitamin B12 (mcg) | 4.9 | 1.0 | 1.2 | 1.7 |
Baked fish is also naturally low in saturated fat and calories while being rich in essential vitamins and minerals like vitamin D, selenium, and B vitamins. The gentle cooking method preserves these nutrients better than high-heat cooking methods.
Common Mistakes and How to Avoid Them
Through my years of cooking fish, I’ve made plenty of mistakes that taught me valuable lessons. Here are the most common pitfalls I see home cooks encounter and how to avoid them:
Overcooking is by far the most frequent error. Fish continues cooking from residual heat even after removal from the oven, so I always err on the side of slightly underdone. The flesh should flake easily but still appear slightly translucent in the center when I remove it from the oven.
Not patting the fish dry before seasoning leads to steaming rather than baking. I always spend extra time ensuring both sides of each fillet are completely dry before adding any oil or seasonings.
Using too low a temperature results in fish that never develops proper texture or flavor. I’ve found that 400°F is the sweet spot for most varieties, providing enough heat to cook through while developing slight caramelization on the surface.
Overcrowding the baking sheet prevents proper air circulation and leads to uneven cooking. I always leave at least an inch of space between fillets and use multiple baking sheets if necessary.
Storage and Reheating Guidelines
Proper storage of leftover baked fish ensures I can enjoy my efforts for several days. I cool the fish completely before refrigerating and store it in airtight containers for up to three days. For longer storage, I wrap individual portions tightly in plastic wrap and freeze for up to three months.
When reheating, I’ve found that gentle methods work best to prevent the fish from becoming dry or rubbery. My preferred method is reheating in a 275°F oven for 10-15 minutes, covered with foil to retain moisture. I can also reheat portions in the microwave on 50% power, checking every 30 seconds to prevent overcooking.
Cold leftover fish works wonderfully in salads, pasta dishes, or fish cakes, so I often plan to make extra for versatile meal planning throughout the week.
Scaling Recipes for Different Group Sizes
One of the beauties of baked fish is how easily the method scales for different occasions. When I’m cooking for just myself, I use a quarter-sheet pan and adjust the recipe accordingly. For family dinners, my standard half-sheet pan accommodates 4-6 servings comfortably.
For larger gatherings, I use multiple baking sheets and stagger the cooking times slightly to ensure everything finishes around the same time. I’ve successfully prepared baked fish for parties of 12-15 people using this method, and the results are always consistent.
The key to scaling successfully is maintaining the same fish thickness across all pieces and ensuring adequate oven space for proper air circulation. I sometimes start heartier vegetables on lower racks while the fish cooks on the upper rack.
Troubleshooting Common Issues
Even with experience, occasionally things don’t go as planned. Here’s how I handle the most common issues:
If my fish is cooking too quickly on the outside but remains raw inside, I lower the oven temperature by 25°F and cover the fish loosely with foil to slow the surface browning while the interior catches up.
When fish sticks to the pan despite using parchment paper, it’s usually because the paper wasn’t properly prepared or the fish wasn’t adequately oiled. I always brush both the parchment and the fish with oil or melted butter.
If the fish lacks flavor after cooking, I’ve learned that underseasoning is usually the culprit. Fish can handle more seasoning than many people realize, so I’m generous with salt and spices before baking.
Dry fish typically results from overcooking or using too high a temperature. I monitor the internal temperature carefully and remove the fish as soon as it reaches 145°F.
Frequently Asked Questions
Q: How do I know when my baked fish is perfectly cooked? The most reliable method I use is checking the internal temperature with an instant-read thermometer. Fish is done when it reaches 145°F (63°C) in the thickest part. Visually, the flesh should be opaque and flake easily with a fork, but still appear slightly moist.
Q: Can I bake frozen fish fillets directly, or do I need to thaw them first? I always recommend thawing fish completely before baking for even cooking. If I’m in a hurry, I thaw frozen fillets in cold running water for 30-45 minutes. Cooking from frozen requires longer cooking times and often results in uneven texture.
Q: What’s the best way to prevent my fish from sticking to the baking pan? I use a combination of approaches: lining my baking sheet with parchment paper or foil, lightly oiling both the liner and the fish, and ensuring the fish is completely dry before placing it on the pan. I never move the fish until it’s fully cooked.
Q: How can I add a crispy crust to my baked fish without breading? My favorite technique is creating a herb and parmesan crust by mixing grated parmesan cheese with fresh herbs, garlic, and a small amount of panko breadcrumbs. I press this mixture onto the top of oiled fish fillets before baking.
Q: Is it safe to eat fish that’s slightly pink in the center? As long as the internal temperature reaches 145°F, slight pinkness in salmon or tuna is perfectly safe and actually preferred for optimal texture and flavor. However, white fish should be completely opaque throughout when properly cooked.
Q: Can I marinate fish before baking, and if so, for how long? I often marinate fish for enhanced flavor, but the timing is crucial. For delicate fish, I limit marinating to 15-30 minutes, while firmer fish can handle up to 2 hours. Acidic marinades (with lemon juice or vinegar) should be used for shorter periods to prevent the acid from “cooking” the fish.
Q: What’s the difference between baking fish at 375°F versus 400°F? I use 375°F for very delicate fish like sole or thin fillets that cook quickly. The 400°F temperature works better for most standard fillets as it provides enough heat to develop flavor while cooking through evenly. Higher temperatures risk overcooking the exterior before the interior is done.
Q: How do I adjust cooking times for thicker fish fillets? I follow the general rule of 10 minutes per inch of thickness at 400°F, but I always verify doneness with a thermometer. A 1.5-inch thick piece might need 15-18 minutes, while a ½-inch fillet could be done in 6-8 minutes.
Q: Can I cook different types of fish together on the same baking sheet? I can combine different fish types if they have similar cooking times and thicknesses. I group similar varieties together and check each type individually since cooking times may vary slightly even with similar thicknesses.
Q: What should I do if my fish is cooking unevenly? Uneven cooking usually results from uneven thickness or oven hot spots. I try to select fillets of similar thickness and rotate the baking sheet halfway through cooking. If one end of a fillet is significantly thinner, I can fold it under to create more uniform thickness.
My journey with oven-baked fish has taught me that this versatile cooking method offers endless possibilities for delicious, healthy meals. The technique I’ve shared represents years of refinement and experimentation, resulting in a foolproof approach that delivers consistent results every time. Whether I’m preparing a quick weeknight dinner or an elegant meal for guests, baked fish remains one of my most trusted and satisfying cooking methods. The combination of simplicity, health benefits, and delicious results makes it a technique I return to again and again, and I’m confident it will become a staple in your kitchen as well.