There’s something magical about the combination of rich chocolate and creamy cheesecake that creates an unforgettable dessert experience. After testing dozens of recipes and techniques over the years, I’ve finally perfected what I consider to be the ultimate chocolate cheesecake. This isn’t just any chocolate cheesecake—it’s a multi-layered symphony of flavors and textures that will impress even the most discerning dessert connoisseurs.
Why This Recipe Works
I’ve spent countless hours in my kitchen experimenting with different ingredients, temperatures, and techniques to create a chocolate cheesecake that avoids all the common pitfalls. No more cracked tops, soggy crusts, or grainy textures! This recipe produces a silky-smooth, intensely chocolatey cheesecake with the perfect balance of sweetness and a crust that provides the ideal textural contrast.
What makes this chocolate cheesecake truly perfect is the careful attention to detail at every step—from selecting high-quality chocolate to the gentle cooling process that prevents cracks. I’m excited to share all my hard-earned secrets with you!
Ingredients Breakdown
For the Crust
- 2 cups chocolate cookie crumbs (about 24 Oreo cookies, filling removed)
- 6 tablespoons unsalted butter, melted
- 3 tablespoons granulated sugar
- ¼ teaspoon fine sea salt
For the Filling
- 24 ounces cream cheese, softened completely (3 standard packages)
- 1 cup granulated sugar
- ¼ cup Dutch-processed cocoa powder, sifted
- 10 ounces high-quality dark chocolate (60-70% cacao), melted and slightly cooled
- 3 large eggs, at room temperature
- 2 large egg yolks, at room temperature
- ¾ cup heavy cream
- 2 teaspoons pure vanilla extract
- ¼ teaspoon fine sea salt
- 2 tablespoons espresso powder (optional, but enhances chocolate flavor)
For the Ganache Topping
- 6 ounces high-quality dark chocolate, finely chopped
- ¾ cup heavy cream
- 1 tablespoon unsalted butter
- 1 teaspoon pure vanilla extract
For Garnish (Optional)
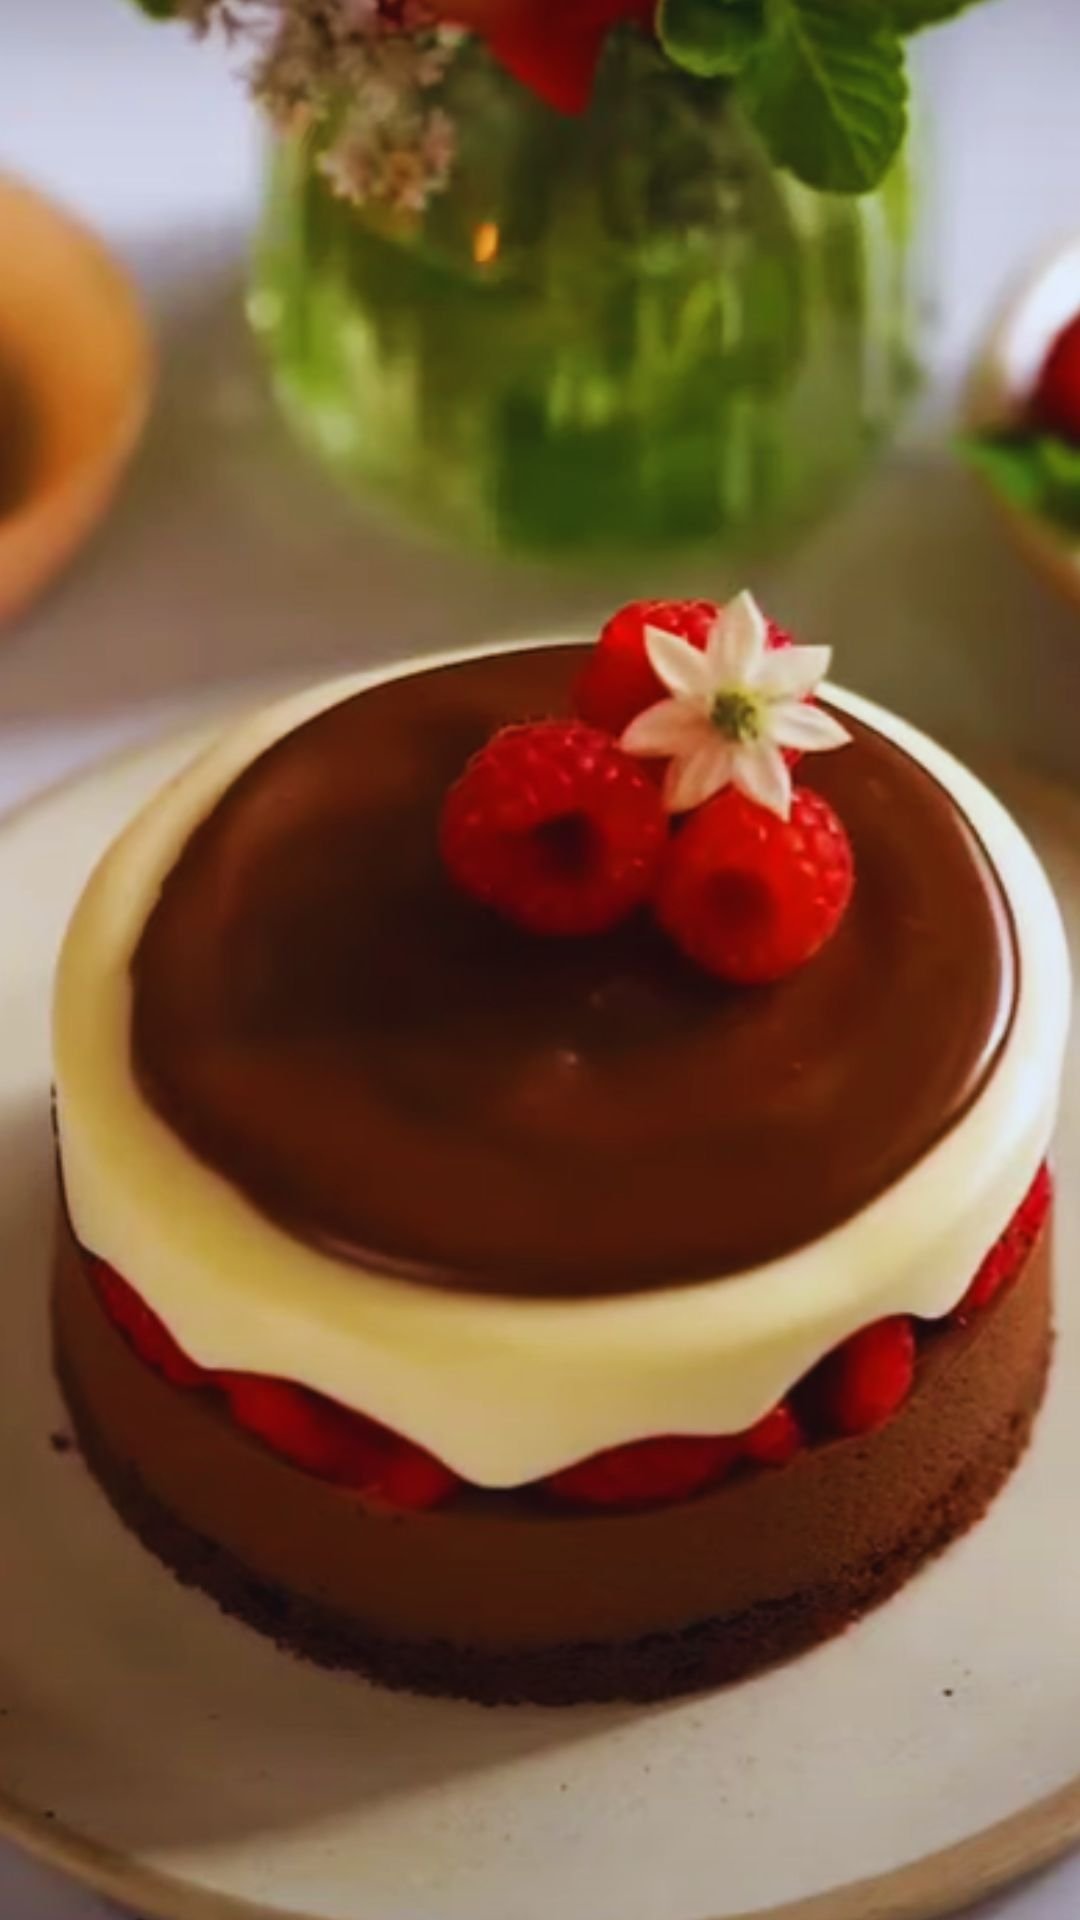
- Fresh berries (raspberries work particularly well)
- Chocolate curls or shavings
- Whipped cream
- Cocoa powder for dusting
Essential Equipment
Before diving into the preparation, make sure you have these tools on hand:
- 9-inch springform pan
- Heavy-duty aluminum foil
- Large roasting pan (for water bath)
- Stand mixer or powerful hand mixer
- Rubber spatula
- Instant-read thermometer (optional but helpful)
- Fine-mesh sieve (for cocoa powder and potential lumps)
- Double boiler or microwave-safe bowl (for melting chocolate)
Preparation Method
Preparing Your Pan
The first crucial step to a perfect cheesecake is properly preparing your springform pan:
- Preheat your oven to 350°F (175°C).
- Wrap the outside of your springform pan with three layers of heavy-duty aluminum foil, ensuring it comes up the sides. This prevents water from seeping in during the water bath baking.
- Lightly grease the inside of the pan with butter or cooking spray.
Making the Perfect Crust
The foundation of any great cheesecake is a well-executed crust:
- In a food processor, pulse chocolate cookies until they form fine crumbs.
- Transfer crumbs to a mixing bowl and add melted butter, sugar, and salt.
- Mix thoroughly until all crumbs are evenly moistened and the mixture resembles wet sand.
- Press the mixture firmly into the bottom and about 1½ inches up the sides of your prepared springform pan. Use the flat bottom of a measuring cup to compact the crust evenly.
- Bake for 10 minutes, then remove from the oven and let cool completely while preparing the filling.
- Reduce oven temperature to 325°F (165°C).
Creating the Silky Chocolate Filling
The key to the perfect filling texture is methodical preparation and careful temperature control:
- In a double boiler or microwave at 50% power in 30-second increments, melt the chocolate until smooth. Set aside to cool slightly but not harden.
- In the bowl of a stand mixer fitted with the paddle attachment, beat the softened cream cheese on medium-low speed until completely smooth and free of lumps, about 3-4 minutes. Scrape down the sides of the bowl frequently.
- Gradually add the sugar and beat until fully incorporated and the mixture is silky, about 2 minutes.
- Add the sifted cocoa powder and beat until well combined.
- With the mixer on low, slowly pour in the melted chocolate and mix until fully incorporated, stopping to scrape down the sides of the bowl as needed.
- Add the eggs and egg yolks one at a time, beating just until each is incorporated before adding the next. Do not overmix after adding the eggs.
- Add the heavy cream, vanilla extract, salt, and espresso powder (if using). Mix on low speed just until combined.
- Strain the mixture through a fine-mesh sieve into a large bowl to remove any potential lumps for an ultra-smooth texture.
The Water Bath Method
The water bath is non-negotiable for achieving that perfectly smooth, crack-free texture:
- Boil 2-3 quarts of water (you’ll need enough to come halfway up the sides of the springform pan).
- Place your foil-wrapped springform pan with the cooled crust into a large roasting pan.
- Pour the chocolate filling into the crust, smoothing the top with a spatula.
- Place the roasting pan in the oven, then carefully pour the hot water into the roasting pan until it reaches halfway up the sides of the springform pan.
- Bake at 325°F (165°C) for 60-70 minutes. The cheesecake is done when the edges are set but the center still has a slight jiggle (internal temperature should reach about 150°F if using a thermometer).
- Turn off the oven, crack the door open slightly, and let the cheesecake cool in the oven for 1 hour.
- Remove from the water bath, peel off the foil, and let cool completely on a wire rack at room temperature, about 2 hours.
Making the Ganache Topping
This glossy topping adds an extra layer of chocolate luxury:
- Place finely chopped chocolate in a heatproof bowl.
- In a small saucepan, heat heavy cream just until it begins to simmer at the edges (do not boil).
- Pour the hot cream over the chocolate and let stand for 2 minutes.
- Gently stir until smooth, then add butter and vanilla, stirring until the butter is melted and incorporated.
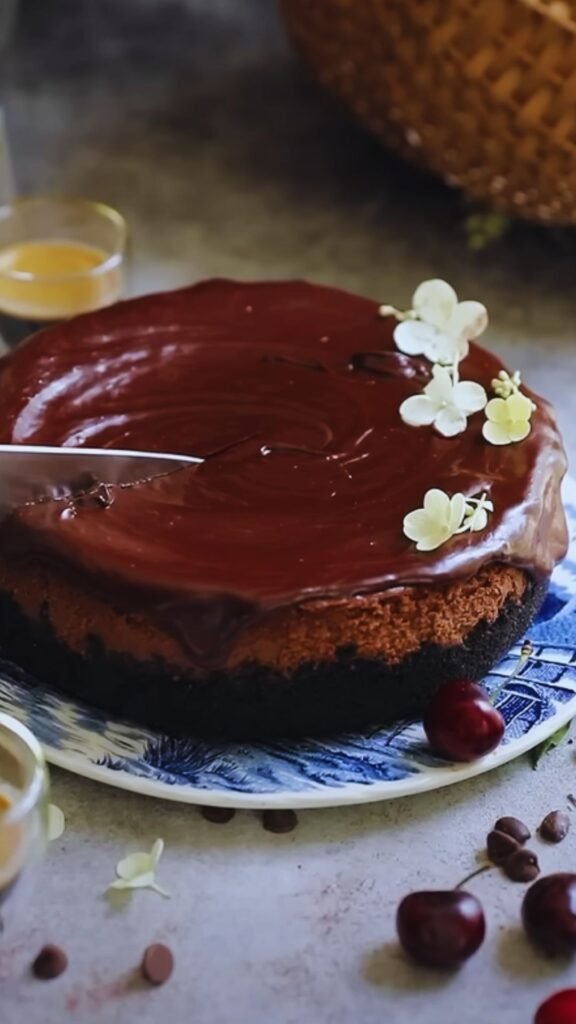
- Let the ganache cool for about 5 minutes until slightly thickened but still pourable.
- Pour the ganache over the cooled cheesecake, tilting the pan to ensure even coverage, or use an offset spatula to spread it to the edges.
- Refrigerate for at least 6 hours or overnight before serving.
Chocolate Selection Guide
The quality and type of chocolate you choose will significantly impact the final flavor of your cheesecake. Here’s my guide to selecting the perfect chocolate:
| Chocolate Type | Cacao Percentage | Flavor Profile | Best For |
|---|---|---|---|
| Bittersweet | 70-85% | Deep, complex, less sweet | Adult palates, sophisticated flavor |
| Semi-sweet | 60-70% | Balanced, moderately sweet | Most versatile, crowd-pleasing |
| Milk Chocolate | 30-45% | Creamy, sweet, mild | Lighter, more approachable cheesecake |
| Combination | Varies | Layered complexity | Custom flavor development |
For the richest flavor, I recommend using high-quality chocolate bars rather than chocolate chips, which often contain stabilizers that affect melting. My personal preference is a 65-70% dark chocolate for a deep flavor that isn’t overwhelmingly bitter.
Troubleshooting Common Issues
Even experienced bakers encounter challenges. Here’s how to address the most common problems:
Cracked Top
- Cause: Overbeating, especially after adding eggs, or cooling too quickly
- Solution: Mix just until ingredients are combined after adding eggs and cool gradually as directed
Soggy Crust
- Cause: Inadequate pre-baking or water leaking through foil
- Solution: Pre-bake crust thoroughly and use multiple layers of heavy-duty foil, ensuring it comes up the sides
Grainy Texture
- Cause: Cold ingredients or improper mixing
- Solution: Ensure cream cheese is fully softened and mix thoroughly before adding other ingredients
Sinking Center
- Cause: Underbaking or opening oven door during baking
- Solution: Bake until edges are set but center still jiggles slightly, and avoid opening oven door
Serving Suggestions
A perfect chocolate cheesecake deserves perfect presentation. Here are my favorite ways to serve this decadent dessert:
- Top individual slices with fresh raspberries or strawberries for a beautiful color contrast and fruity brightness that cuts through the richness
- Add a dollop of lightly sweetened whipped cream and a light dusting of cocoa powder
- Drizzle plates with raspberry coulis for an elegant restaurant-quality presentation
- Serve with a small scoop of vanilla bean ice cream for a classic hot-and-cold dessert experience
- For a coffee lover’s dream, pair with a shot of espresso or rich coffee
Make-Ahead and Storage Tips
This cheesecake actually improves with time as the flavors meld and develop:
- Make-Ahead: This cheesecake can be made up to 3 days in advance and kept refrigerated.
- Refrigeration: Store covered in the refrigerator for up to 5 days.
- Freezing: Freeze individual slices or the whole cheesecake (without toppings) for up to 2 months. Wrap tightly in plastic wrap, then aluminum foil.
- Thawing: Thaw frozen cheesecake overnight in the refrigerator before serving.
- Room Temperature Serving: For the best flavor and texture, let refrigerated cheesecake slices stand at room temperature for 20-30 minutes before serving.
Variations to Try
Once you’ve mastered the basic recipe, consider these delicious variations:
Mocha Chocolate Cheesecake
Increase the espresso powder to 1 tablespoon and add 2 tablespoons of coffee liqueur to the filling.
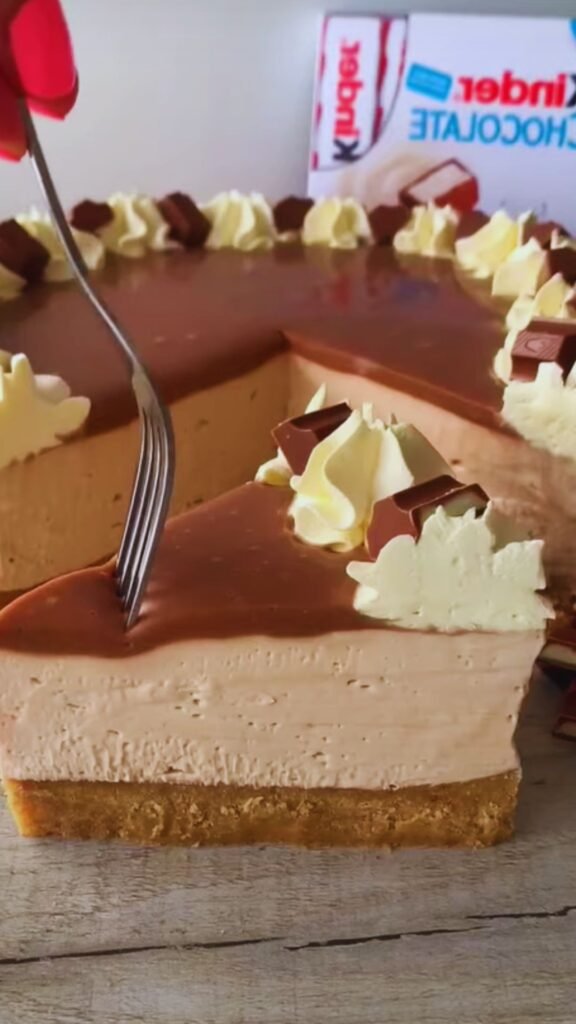
Triple Chocolate Cheesecake
Layer different types of chocolate in the filling and add mini chocolate chips for texture contrast.
Chocolate-Hazelnut Cheesecake
Replace ¼ cup of the sugar with hazelnut spread and add ½ cup finely chopped hazelnuts to the crust.
Mexican Chocolate Cheesecake
Add 1½ teaspoons of cinnamon and a pinch of cayenne pepper to the filling for a warm, spicy kick.
Marbled Raspberry Cheesecake
Swirl 3 tablespoons of seedless raspberry preserves through the filling before baking for a fruity contrast.
Nutrition Facts Per Serving
Understanding the nutritional content helps you plan where this indulgence fits into your diet:
| Nutrient | Amount per Serving |
|---|---|
| Calories | 510 |
| Total Fat | 37g |
| Saturated Fat | 22g |
| Cholesterol | 165mg |
| Sodium | 310mg |
| Carbohydrates | 38g |
| Dietary Fiber | 3g |
| Sugars | 29g |
| Protein | 8g |
Based on 12 servings per cheesecake. Actual values may vary based on specific ingredients used.
Q&A Section
Q: Can I make this cheesecake without a water bath? While technically possible, I don’t recommend skipping the water bath. It’s essential for even cooking and preventing cracks. If you absolutely must skip it, reduce the temperature to 300°F and expect that you may need to disguise some cracks with the ganache topping.
Q: Can I use chocolate chips instead of chocolate bars? You can, but the results won’t be quite as smooth. Chocolate chips contain stabilizers that affect how they melt. If using chips, look for high-quality ones and add 1 tablespoon of vegetable oil per cup of chips to improve melting.
Q: My cheesecake batter seems too thick. What did I do wrong? This is typically caused by cream cheese that’s too cold. The cream cheese must be completely softened—leave it out for at least 2 hours before starting. If your batter is already made and too thick, let it sit at room temperature for 15-20 minutes, stirring occasionally.
Q: How do I know when my cheesecake is done if I don’t have a thermometer? The edges should be set and slightly puffed, but the center 2-3 inches should still jiggle slightly when you gently shake the pan. It will continue to set as it cools. If the center looks wet or liquidy (rather than just jiggly), it needs more time.
Q: My ganache is too thick to pour smoothly. How can I fix it? If your ganache has cooled too much, gently reheat it by placing the bowl over a pot of simmering water and stirring until it reaches a pourable consistency. Alternatively, add an extra tablespoon of warm heavy cream and stir until smooth.
Q: Can I make this recipe in a regular cake pan instead of a springform pan? A springform pan is strongly recommended as it allows you to remove the sides without disturbing the cheesecake. If you must use a regular cake pan, line it with parchment paper with plenty of overhang on the sides to use as handles for lifting the cheesecake out after it’s completely chilled.
Q: Why did my crust shrink during pre-baking? This typically happens when the crust is not pressed firmly enough into the pan. Use the flat bottom of a measuring cup to really compress the crumb mixture against the bottom and sides of the pan.
Q: How far in advance can I make this cheesecake? This cheesecake can be made up to 3 days in advance and kept refrigerated, or frozen for up to 2 months if wrapped properly. In fact, many people find the flavor improves after 24 hours of refrigeration as the flavors have time to meld.
Final Tips for Success
After years of baking cheesecakes, I’ve collected these essential tips that make all the difference:
- Patience is key—never rush the mixing, baking, or cooling processes
- Temperature matters—all refrigerated ingredients should come to room temperature
- The water bath isn’t optional—it’s the secret to a crack-free surface
- Don’t overbeat after adding eggs—this introduces air that can cause cracks
- Cool gradually—rapid temperature changes are the enemy of smooth cheesecake
- Use the right tools—a springform pan and stand mixer make a world of difference
- Quality ingredients—especially the chocolate and cream cheese—will elevate your results
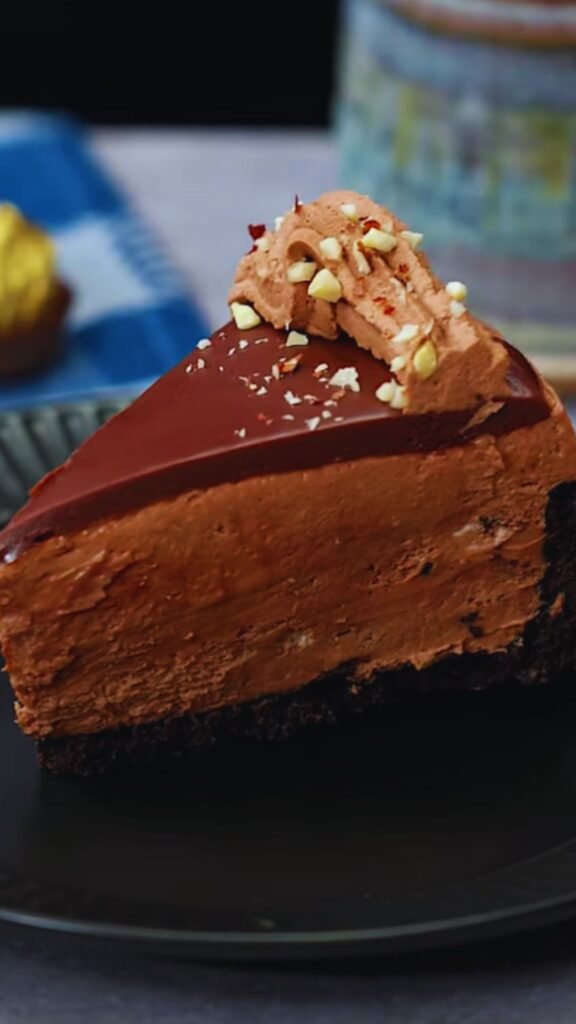
This perfect chocolate cheesecake may seem like a project, but the results are absolutely worth the effort. The combination of a crunchy chocolate crust, velvety smooth chocolate filling, and glossy ganache creates a dessert that will have everyone asking for your secret recipe. Take your time, follow the steps carefully, and enjoy the process of creating this showstopping centerpiece for your next special occasion.