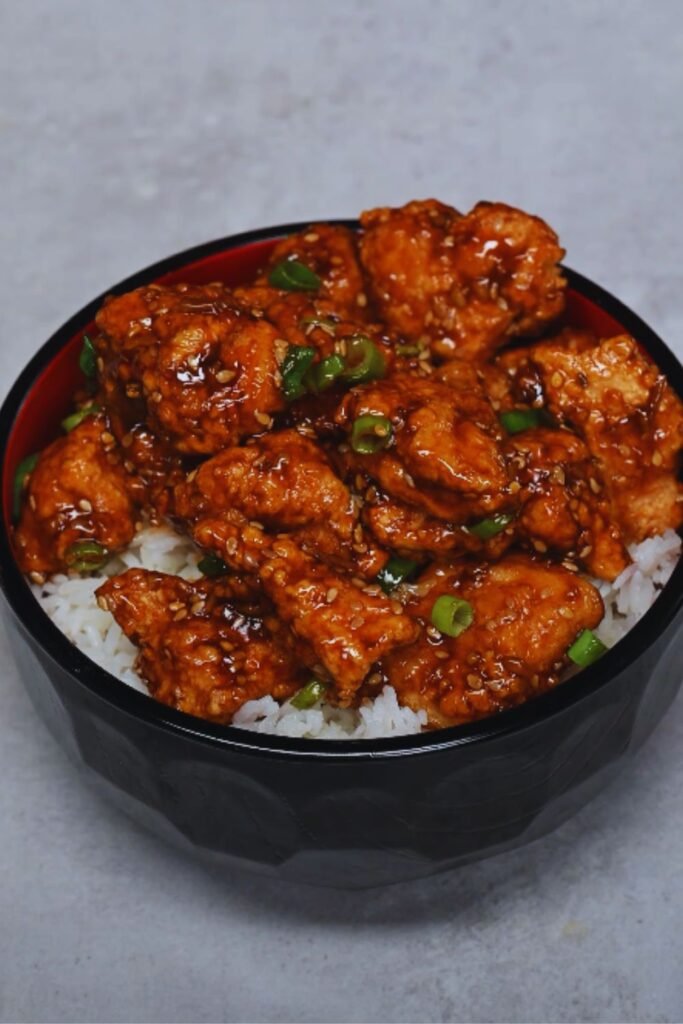
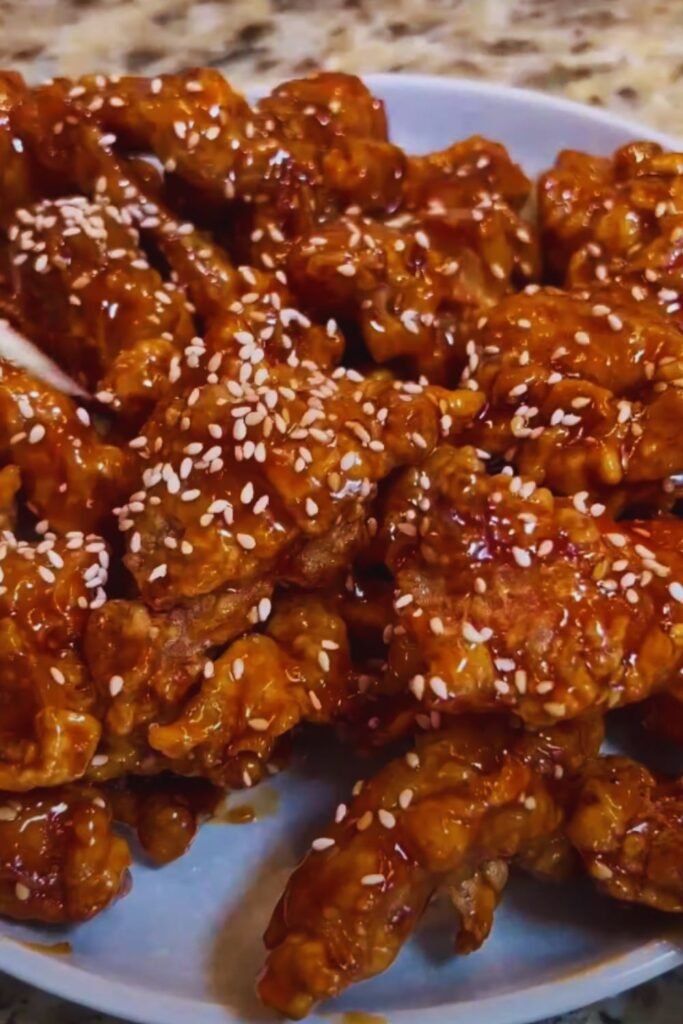
There’s something magical about biting into perfectly crispy chicken pieces coated in that sweet-savory sesame sauce. I’ve spent years perfecting this restaurant favorite at home, and today I’m sharing my foolproof recipe that rivals any takeout version you’ve tried.
What Makes This Recipe Special
After countless attempts and refinements, I’ve discovered the secret lies in the perfect balance between the crispy coating and that irresistibly sticky sauce. This isn’t just another sesame chicken recipe – it’s the result of meticulous testing and tweaking to achieve restaurant-quality results in your home kitchen.

The History Behind Sesame Chicken
While many assume sesame chicken originated in China, it’s actually a Chinese-American creation that emerged in the 1980s. Born from the creativity of Chinese immigrants adapting their cooking to American tastes, this dish perfectly exemplifies the delicious fusion of Eastern and Western culinary traditions.
Essential Ingredients Breakdown
| Component | Ingredient | Amount | Notes |
|---|---|---|---|
| Chicken | Boneless chicken thighs | 2 pounds | Thighs provide better flavor and moisture than breast meat |
| Marinade | Soy sauce | 2 tablespoons | Use light soy sauce for better color |
| Rice wine | 1 tablespoon | Shaoxing wine preferred | |
| Egg white | 1 large | Helps create a tender texture | |
| Coating | Cornstarch | 1 cup | Creates the perfect crispy exterior |
| All-purpose flour | ½ cup | Helps the coating adhere better | |
| Sauce | Dark soy sauce | ¼ cup | Provides deep color and flavor |
| Honey | ⅓ cup | Better than sugar for texture | |
| Rice vinegar | 2 tablespoons | Adds necessary tang | |
| Sesame oil | 2 tablespoons | Use toasted for best flavor | |
| Garnish | Toasted sesame seeds | 3 tablespoons | Must be toasted for optimal flavor |
| Green onions | 4 stalks | Adds fresh contrast |
The Perfect Marinade Technique
The key to exceptional sesame chicken starts with proper marination. I’ve found that a minimum of 30 minutes makes a noticeable difference, but 2 hours yields optimal results. The marinade includes:
- Light soy sauce for umami
- Rice wine for tenderizing
- Egg white for that signature “velveting” effect
- A pinch of white pepper for subtle heat
Coating Process Secrets
After years of experimentation, I’ve developed this foolproof coating method:
- Drain the marinated chicken thoroughly
- Coat pieces individually in the cornstarch-flour mixture
- Let them rest for 5 minutes to help the coating adhere
- Double-coat for extra crispiness
The Ultimate Sauce Formula
The sauce makes or breaks this dish. Here’s my perfect ratio:
| Ingredient | Amount | Purpose |
|---|---|---|
| Dark soy sauce | ¼ cup | Color and depth |
| Light soy sauce | 2 tablespoons | Saltiness |
| Honey | ⅓ cup | Sweetness and shine |
| Rice vinegar | 2 tablespoons | Acidity |
| Sesame oil | 2 tablespoons | Nuttiness |
| Garlic | 3 cloves | Aromatic base |
| Ginger | 1 tablespoon | Warmth |
| Cornstarch slurry | 2 tablespoons | Thickening |
Step-by-Step Cooking Method
- Heat oil to exactly 350°F (175°C) for frying
- Fry chicken in small batches for 3-4 minutes
- Remove and drain on paper towels
- Second fry at 375°F (190°C) for ultimate crispiness
- Prepare sauce while chicken rests
- Toss chicken in sauce just before serving
Common Pitfalls and Solutions
- Too thick coating: Shake off excess flour mixture vigorously
- Soggy chicken: Ensure oil temperature stays consistent
- Sauce too thin: Use cornstarch slurry gradually
- Sauce too thick: Add chicken stock by the tablespoon
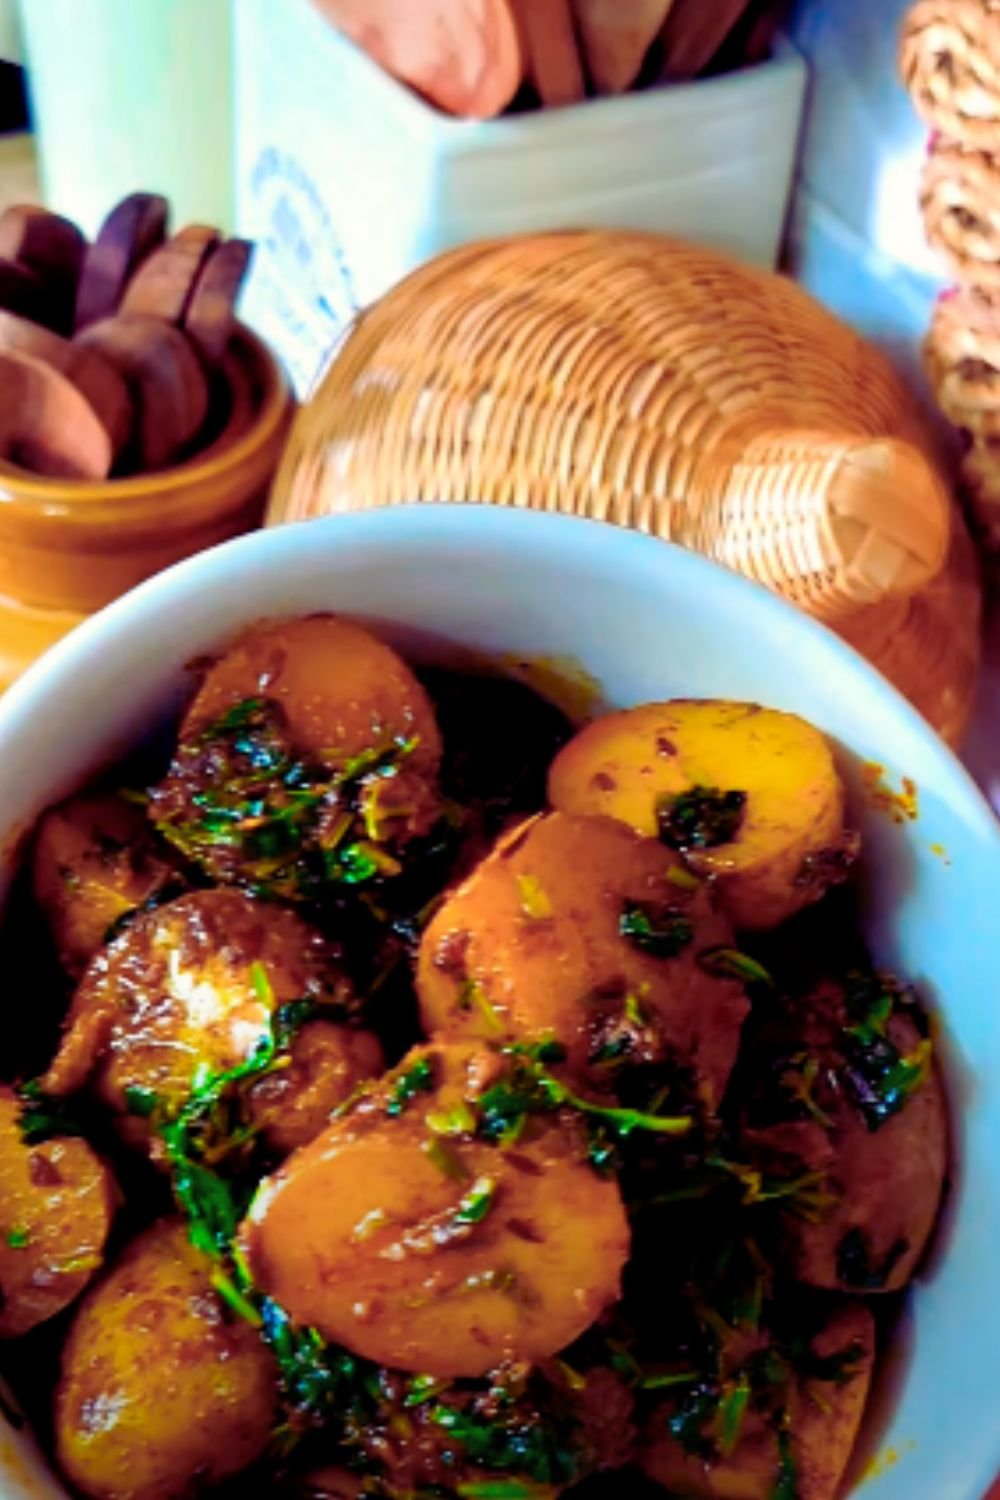
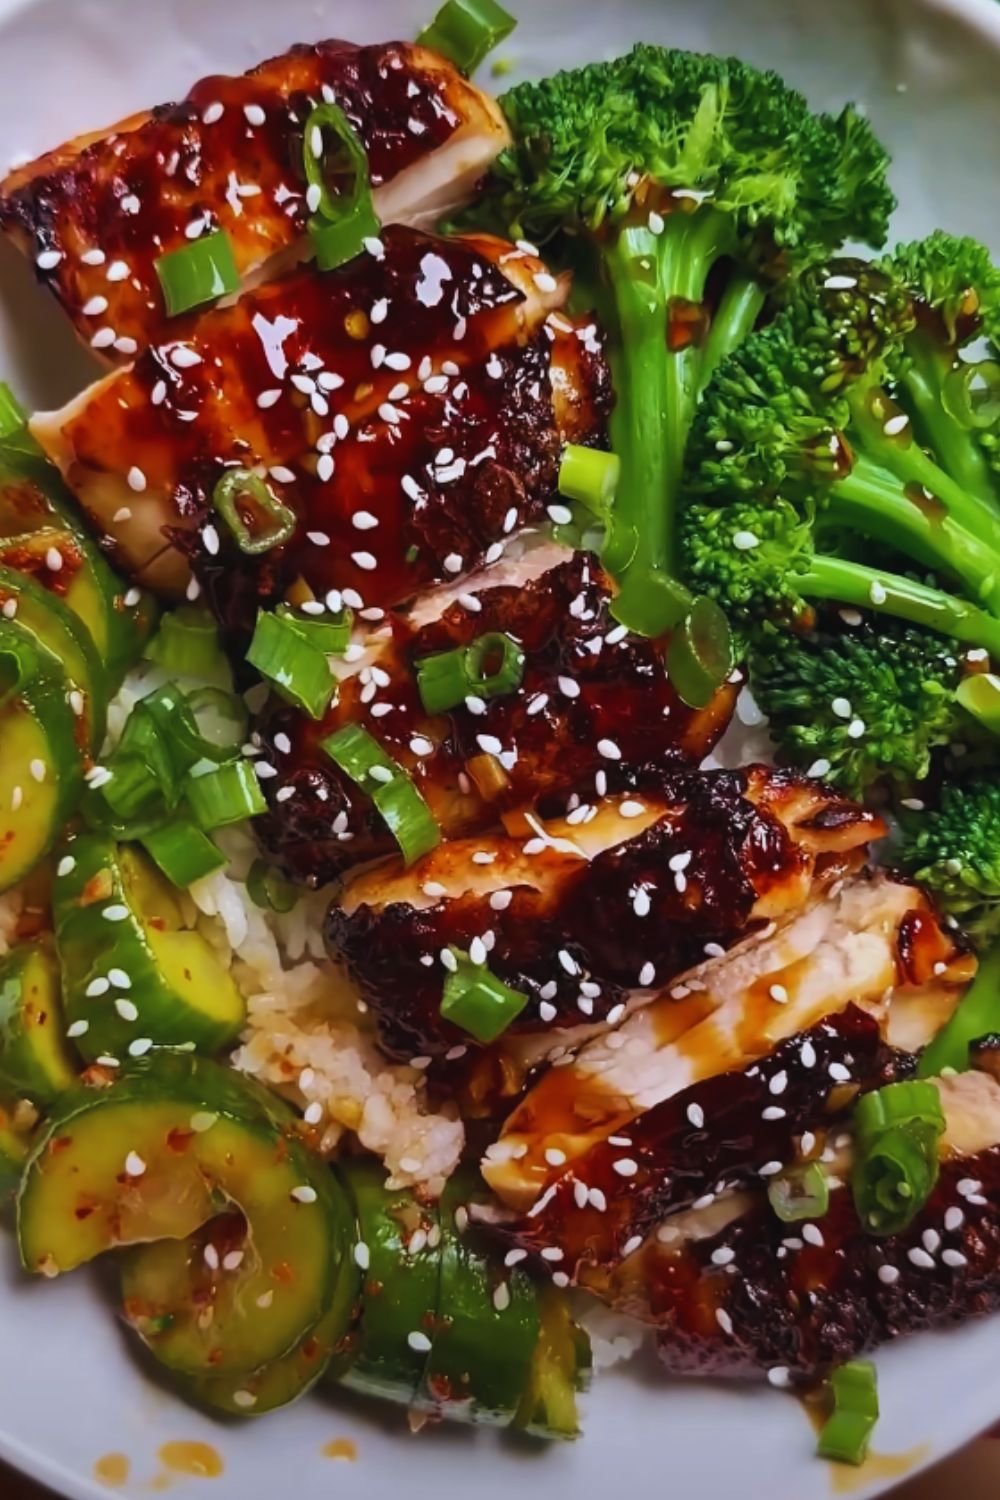
Serving Suggestions
I love serving this dish with:
- Jasmine rice
- Steamed broccoli
- Julienned carrots
- Sesame cucumber salad
Storage and Reheating Tips
| Storage Method | Duration | Notes |
|---|---|---|
| Refrigerator | 3-4 days | Store sauce separately |
| Freezer | Up to 2 months | Freeze uncoated chicken only |
| Room temperature | 2 hours maximum | Not recommended |
Nutritional Information
| Nutrient | Amount per Serving |
|---|---|
| Calories | 425 |
| Protein | 32g |
| Carbohydrates | 38g |
| Fat | 18g |
| Fiber | 2g |
| Sugar | 12g |
Questions & Answers
Q: Can I use chicken breast instead of thighs?
While you can use chicken breast, I strongly recommend thighs for their superior flavor and moisture content. If using breast meat, reduce the cooking time by 1 minute.
Q: Why isn’t my coating staying crispy?
The most common reason is sauce temperature. Always ensure your sauce has cooled slightly before tossing with the chicken. Hot sauce can make the coating soggy quickly.
Q: Can I make this ahead for a party?
Yes! Fry the chicken and prepare the sauce separately up to 4 hours ahead. Reheat the chicken in a 350°F oven for 5-7 minutes, then toss with reheated sauce.
Q: Is this recipe very spicy?
No, traditional sesame chicken isn’t spicy. However, you can add red pepper flakes or sriracha to taste if you prefer heat.
Q: Can I make this gluten-free?
Absolutely! Replace soy sauce with tamari and use a gluten-free flour blend for coating. The results are nearly identical.
Pro Tips for Perfect Results
- Toast sesame seeds until golden for maximum flavor
- Use a heavy-bottomed pan for consistent oil temperature
- Don’t overcrowd the pan when frying
- Let the chicken rest for 5 minutes after the first fry
- Toss in sauce just before serving for optimal crispiness
Recipe Variations
- Honey-free version: Replace honey with brown sugar
- Spicy adaptation: Add gochugaru or dried chilies
- Lighter version: Air fry at 400°F for 12-15 minutes
- Extra crispy: Double coat in batter before frying
Remember, the key to restaurant-quality sesame chicken lies in the details – precise temperatures, timing, and ingredient ratios. With practice, you’ll master this beloved dish and might never need takeout again!