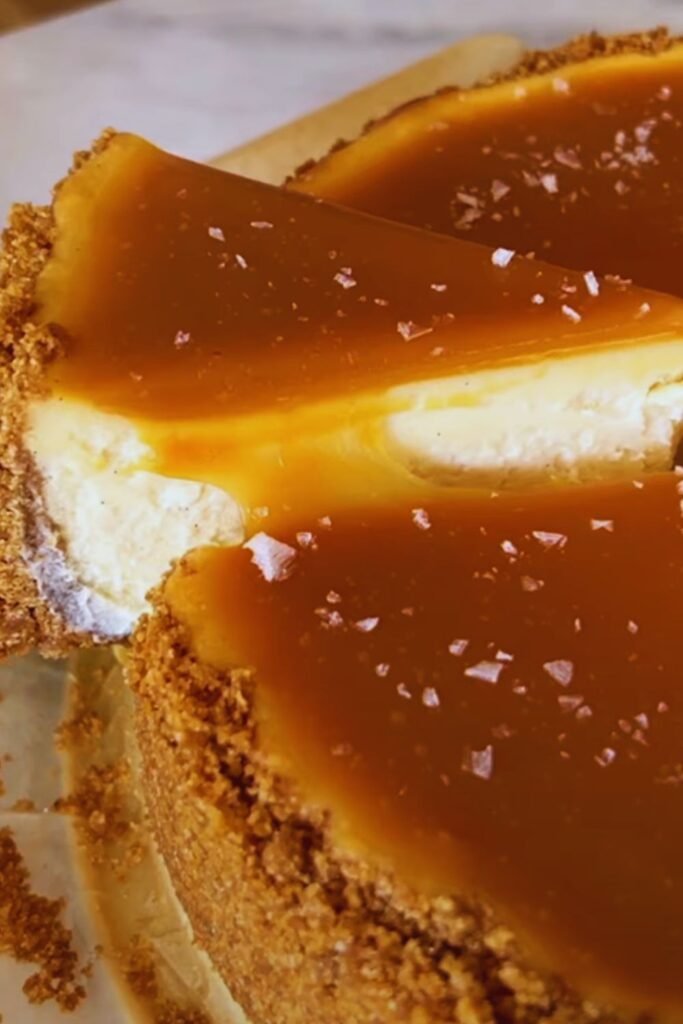
Have you ever bitten into a cookie so divine that it makes your taste buds dance with joy? That’s exactly what happens when you take that first bite of a Salted Caramel Cheesecake Cookie. I’ve spent years perfecting this recipe, combining the perfect balance of sweet and salty flavors with the contrasting textures of a crisp cookie edge and a creamy, cheesecake-like center.
I remember the first time I made these cookies. It was a rainy Sunday afternoon, and I was craving something indulgent but didn’t want to commit to making an entire cheesecake. The lightbulb moment happened when I wondered, “What if I could capture that creamy cheesecake flavor in a cookie form?” Several batches and tweaks later, these Salted Caramel Cheesecake Cookies were born—and they’ve been a staple in my recipe collection ever since.
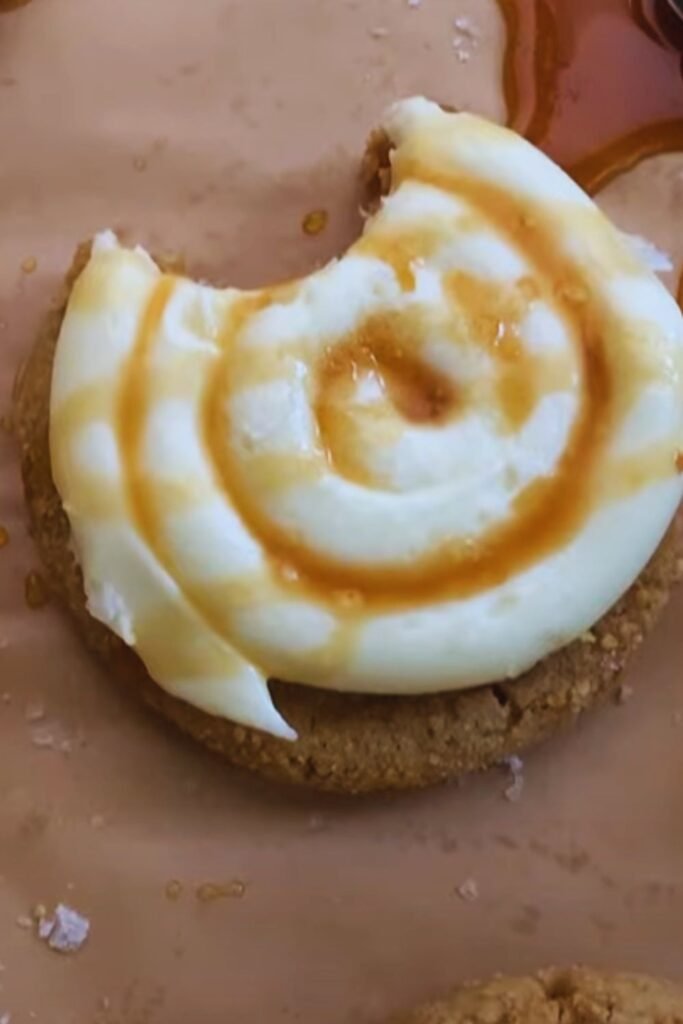
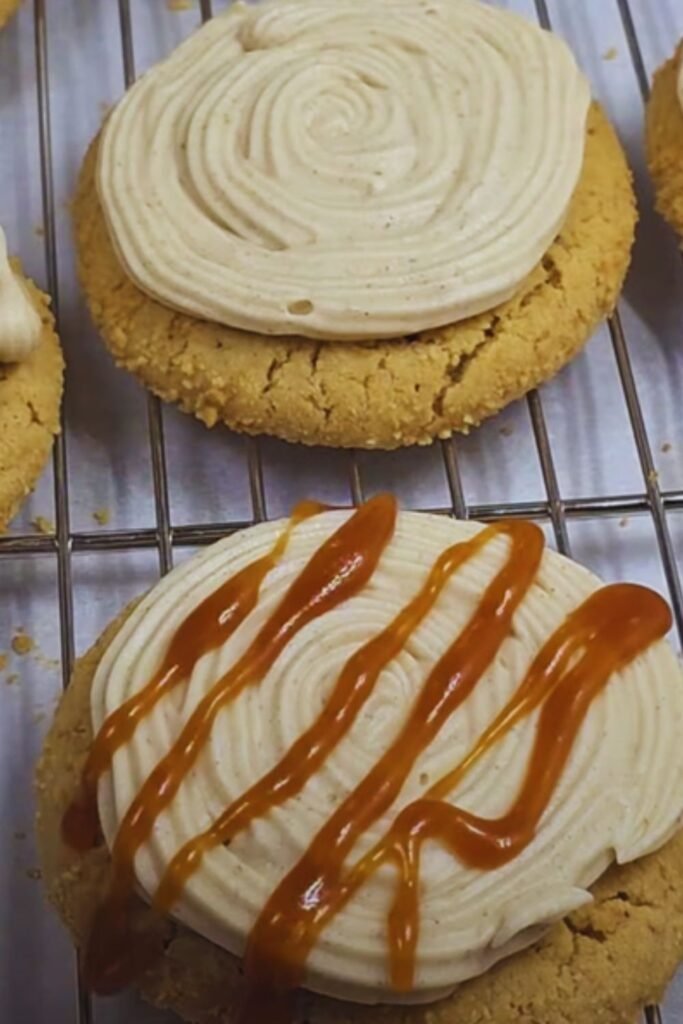
What makes these cookies truly special is the perfect marriage of textures and flavors. The cookie base is buttery and slightly crisp around the edges, while the center remains soft and cheesecake-like. The ribbons of salted caramel throughout add pockets of gooey goodness, and the sprinkle of flaky sea salt on top creates a flavor explosion that keeps you coming back for more.
The Science Behind the Perfect Cheesecake Cookie
Before diving into the recipe, I want to share some baking science that makes these cookies so special. Understanding these principles will help you achieve cookie perfection every time.
The cream cheese in the dough serves multiple purposes:
- It adds tanginess to balance the sweetness
- Creates a more tender crumb structure
- Contributes to the cheesecake-like texture in the center
- Helps prevent the cookies from spreading too much during baking
The cornstarch is another secret weapon. Just a tablespoon helps create that signature soft center while allowing the edges to crisp up beautifully. It’s a technique professional bakers use to achieve that perfect cookie texture.
Chilling the dough is non-negotiable for these cookies. The resting period allows:
- Flavors to meld together
- Fats to solidify, which controls spreading
- Flour to fully hydrate, improving texture
- Easier handling when forming the cookies
Now, let’s get into the detailed recipe!
Ingredients You’ll Need
For the Cookie Dough:
- 2¼ cups all-purpose flour (280g)
- 1 tablespoon cornstarch
- 1 teaspoon baking soda
- ½ teaspoon salt
- ¾ cup unsalted butter, softened (170g)
- 4 oz cream cheese, softened (113g)
- ¾ cup granulated sugar (150g)
- ½ cup light brown sugar, packed (100g)
- 1 large egg, room temperature
- 1 large egg yolk, room temperature
- 2 teaspoons vanilla extract
- ½ teaspoon almond extract (optional, but adds complexity)
For the Cheesecake Filling:
- 8 oz cream cheese, softened (226g)
- ¼ cup granulated sugar (50g)
- 1 teaspoon vanilla extract
- 1 tablespoon all-purpose flour
For the Caramel Swirl:
- ¾ cup high-quality store-bought caramel sauce (or homemade)
- ½ teaspoon flaky sea salt, plus more for topping
For Garnish:
- Flaky sea salt (like Maldon)
- Optional: white chocolate drizzle
Kitchen Equipment
For best results, make sure you have these tools ready:
- Stand mixer or hand mixer
- Large mixing bowls
- Medium mixing bowl for cheesecake filling
- Measuring cups and spoons
- Kitchen scale (for precise measurements)
- Silicone spatula
- Cookie scoop (about 2 tablespoon capacity)
- Baking sheets
- Parchment paper or silicone baking mats
- Wire cooling racks
- Small microwave-safe bowl (for warming caramel)
- Refrigerator space for chilling dough
Step-by-Step Instructions
Preparing the Cookie Dough
- In a medium bowl, whisk together the flour, cornstarch, baking soda, and salt. Set aside.
- In the bowl of a stand mixer fitted with the paddle attachment (or using a hand mixer), cream together the softened butter and cream cheese on medium speed until smooth and well combined, about 2 minutes.
- Add both granulated and brown sugars, then beat on medium-high speed until light and fluffy, about 3-4 minutes. Don’t rush this step! This incorporates air into the dough for a better texture.
- Add the egg and egg yolk one at a time, beating well after each addition. Scrape down the sides of the bowl as needed.
- Beat in the vanilla extract and almond extract (if using).
- With the mixer on low speed, gradually add the dry ingredients to the wet ingredients. Mix just until combined—don’t overmix! The dough will be soft.
- Cover the bowl with plastic wrap and refrigerate for at least 2 hours, or ideally overnight. This step is crucial for the texture and flavor development.
Making the Cheesecake Filling
- In a medium bowl, beat the softened cream cheese until smooth and creamy, about 1 minute.
- Add the sugar and vanilla extract, beating until well combined and no lumps remain.
- Mix in the tablespoon of flour until incorporated. The flour helps stabilize the filling during baking.
- Cover and refrigerate until you’re ready to assemble the cookies.
Preparing the Caramel
- If using store-bought caramel sauce, warm it slightly in the microwave (about 10-15 seconds) to make it easier to work with. It should be flowing but not hot.
- Stir in the ½ teaspoon of flaky sea salt. Set aside.
Assembling and Baking the Cookies
- Preheat your oven to 350°F (175°C). Line baking sheets with parchment paper or silicone mats.
- Remove the cookie dough from the refrigerator. If it’s very firm, let it sit at room temperature for 10-15 minutes to soften slightly.
- Using a cookie scoop or measuring spoon, portion out 2 tablespoons of dough for each cookie. Roll into balls and place on the prepared baking sheets, leaving about 3 inches between each cookie.
- Use your thumb or the back of a rounded measuring spoon to make an indentation in the center of each cookie dough ball.
- Fill each indentation with about 1 teaspoon of the cheesecake filling.
- Drizzle about ½ teaspoon of the salted caramel sauce over the cheesecake filling.
- Using a toothpick or the tip of a knife, gently swirl the caramel into the cheesecake filling, creating a marbled effect.
- Sprinkle a few flakes of sea salt on top of each cookie.
- Bake in the preheated oven for 12-14 minutes, or until the edges are golden but the centers still look slightly underdone. Don’t overbake! They will continue to firm up as they cool.
- Allow the cookies to cool on the baking sheets for 5 minutes before transferring to wire racks to cool completely.
Storage and Make-Ahead Tips
These cookies are at their absolute best when they’re fresh, but proper storage will help maintain their quality:
Storage Options:
| Storage Method | Duration | Instructions | Best For |
|---|---|---|---|
| Room Temperature | 2-3 days | Store in airtight container with parchment between layers | Immediate enjoyment |
| Refrigerator | Up to 1 week | Store in airtight container with parchment between layers | Maintaining cheesecake texture |
| Freezer (baked cookies) | Up to 3 months | Freeze on baking sheet until solid, then transfer to freezer bags or containers | Long-term storage |
| Freezer (cookie dough) | Up to 2 months | Form dough balls, freeze on baking sheet, then transfer to freezer bags | Fresh-baked cookies on demand |
| Freezer (assembled unbaked cookies) | Up to 1 month | Freeze assembled cookies on baking sheet, then transfer to containers | Quick baking with all components |
Make-Ahead Options:
I often make components of these cookies in advance when I’m planning for parties or holiday cookie exchanges:
- Cookie Dough: Can be made up to 3 days ahead and stored in the refrigerator.
- Cheesecake Filling: Can be prepared 1-2 days ahead and kept refrigerated.
- Fully Assembled Unbaked Cookies: Can be prepared and frozen on baking sheets, then transferred to freezer containers once solid. When ready to bake, add 2-3 minutes to the baking time (no need to thaw).
- Fully Baked Cookies: These actually benefit from an overnight rest in the refrigerator, as the flavors meld and intensify.
Troubleshooting Common Issues
Even experienced bakers occasionally run into problems. Here’s how to fix the most common issues with these cookies:
Cookies Spread Too Much
- The dough wasn’t chilled long enough
- Butter was too warm
- Oven temperature too low
- Solution: Chill the dough longer, even freezing the shaped cookies for 15 minutes before baking
Cookies Don’t Spread Enough
- Too much flour (always measure properly or use a scale)
- Dough too cold
- Solution: Let dough warm up slightly before baking or flatten cookies slightly with palm before adding filling
Caramel Leaks Out During Baking
- Too much caramel used
- Indentation not deep enough
- Solution: Use less caramel and make sure the indentation is deep enough to contain the filling
Cheesecake Filling Too Runny
- Cream cheese too warm
- Not enough flour in the filling
- Solution: Make sure filling is well-chilled before assembly and add an extra teaspoon of flour if needed
Variations to Try
While the classic recipe is absolutely delicious, I’ve experimented with these variations that are equally divine:
Chocolate Lovers’ Version
- Add ¼ cup cocoa powder to the cookie dough (reduce flour by same amount)
- Use chocolate caramel sauce instead of regular
- Drizzle with melted dark chocolate after baking
Turtle Cheesecake Cookies
- Add ½ cup chopped pecans to the cookie dough
- Top with additional chopped pecans before baking
- Drizzle with both caramel and chocolate after baking
Pumpkin Spice (Perfect for Fall)
- Add 1½ teaspoons pumpkin pie spice to the cookie dough
- Use ¼ cup pumpkin puree in the cheesecake filling
- Use cinnamon caramel sauce
Berry Swirl
- Add raspberry or strawberry jam swirl along with the caramel
- Drizzle with white chocolate after baking
Serving Suggestions
These cookies deserve to be showcased! Here are my favorite ways to serve them:
- Cookie Platters: Place these as the star of your cookie platter with simpler cookies surrounding them.
- Dessert Charcuterie Board: Pair with fresh fruits, chocolate-dipped pretzels, and small brownie bites.
- Ice Cream Sandwiches: For an over-the-top dessert, sandwich a small scoop of vanilla or caramel ice cream between two completely cooled cookies.
- Holiday Cookie Exchange: Package in clear cellophane bags with elegant ribbon and a handwritten recipe card for a thoughtful gift.
- With Hot Beverages: Serve alongside:
- Rich hot chocolate
- Coffee with a splash of cream
- Chai tea
- Caramel macchiato
- Dessert Course: For dinner parties, serve a single cookie on a small plate with:
- A quenelle of mascarpone cream
- A drizzle of additional caramel
- A few fresh berries for color contrast
Nutritional Information
For those tracking nutritional intake, here’s an approximate breakdown per cookie (based on a yield of 24 cookies):
| Nutrient | Amount per Cookie |
|---|---|
| Calories | 275 |
| Total Fat | 15g |
| Saturated Fat | 9g |
| Cholesterol | 55mg |
| Sodium | 230mg |
| Total Carbohydrates | 32g |
| Dietary Fiber | <1g |
| Sugars | 22g |
| Protein | 3g |
Note: These values are estimates and may vary based on specific ingredients used.
FAQ Section
Q: Can I use low-fat cream cheese in this recipe? No, I don’t recommend it. Full-fat cream cheese provides the proper texture and creaminess that’s essential for these cookies. Low-fat versions contain more moisture and stabilizers that can negatively affect the outcome.
Q: Do I really need to chill the dough? Absolutely! Chilling the dough is crucial for these cookies. It allows the flour to fully hydrate, prevents excessive spreading during baking, and develops a deeper flavor. Think of it as an investment in cookie perfection!
Q: Can I make these cookies gluten-free? Yes! I’ve successfully made these with a 1:1 gluten-free flour blend that contains xanthan gum. The texture is slightly different but still delicious. You may need to add an additional tablespoon of flour to the dough.
Q: How do I know when the cookies are done baking? This is tricky because you want the edges to be just barely golden while the centers still look slightly underdone. If you wait until the centers look fully set, the cookies will be overbaked. They will continue to set up as they cool.
Q: Can I use homemade caramel sauce? Absolutely! Homemade caramel sauce works beautifully and often has a more complex flavor. Just make sure it’s a thicker sauce that won’t completely liquify when heated.
Q: Why does my caramel sink to the bottom of the cookies? If your caramel is too thin or warm when added, it can sink through the cheesecake filling. Try chilling your caramel slightly before swirling it into the filling.
Q: My cookies don’t have that beautiful crackled top like in the photos. What went wrong? The crackled top comes from the right balance of sugar, proper creaming of the butter and sugar, and the correct oven temperature. Make sure you’re creaming the butter, cream cheese, and sugars until truly light and fluffy (about 3-4 minutes). Also, check your oven temperature with an oven thermometer.
Q: Can I make smaller cookies? Yes! You can make mini versions using about 1 tablespoon of dough per cookie. Reduce the baking time to 8-10 minutes. They make adorable two-bite treats!
The Story Behind These Cookies
I believe that every great recipe has a story, and these cookies are no exception. I first created them for my sister’s baby shower, where I wanted something that felt special and unique. The combination of cheesecake and salted caramel was inspired by her pregnancy cravings!
The guests went wild for them, and I’ve been perfecting the recipe ever since. What I love most about these cookies is how they bring together the best elements of two beloved desserts—the convenience and nostalgia of cookies with the luxurious, creamy decadence of cheesecake.
They’ve since become my signature contribution to holiday gatherings, family reunions, and potlucks. There’s something so satisfying about watching someone take their first bite and seeing their eyes widen with surprise and delight.
I hope these cookies bring as much joy to your kitchen and gatherings as they have to mine. Happy baking!