Have you ever wondered why restaurant kale tastes so much better than what you make at home? I’ve spent years perfecting my kale game, and I’m here to share every secret I’ve discovered along the way. This isn’t just another basic sautéed kale recipe – it’s your complete guide to transforming this humble leafy green into a dish that will have everyone asking for seconds.
Why This Recipe Works
I remember the first time I tried to cook kale. It was tough, bitter, and nothing like the delicious side dish I’d had at my favorite farm-to-table restaurant. After countless attempts and variations, I’ve cracked the code to creating perfectly tender, flavorful kale that maintains its beautiful green color and nutritional benefits.
The Science Behind Perfect Kale
Before we dive into the recipe, let’s understand what makes kale tick. When you massage kale (yes, we’re giving our greens a spa treatment), you’re actually breaking down the tough cellulose structure. This mechanical tenderizing, combined with the right heat application, transforms the leaves without destroying their nutrients.
Essential Ingredients
Here’s what you’ll need to make restaurant-quality sautéed kale:
| Ingredient | Amount | Notes |
|---|---|---|
| Fresh kale | 2 large bunches (about 20-24 leaves) | Curly or Lacinato (Dinosaur) |
| Extra virgin olive oil | 3 tablespoons | High-quality for best flavor |
| Fresh garlic | 4-6 cloves | Thinly sliced, not minced |
| Sea salt | 1 teaspoon | Plus more to taste |
| Fresh lemon | 1 medium | For juice and zest |
| Red pepper flakes | ¼ teaspoon | Optional, for heat |
| Black pepper | ½ teaspoon | Freshly ground |
Equipment Needed
| Item | Purpose | Recommendation |
|---|---|---|
| Large skillet | Main cooking vessel | 12-inch with lid |
| Sharp knife | Prep work | Chef’s knife preferred |
| Cutting board | Prep surface | Large wooden board |
| Colander | Washing greens | Large capacity |
| Kitchen towel | Drying leaves | Clean, lint-free |
| Tongs | Turning greens | Silicone-tipped |
Preparation Method
Step 1: Prep Your Kale
I’ve learned that proper prep is crucial for perfect results. Here’s my detailed process:
- Wash the kale thoroughly in cool water
- Remove the tough center stems
- Tear leaves into 2-inch pieces
- Dry completely using a salad spinner or kitchen towels
- Massage with 1 tablespoon olive oil and ¼ teaspoon salt
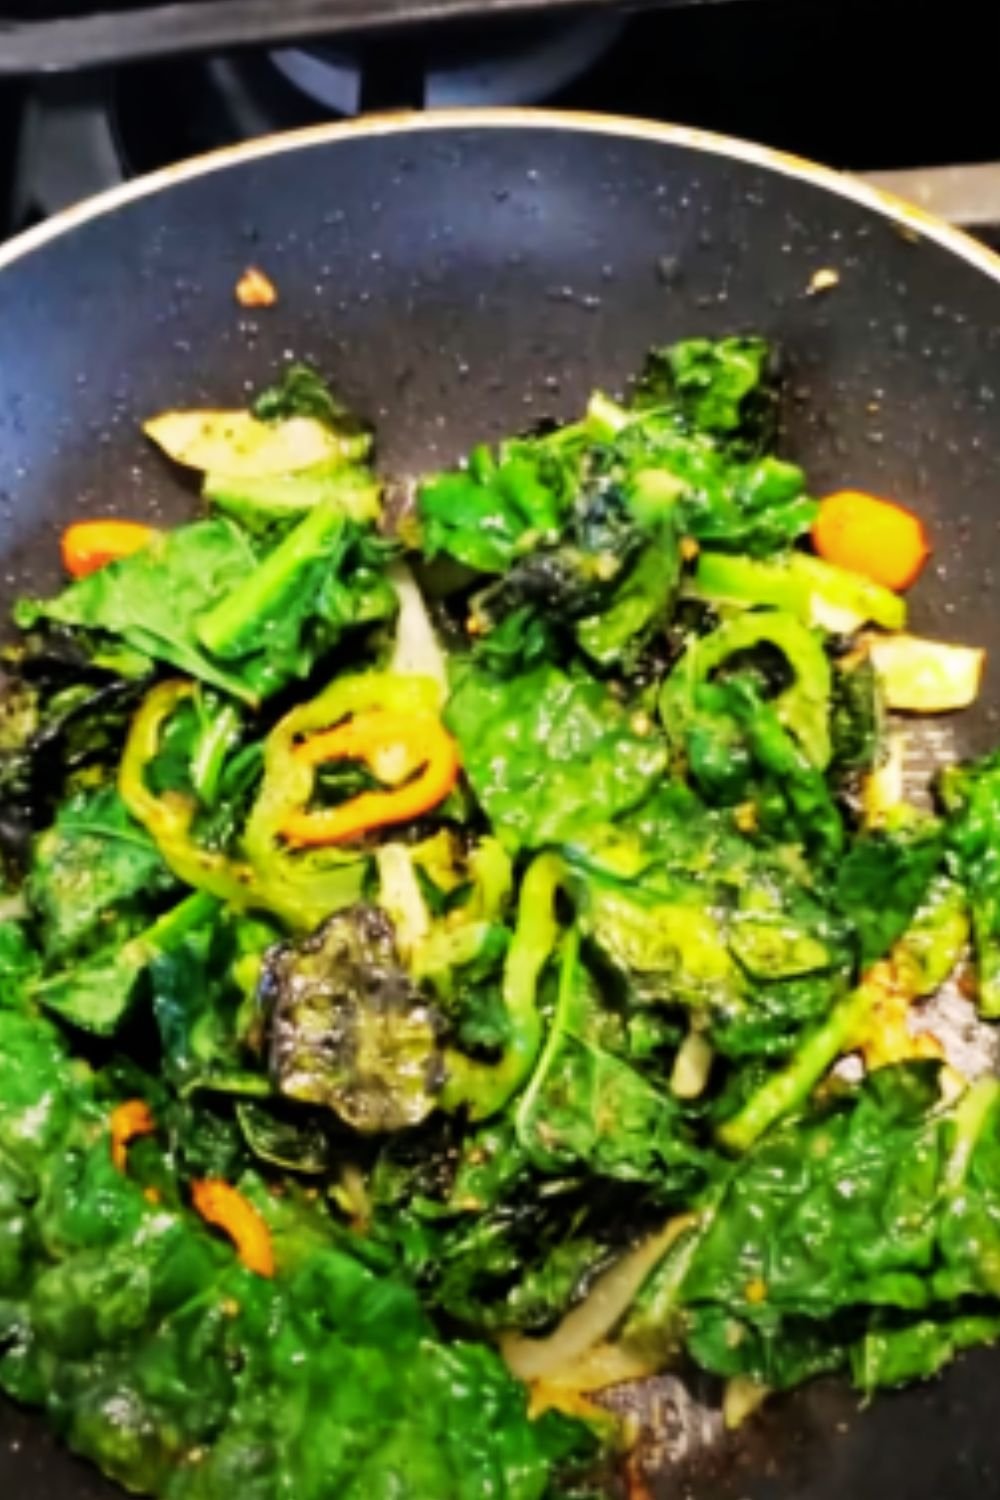
Step 2: The Perfect Sauté
The key to restaurant-quality results lies in the cooking technique. Here’s my foolproof method:
- Heat your skillet over medium-high heat
- Add remaining olive oil
- Add sliced garlic and red pepper flakes
- Cook until garlic is fragrant (30 seconds)
- Add prepped kale in batches
- Toss frequently with tongs
- Cover between additions to steam slightly
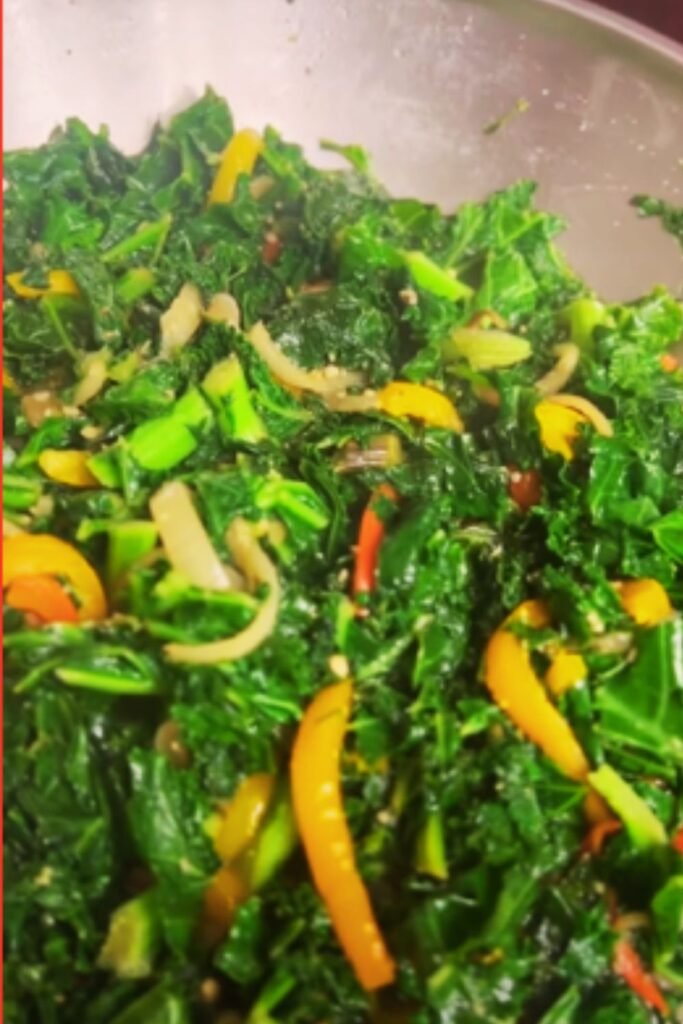
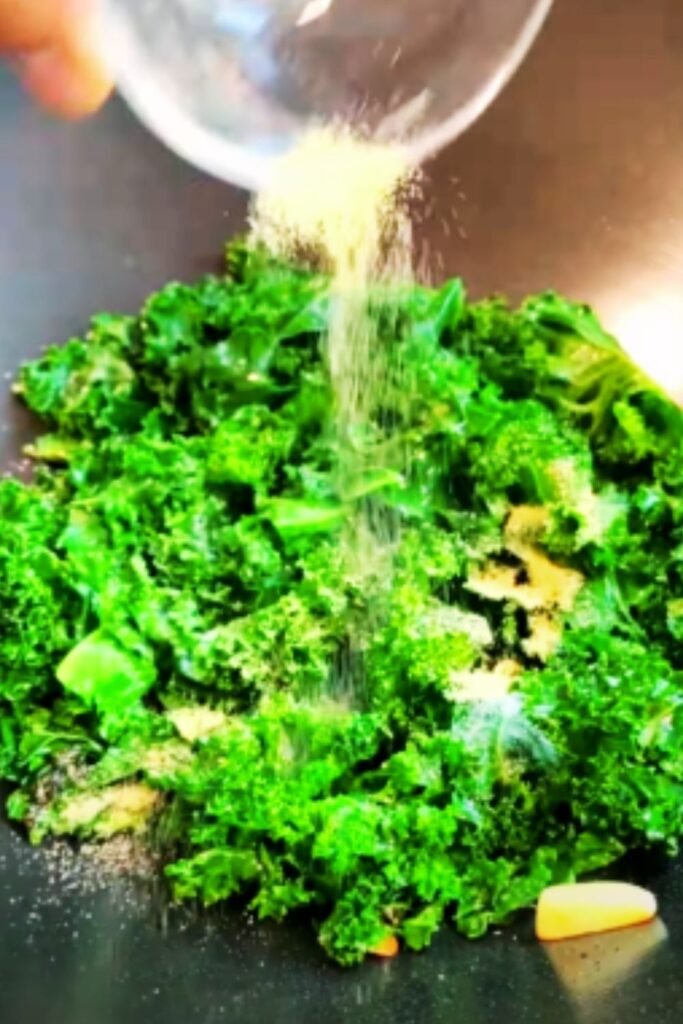
Step 3: Finishing Touches
This is where we transform good kale into great kale:
- Add fresh lemon juice
- Season with remaining salt and black pepper
- Toss well
- Finish with lemon zest
Troubleshooting Guide
| Problem | Cause | Solution |
|---|---|---|
| Tough kale | Insufficient massage | Massage longer with oil and salt |
| Bitter taste | Overcooking | Reduce cooking time, finish with lemon |
| Burnt garlic | Too high heat | Start with cooler pan, watch carefully |
| Watery result | Wet leaves | Dry thoroughly before cooking |
| Uneven cooking | Overcrowded pan | Cook in batches |
Variations and Add-ins
I love experimenting with different flavors. Here are my tested favorites:
| Variation | Additional Ingredients | Special Instructions |
|---|---|---|
| Mediterranean | Pine nuts, raisins | Toast nuts separately |
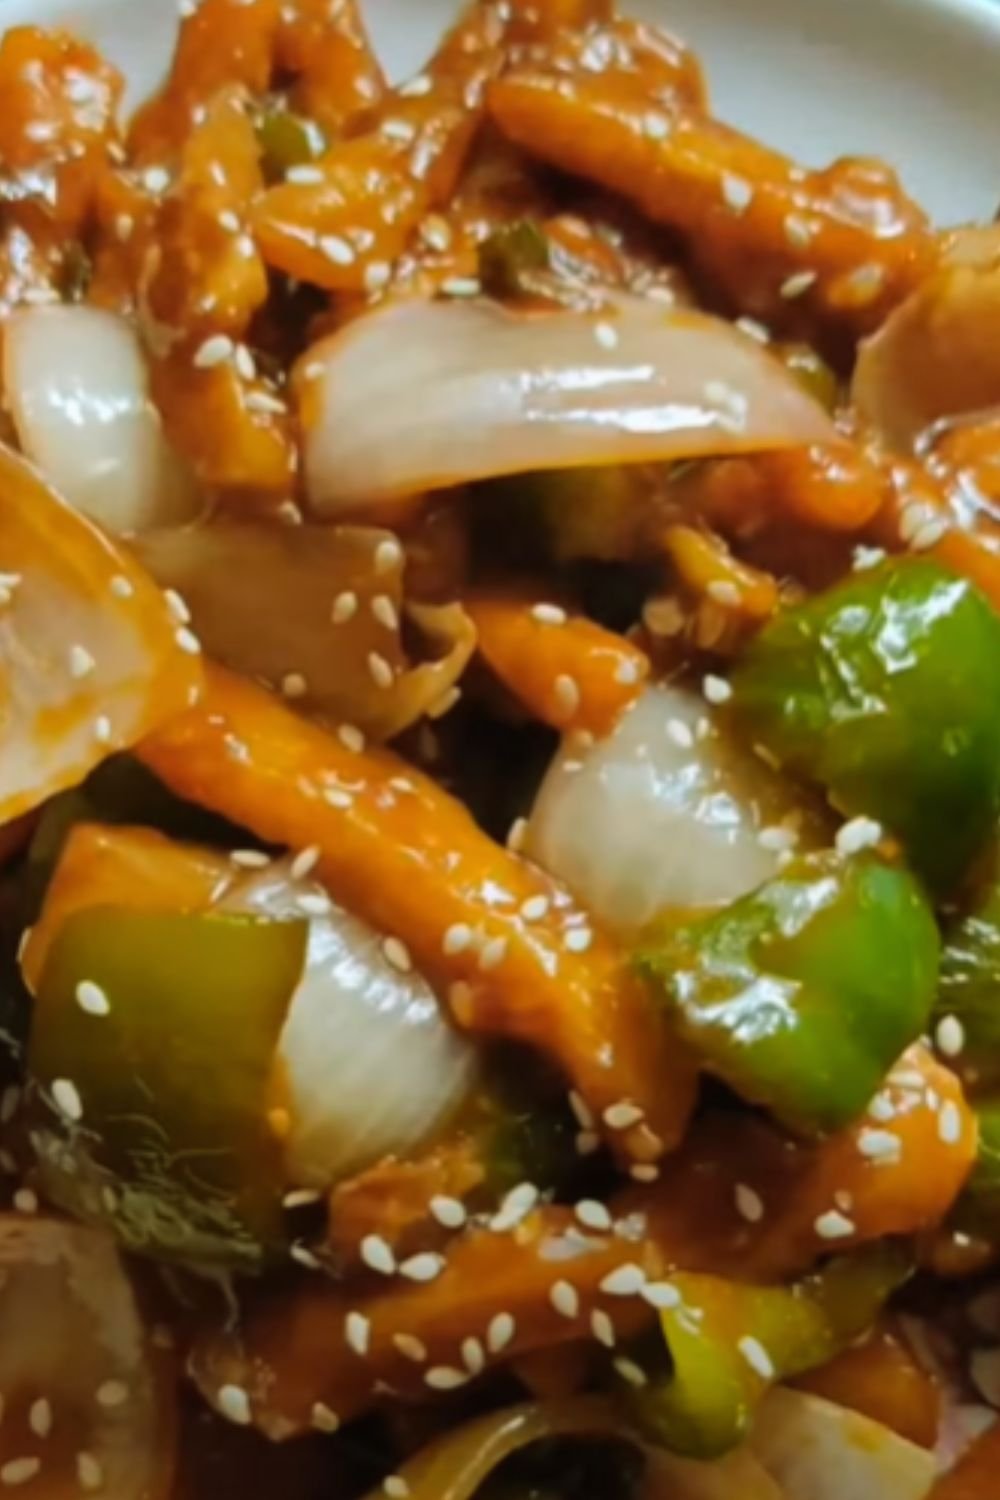
| Asian-inspired | Sesame oil, ginger | Replace olive oil partially |
| Spicy | Fresh chilies, garlic | Add chilies with garlic |
| Nutty | Walnuts, nutritional yeast | Add after cooking |
Nutritional Information
Per serving (1 cup):
| Nutrient | Amount | % Daily Value |
|---|---|---|
| Calories | 100 | – |
| Protein | 3g | 6% |
| Fiber | 2.5g | 10% |
| Vitamin K | 547mcg | 684% |
| Vitamin A | 10302IU | 206% |
| Vitamin C | 80.4mg | 134% |
| Iron | 1.1mg | 6% |
Storage and Meal Prep Tips
I’ve found these storage methods work best:
| Storage Method | Duration | Tips |
|---|---|---|
| Refrigerator (raw) | 5-7 days | Store in sealed container with paper towel |
| Refrigerator (cooked) | 3-4 days | Cool completely before storing |
| Freezer (blanched) | 6 months | Flash freeze on tray first |
Serving Suggestions
My favorite ways to serve this dish:
- Alongside roasted salmon or grilled chicken
- Mixed into whole grain bowls
- As a base for poached eggs
- Tossed with roasted sweet potatoes
- Added to grain salads
Frequently Asked Questions
Q: Why is my kale bitter even after cooking?
A: Bitterness can be reduced by proper massaging before cooking and finishing with acid (lemon juice). Also, make sure not to overcook – kale should be tender but still bright green.
Q: Can I make this ahead of time?
A: Yes! You can prep the kale (wash, dry, and cut) up to 2 days ahead. Store in a sealed container with a paper towel to absorb excess moisture. The completed dish keeps well for 3-4 days.
Q: What’s the best type of kale to use?
A: Both curly and Lacinato (dinosaur) kale work well. Curly kale holds sauce better, while Lacinato has a more tender texture. I prefer Lacinato for this recipe.
Q: How do I know when the kale is properly cooked?
A: Perfect kale should be tender but still have a slight bite. The leaves should be bright green and slightly wilted. If they turn very dark or brown, they’re overcooked.
Q: Can I use frozen kale?
A: While fresh is best for this recipe, you can use frozen in a pinch. Thaw completely and squeeze out excess moisture before cooking. Reduce cooking time by about 2 minutes.
Pro Tips from My Kitchen
- Always start with dry leaves – water will steam the kale instead of sautéing it
- Don’t skip the massaging step – it’s crucial for tender results
- Use a pan large enough to avoid overcrowding
- Keep the garlic slices slightly bigger to prevent burning
- Season in layers for the best flavor development
Remember, great sautéed kale is all about technique and timing. With these tips and methods, you’ll be making restaurant-quality kale that even green-adverse eaters will love. Give it a try and let me know how it turns out in your kitchen!