
Have you ever drizzled a little chili oil over your dumplings or noodles and found yourself wanting to drink the whole bottle? I certainly have! Store-bought versions can be good, but nothing compares to the fragrant, complex heat of homemade chili oil. After years of experimenting with different recipes and techniques, I’ve finally mastered the art of making this liquid gold at home, and I can’t wait to share it with you.
When I first tried making chili oil, it was a disaster—bitter, burnt, and nothing like the aromatic condiment I was hoping for. But with practice (and plenty of trial and error), I’ve developed foolproof methods that consistently deliver incredible results. In this comprehensive guide, I’ll walk you through everything you need to know to create your own signature chili oil that will elevate every dish it touches.
What Is Chili Oil?
Chili oil is a versatile infused oil that combines the heat of dried chilies with the richness of oil, often enhanced with aromatics and spices. Popular throughout East and Southeast Asia, particularly in Chinese, Korean, and Japanese cuisines, this condiment has found its way into kitchens worldwide thanks to its ability to add depth, heat, and complexity to virtually any dish.
Traditional chili oil isn’t just spicy—it’s a symphony of flavors that can range from smoky and nutty to aromatic and earthy, depending on the ingredients and preparation method. Unlike hot sauces that often rely on vinegar for preservation and flavor, chili oil uses fat as its medium, creating a different kind of heat experience that coats the palate and lingers beautifully.
The Science Behind Great Chili Oil
Understanding the science behind chili oil will help you make better decisions when crafting your own. The magic happens when capsaicin (the compound that gives chilies their heat) infuses into oil. Since capsaicin is fat-soluble, oil makes an excellent vehicle for extracting and preserving chili flavor and heat.
The temperature at which you infuse your oil is critical:
- Too hot (above 350°F/175°C), and you’ll burn the spices, creating bitter flavors
- Too cool, and you won’t extract enough flavor
- The sweet spot is typically between 225-275°F (107-135°C)
During the infusion process, complex chemical reactions occur that transform the raw flavors of spices into more mellow, developed notes. This is why properly made chili oil has such depth compared to simply mixing chili flakes with oil.
Essential Ingredients for Authentic Chili Oil
The beauty of homemade chili oil lies in its customizability, but certain ingredients form the foundation of any good recipe:
Base Oil
Your choice of oil significantly impacts the final product:
- Neutral oils: Provide a blank canvas for spices to shine
- Vegetable oil
- Canola oil
- Grapeseed oil
- Rice bran oil
- Flavor-forward oils: Add their own character to the mix
- Peanut oil (traditional in Sichuan recipes)
- Sesame oil (usually added in small amounts for aroma)
- Avocado oil (for a healthier option with high smoke point)
I typically use a combination of 80% neutral oil with 20% peanut oil for balance. Avoid olive oil for authentic Asian chili oil, as its distinctive flavor conflicts with traditional profiles.
Chili Components
These determine the heat level and flavor profile:
- Dried whole chilies: Provide complex flavor and controllable heat
- Chinese facing heaven chilies (medium heat)
- Arbol chilies (medium-high heat)
- Kashmiri chilies (mild heat, vibrant color)
- Tien Tsin chilies (hot)
- Chili flakes/powder: For consistent texture and color
- Korean gochugaru (fruity, moderately spicy)
- Chinese chili flakes (varies by region)
- Basic crushed red pepper (readily available but less complex)
Aromatics and Spices
These elevate your chili oil from one-dimensional heat to complex condiment:
- Essential aromatics:
- Star anise
- Sichuan peppercorns
- Cinnamon stick
- Bay leaves
- Dried garlic
- Dried shallots
- Supporting cast:
- Cloves
- Fennel seeds
- Cardamom pods
- Black peppercorns
- Coriander seeds
Flavor Enhancers
These ingredients add dimension and depth:
- Umami builders:
- Salt
- MSG (optional but traditional)
- Fermented black beans
- Dried mushroom powder
- Sweeteners (used sparingly):
- Sugar
- Honey
- Maple syrup
Equipment You’ll Need
Making chili oil doesn’t require fancy equipment, but having the right tools makes the process easier and safer:
- Heavy-bottomed saucepan or pot
- Heat-resistant glass measuring cup
- Candy or deep-fry thermometer
- Metal fine-mesh strainer
- Clean, dry glass jars for storage
- Funnel
- Wooden or metal stirring utensils (avoid plastic)
- Heat-resistant bowl
Three Proven Methods for Perfect Chili Oil
After experimenting with countless techniques, I’ve settled on three reliable methods. Each has its advantages, so choose based on your preferences and equipment.
Method 1: The Pour-Over Method (Quickest)
This technique involves heating oil and pouring it over prepared spices and chilies. It’s perfect for beginners and offers consistent results.
Ingredients:
- 2 cups neutral oil
- 1/2 cup crushed red pepper flakes
- 3 star anise
- 1 cinnamon stick
- 2 bay leaves
- 2 tablespoons Sichuan peppercorns
- 6 cloves garlic, smashed
- 1 small piece ginger, sliced
- 1 tablespoon sesame seeds
- 1 teaspoon salt
Instructions:
- Place all dry ingredients except oil in a heat-proof bowl.
- Heat oil in a saucepan until it reaches 275°F (135°C) on a thermometer.
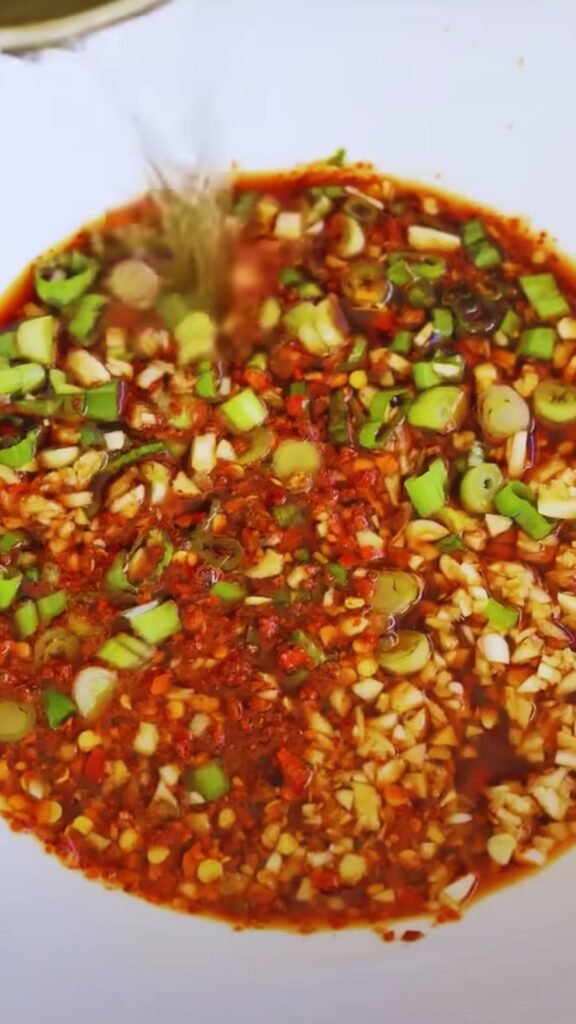
- Carefully pour the hot oil over the spice mixture—it will sizzle intensely!
- Stir gently to distribute heat evenly.
- Allow to cool completely before transferring to jars.
What I love about this method is its simplicity and how it preserves the vibrant red color of the chilies. The controlled temperature ensures you won’t burn the spices while still extracting plenty of flavor.
Method 2: The Infusion Method (Most Flavor)
This method requires more time but produces deeply flavored oil with nuanced character.
Ingredients:
- 2 cups neutral oil
- 1/2 cup chili flakes
- 4 star anise
- 2 cinnamon sticks
- 4 bay leaves
- 3 tablespoons Sichuan peppercorns
- 8 cloves garlic, smashed
- 1-inch ginger, sliced
- 2 tablespoons sesame seeds
- 1 teaspoon salt
- 1/2 teaspoon sugar
Instructions:
- Combine oil and all aromatics (except chili flakes) in a saucepan.
- Heat very gently to 220°F (104°C) and maintain this temperature for 30 minutes.
- Strain the oil into a clean pot.
- Reheat oil to 275°F (135°C).
- Pour over chili flakes in a heat-proof bowl.
- Stir in salt and sugar once the temperature drops below 200°F (93°C).
- Cool completely before jarring.
This slow infusion method extracts maximum flavor from the aromatics while carefully controlling the chili toasting. I find this produces the most complex flavor profile, though it requires more attention throughout the process.
Method 3: The One-Pot Method (Most Convenient)
This streamlined approach is perfect for experienced cooks who can monitor temperatures carefully.
Ingredients:
- 2 cups neutral oil
- 1/2 cup chili flakes
- 3 star anise
- 1 cinnamon stick
- 3 bay leaves
- 2 tablespoons Sichuan peppercorns
- 6 cloves garlic, smashed
- 1-inch ginger, sliced
- 1 tablespoon sesame seeds
- 1 teaspoon salt
- 1/2 teaspoon MSG (optional)
Instructions:
- Heat oil to 225°F (107°C).
- Add all aromatics except chili flakes and maintain temperature for 15 minutes.
- Remove from heat and add chili flakes.
- Stir well and allow to cool for 5 minutes.
- Add salt and MSG if using.
- Allow to cool completely before straining and bottling.
I turn to this method when I’m short on time but still want excellent results. The key is careful temperature control—I never let it exceed 250°F to avoid burning.
Detailed Comparison of Methods
| Feature | Pour-Over Method | Infusion Method | One-Pot Method |
|---|---|---|---|
| Time Required | 15-20 minutes | 45-60 minutes | 30-40 minutes |
| Difficulty | Beginner | Intermediate | Intermediate |
| Flavor Complexity | Good | Excellent | Very Good |
| Color Vibrancy | Excellent | Good | Very Good |
| Heat Level Control | Moderate | Excellent | Good |
| Equipment Needed | Minimal | More extensive | Moderate |
| Risk of Burning | Low | Low | Moderate |
| Best For | Quick results | Special occasions | Everyday use |
| Shelf Life | 3-4 months | 4-6 months | 3-5 months |
Regional Variations to Explore
One aspect I love about chili oil is how different cultures have developed their own distinctive versions. Here are some regional variations worth exploring:
Sichuan-Style (China)
The most famous Chinese variant features a generous amount of Sichuan peppercorns for their distinctive numbing quality (mála). Often contains more sediment for a chunky texture and may include fermented black beans or doubanjiang paste.
Lao Gan Ma Style (China)
Inspired by the famous brand, this style includes crispy fried onions, peanuts, and preserved vegetables for a crunchy texture and umami boost.
Japanese Rayu
Typically more lightly spiced with a clearer appearance. Often includes sesame oil and sometimes dried seafood elements like bonito flakes for umami depth.
Korean-Inspired
Uses gochugaru for a sweeter, fruitier heat profile and often includes sesame seeds and sometimes a touch of sweetness from sugar or fruit.
Thai-Style
Incorporates lemongrass, lime leaves, and sometimes shrimp paste for a bright, aromatic profile with a distinct Southeast Asian character.
Troubleshooting Common Issues
Even with perfect recipes, things can go wrong. Here’s how to fix common problems:
Bitter Oil
- Cause: Oil temperature too high, burning the spices
- Solution: Always monitor temperature with a thermometer; stay below 275°F
- Fix existing batch: Dilute with fresh oil and add a pinch of sugar
Not Spicy Enough
- Cause: Temperature too low or insufficient infusion time
- Solution: Ensure oil reaches at least 225°F when pouring over chilies
- Fix existing batch: Re-heat gently with additional fresh chili flakes
Too Spicy
- Cause: Too many chili flakes or seeds included
- Solution: Use fewer chilies or de-seed them before using
- Fix existing batch: Dilute with plain oil
Cloudy Appearance
- Cause: Water content in ingredients or containers
- Solution: Ensure all equipment is completely dry; cook aromatics enough to remove moisture
- Fix existing batch: Let settle and carefully pour off clear oil
Mold Development
- Cause: Moisture contamination or improper storage
- Solution: Sterilize jars before filling; store in refrigerator
- Fix: Unfortunately, moldy oil should be discarded
Storage and Shelf Life

Proper storage is crucial for maintaining quality and preventing spoilage:
- Containers: Use clean, completely dry glass jars with tight-fitting lids
- Cooling: Allow oil to cool completely before sealing containers
- Storage location:
- Room temperature (up to 1 month)
- Refrigerator (3-6 months)
- Signs of spoilage: Off smells, mold, bubbling, or extreme darkening
I’ve found that dividing my batch into smaller containers helps preserve freshness—I keep one small jar at room temperature for regular use and the rest in the refrigerator for longer storage.
Creative Uses for Your Homemade Chili Oil
Once you’ve mastered making chili oil, you’ll want to put it on everything! Here are some of my favorite applications:
Classic Uses
- Drizzled over dumplings, noodles, or rice
- Added to soups just before serving
- Mixed into dipping sauces
- Tossed with roasted vegetables
Unexpected Applications
- Stirred into scrambled eggs
- Drizzled over ice cream (seriously—try it with vanilla!)
- Added to salad dressings
- Used as a marinade base for meats
- Incorporated into baked goods for a spicy-sweet contrast
Infusion Base
Your homemade chili oil can serve as a starting point for other infusions:
- Add herbs like rosemary or thyme
- Incorporate citrus zest
- Infuse with mushrooms for umami depth
Serving Suggestions
Beyond the basics, here are some specific serving ideas to showcase your homemade creation:
- Chili Oil Noodles: Toss hot noodles with chili oil, soy sauce, minced garlic, and a splash of black vinegar
- Spicy Cucumber Salad: Slice cucumbers thinly, salt and drain, then dress with chili oil, rice vinegar, and a sprinkle of sugar
- Elevated Hummus: Drizzle chili oil over hummus with toasted pine nuts and fresh herbs
- Spicy Marinades: Use as a base for chicken or tofu marinades with added honey and ginger
- Dumplings: Combine equal parts chili oil and black vinegar for the perfect dumpling dipping sauce
- Avocado Toast: Add a new dimension to your avocado toast with a light drizzle of chili oil and flaky salt
- Popcorn: Toss freshly popped popcorn with a tablespoon of strained chili oil and sea salt
Health Benefits of Chili Oil (In Moderation)
When consumed in reasonable amounts, homemade chili oil offers several potential health benefits:
- Capsaicin effects: The active compound in chilies may boost metabolism and promote fat burning
- Anti-inflammatory properties: Some studies suggest capsaicin has anti-inflammatory effects
- Antioxidants: Dried chilies contain beneficial antioxidants that can transfer to the oil
- Improved digestion: Moderate amounts of spicy foods may stimulate digestive enzymes
- Vitamin content: Chilies provide vitamins A, C, and E
Of course, moderation is key, as chili oil is still a concentrated fat source. I typically use just 1-2 teaspoons per serving to add flavor without excessive calories.
Frequently Asked Questions
Q: Can I use fresh chilies instead of dried? While fresh chilies have wonderful flavor, they contain water which can lead to spoilage in oil-based preparations. Stick with properly dried chilies for safety and longer shelf life.
Q: Is homemade chili oil safe from botulism? Botulism is a legitimate concern with oil infusions. To stay safe, always ensure your ingredients are completely dry, infuse at proper temperatures (above 200°F), and refrigerate after cooling. If adding fresh garlic or herbs, limit shelf life to one week in the refrigerator.
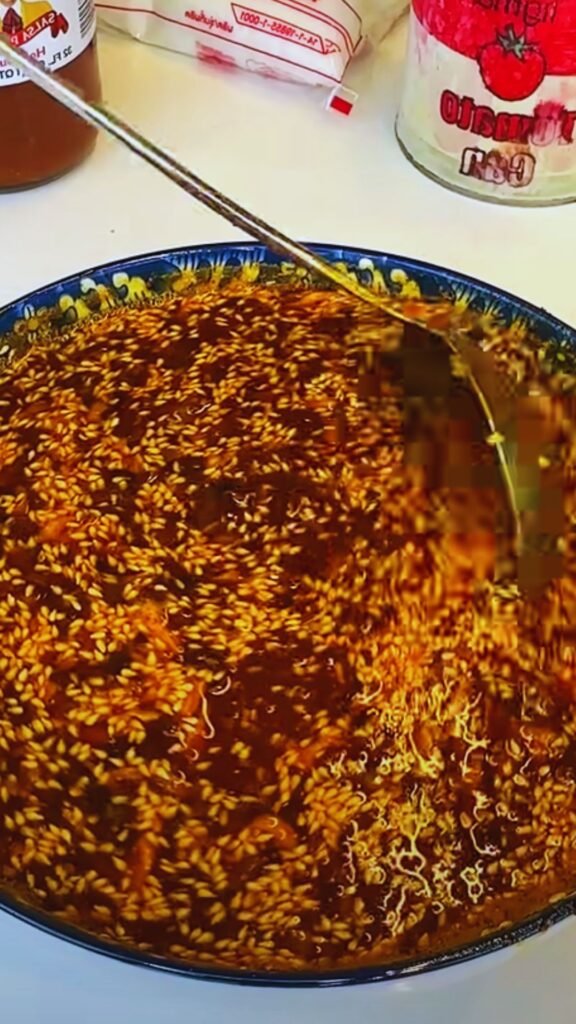
Q: My chili flakes sank to the bottom. Is this normal? Absolutely normal! The solids naturally separate from the oil over time. Simply stir before using or enjoy the clear oil from the top for some applications and the sediment-rich bottom portion for others.
Q: Can I reuse the strained solids? Yes! The strained chili and spice solids still have plenty of flavor. Mix them into marinades, stir-fries, or dressings for zero waste cooking.
Q: How can I adjust the heat level without changing the flavor? Use different types of chilies rather than simply adjusting quantity. For milder oil, use de-seeded chilies or varieties like Kashmiri or Korean gochugaru. For hotter oil, add some Thai bird chilies or cayenne to your base mix.
Q: My oil solidified in the refrigerator. Is it spoiled? This is normal! Many oils become cloudy or partially solidify at cold temperatures. Simply allow it to come to room temperature before using, or scoop out what you need and let it warm up.
Final Thoughts: Creating Your Signature Chili Oil
After making dozens of batches over the years, I’ve learned that the best chili oil is the one customized to your personal preferences. Don’t be afraid to experiment with different chili varieties, spice ratios, and infusion methods until you find your perfect formula.
Keep notes on each batch, noting what worked well and what you’d change. Soon enough, you’ll develop your signature recipe that friends and family will beg you to share.
Remember that homemade chili oil makes an exceptional gift—package it in attractive bottles with customized labels and watch people’s eyes light up when you present them with this liquid gold. Just be sure to note the refrigeration requirements and use-by date.
The journey to perfect chili oil is as rewarding as the destination. Embrace the process, engage your senses, and enjoy the endless culinary possibilities that await with your homemade creation!

