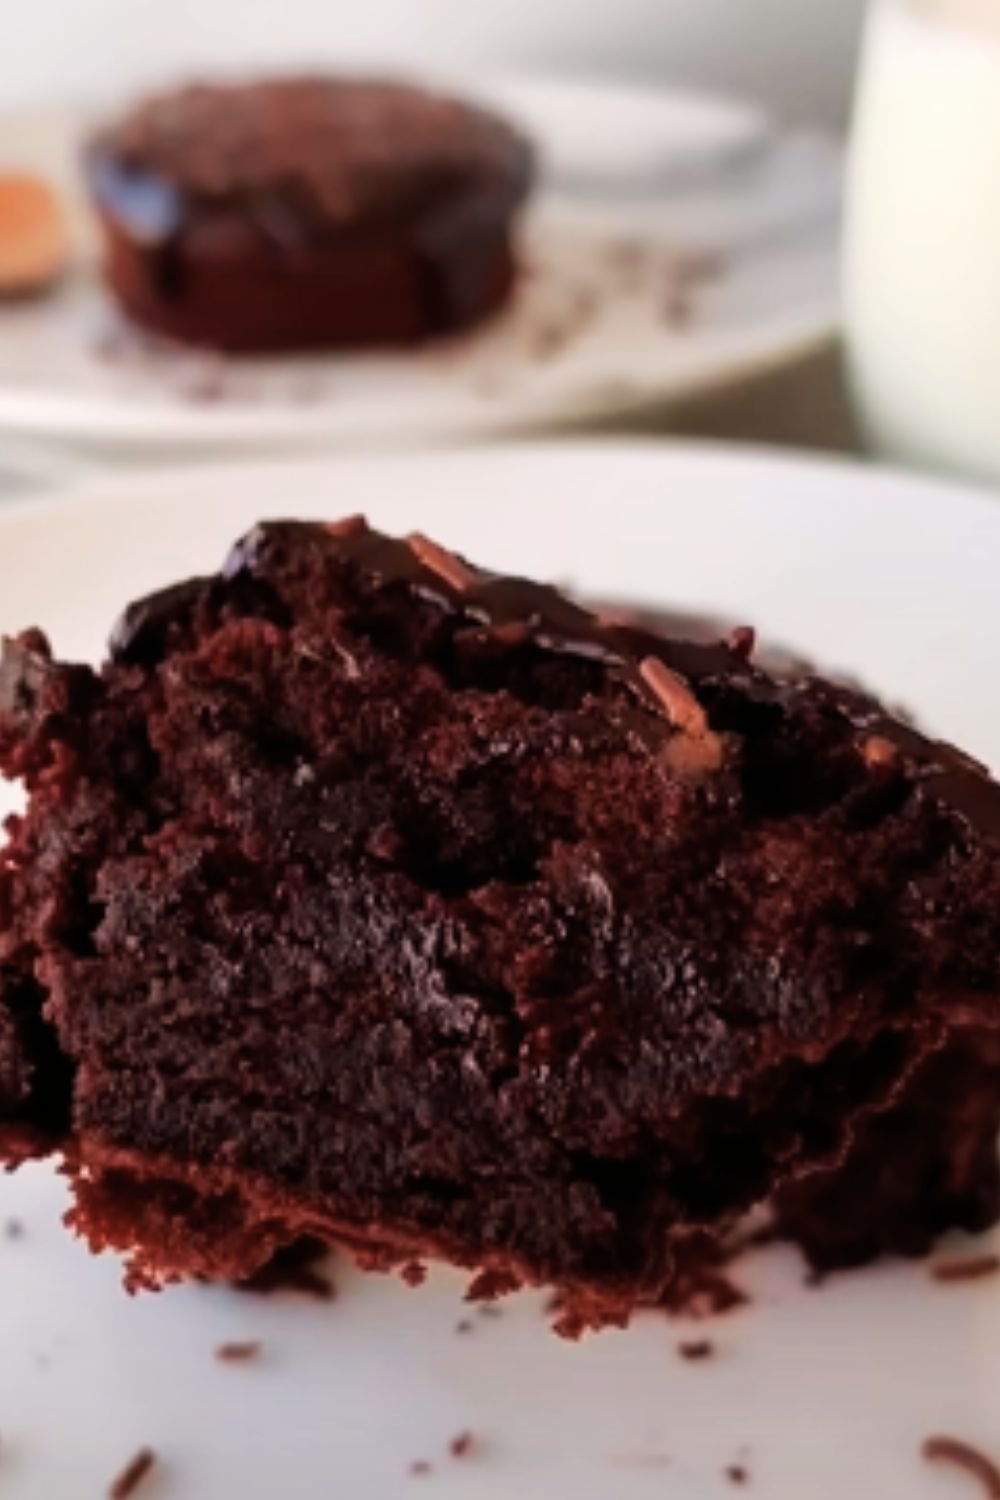
There’s something magical about a homemade chocolate cake that store-bought versions simply can’t replicate. I’ve spent years perfecting this recipe, testing countless variations to bring you what I genuinely believe is the ultimate chocolate cake experience. Rich, moist, and intensely chocolatey, this cake has been the star of countless birthday celebrations, holiday gatherings, and those moments when only chocolate will do. Whether you’re a seasoned baker or trying your hand at cake-making for the first time, I promise this recipe will become your go-to chocolate indulgence.
The Secret to Chocolate Cake Perfection
What makes a chocolate cake truly outstanding? After years of baking and countless taste tests (a tough job, but someone had to do it!), I’ve discovered it comes down to four crucial elements: exceptional ingredients, proper technique, balanced flavor, and moisture retention. This recipe excels in all four areas, resulting in a cake that’s not just good but genuinely memorable.
The journey to chocolate cake mastery begins with understanding the science behind the ingredients. Each component plays a vital role in creating that perfect texture and flavor that will have everyone asking for seconds.
Essential Ingredients
Before we dive into the baking process, let’s gather our ingredients. Quality matters tremendously when it comes to chocolate cake. Here’s what you’ll need:
- For the Cake:
- 2 cups all-purpose flour
- 2 cups granulated sugar
- 3/4 cup unsweetened cocoa powder (Dutch-processed preferred)
- 2 teaspoons baking soda
- 1 teaspoon baking powder
- 1 teaspoon salt
- 2 large eggs, at room temperature
- 1 cup buttermilk, at room temperature
- 1/2 cup vegetable oil
- 2 teaspoons pure vanilla extract
- 1 cup hot coffee or boiling water
- For the Chocolate Frosting:
- 1 1/2 cups unsalted butter, softened
- 3/4 cup unsweetened cocoa powder
- 5 cups powdered sugar
- 1/3 cup heavy cream
- 2 teaspoons pure vanilla extract
- 1/4 teaspoon salt
- For the Chocolate Ganache (Optional):
- 8 ounces high-quality semisweet chocolate, chopped
- 1 cup heavy cream
- 1 tablespoon unsalted butter
Understanding Your Ingredients
Exceptional chocolate cake comes from understanding how each ingredient functions:
Flour : Provides structure to the cake. I use all-purpose flour for the perfect balance between tenderness and stability.
Cocoa Powder : The heart of chocolate flavor. Dutch-processed cocoa gives a deeper color and smoother flavor than natural cocoa.
Baking Soda & Powder : These leavening agents create the perfect rise. The combination of both creates an ideal texture.
Buttermilk : Adds tenderness and moisture while activating the leavening agents with its acidity.
Oil : Keeps the cake moist much longer than butter would. This is why this cake stays fresh for days.
Coffee : Enhances the chocolate flavor without adding coffee taste. The hot liquid also blooms the cocoa, intensifying the chocolate experience.
Eggs : Provide structure, stability, and richness.
Equipment You’ll Need
Proper tools make the baking process smoother:
- Two 9-inch round cake pans
- Parchment paper
- Electric mixer (stand or handheld)
- Mixing bowls (various sizes)
- Measuring cups and spoons
- Rubber spatula
- Cooling rack
- Cake turntable (optional but helpful)
- Offset spatula for frosting
- Serrated knife for leveling
The Perfect Chocolate Cake: Step-by-Step
Preparation
- Preheat your oven to 350°F (175°C).
- Grease two 9-inch round cake pans. Line the bottoms with parchment paper circles and grease the paper.
- Bring all refrigerated ingredients to room temperature (this ensures proper mixing and even baking).
Making the Cake Batter
- In a large bowl, whisk together the flour, sugar, cocoa powder, baking soda, baking powder, and salt.
- In another bowl, combine the eggs, buttermilk, oil, and vanilla extract. Beat until well blended.
- Gradually add the wet ingredients to the dry ingredients, mixing at medium speed until just combined.
- Add the hot coffee (or boiling water) and mix on low speed until blended. The batter will be very thin – don’t worry, this is correct!
- Pour the batter evenly into the prepared pans.
Baking
- Bake for 30-35 minutes, or until a toothpick inserted in the center comes out with a few moist crumbs attached.
- Allow the cakes to cool in the pans for 10 minutes, then turn them out onto cooling racks to cool completely.
Preparing the Chocolate Frosting
- In a large bowl, beat the softened butter until creamy (about 2-3 minutes).
- Add the cocoa powder and beat until combined.
- Gradually add the powdered sugar, one cup at a time, beating well after each addition.
- Add the heavy cream, vanilla extract, and salt. Beat on medium speed until the frosting is light and fluffy (about 3-4 minutes).
- If the frosting is too thick, add more cream, one tablespoon at a time. If it’s too thin, add more powdered sugar.
Optional Chocolate Ganache
For an extra touch of decadence:
- Place chopped chocolate in a heatproof bowl.
- Heat heavy cream in a small saucepan until it just begins to simmer (do not boil).
- Pour the hot cream over the chocolate and let it sit for 2-3 minutes.
- Add the butter and stir until smooth and glossy.
- Allow to cool slightly until it reaches a pourable consistency.
Assembling Your Masterpiece
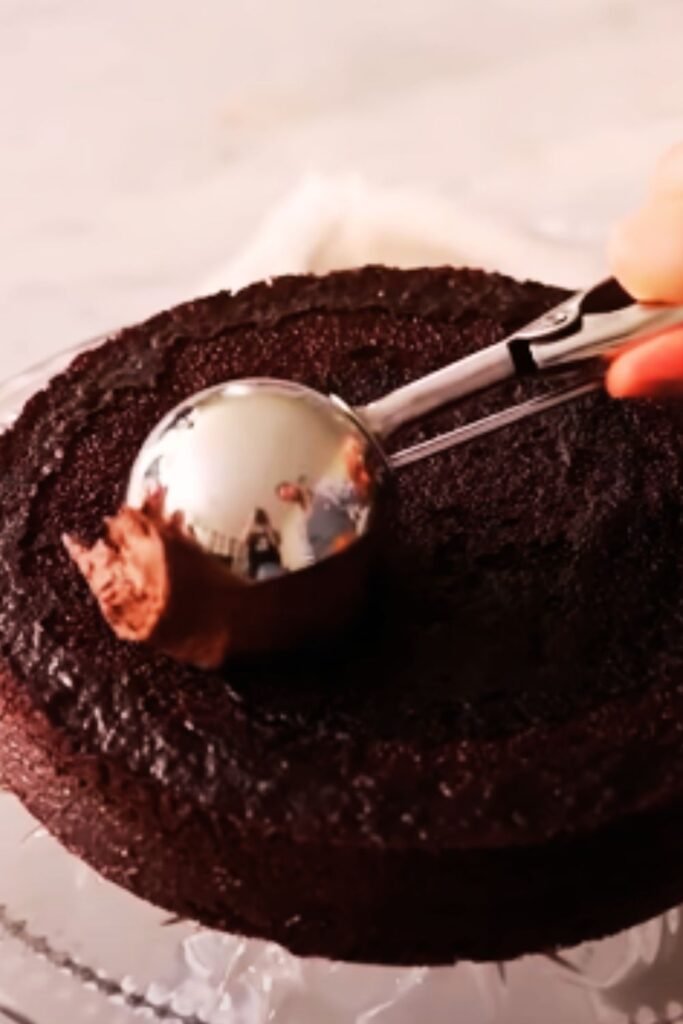
- If needed, level the tops of your cakes with a serrated knife to create flat surfaces.
- Place one cake layer on your serving plate or cake stand.
- Spread about 1 cup of frosting evenly over the top.
- Place the second cake layer on top, flat side up.
- Apply a thin layer of frosting all over the cake (this is called a crumb coat). Refrigerate for 15-20 minutes to set.
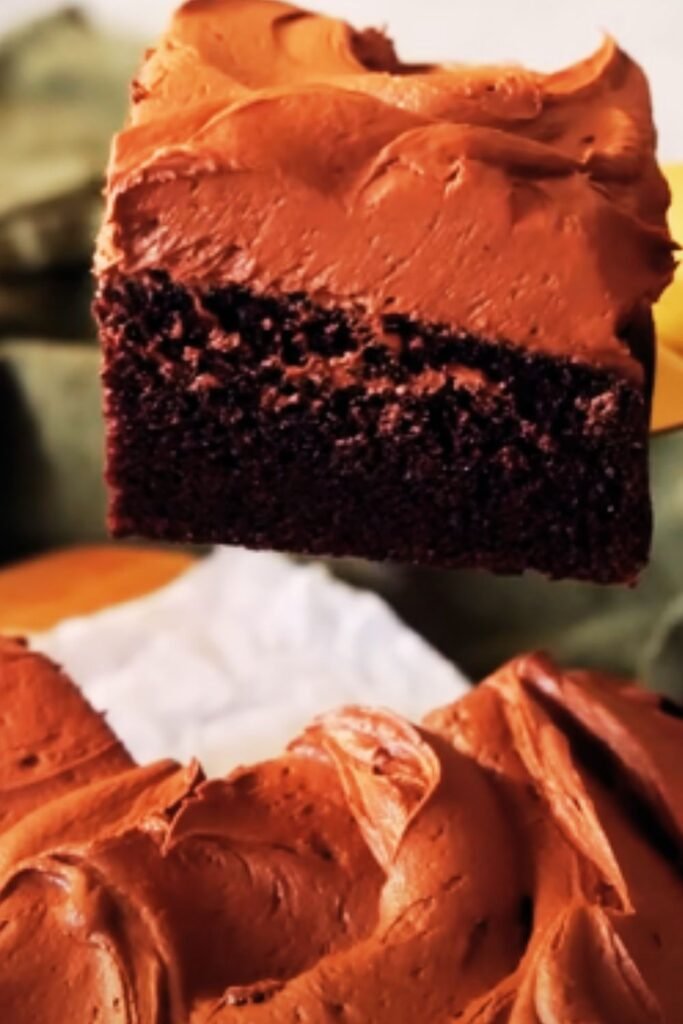
- Apply the remaining frosting, creating smooth sides and top, or decorative swirls as desired.
- If using ganache, pour it over the top of the cake, allowing it to drip down the sides naturally.
Common Pitfalls and How to Avoid Them
| Issue | Cause | Solution |
|---|---|---|
| Dry cake | Overbaking or incorrect measurement of liquid ingredients | Use a timer, check cake early, and measure liquids correctly |
| Sunken center | Opening the oven door too early or underbaking | Avoid opening the oven in the first 20 minutes; ensure proper baking time |
| Dense texture | Overmixing the batter or using cold ingredients | Mix just until combined; bring ingredients to room temperature |
| Cracked top | Oven temperature too high | Use an oven thermometer to verify temperature |
| Uneven baking | Oven hot spots or unevenly filled pans | Rotate pans halfway through baking; ensure equal batter distribution |
| Stuck to pan | Insufficient greasing or cooling in the pan too long | Use parchment paper and proper greasing; remove from pan after 10 minutes |
| Frosting too soft | Butter too warm or too much liquid | Chill frosting briefly; add more powdered sugar |
| Grainy frosting | Sugar not fully incorporated | Beat longer; sift powdered sugar before adding |
Variations to Try
Once you’ve mastered the basic recipe, try these exciting variations:
Different Frostings
- Cream Cheese Frosting: Add 8 ounces of softened cream cheese to the butter before mixing.
- Peanut Butter Frosting: Replace 1/2 cup of butter with 1 cup of smooth peanut butter.
- Mint Chocolate Frosting: Add 1/2 teaspoon of peppermint extract and a drop of green food coloring.
Flavor Additions
- Orange-Infused: Add the zest of one orange to the cake batter.
- Espresso Chocolate: Increase the coffee to 1 1/2 cups for a more pronounced coffee flavor.
- Raspberry Chocolate: Add a layer of raspberry preserves between the cake layers.
- Mexican Chocolate: Add 1 teaspoon of cinnamon and a pinch of cayenne pepper to the dry ingredients.
Structural Variations
- Bundt Cake: Pour all the batter into a well-greased 12-cup Bundt pan and bake for 50-55 minutes.
- Cupcakes: Fill lined cupcake tins 2/3 full and bake for 18-22 minutes. Makes about 24 cupcakes.
- Sheet Cake: Bake in a 9×13 inch pan for 35-40 minutes.
- Layer Variations: Split each cake into two layers for a stunning four-layer cake.
Special Dietary Adaptations
| Dietary Need | Ingredient Substitution | Notes |
|---|---|---|
| Gluten-Free | Replace all-purpose flour with 1:1 gluten-free baking flour | Add 1/4 teaspoon xanthan gum if not included in the flour blend |
| Egg-Free | Replace each egg with 1/4 cup unsweetened applesauce or 1 tablespoon ground flaxseed mixed with 3 tablespoons water | Texture may be slightly different |
| Dairy-Free | Replace buttermilk with almond or coconut milk + 1 tablespoon vinegar; use dairy-free butter for frosting | Choose complementary flavored milk alternatives |
| Vegan | Combine egg and dairy substitutions above; ensure sugar is vegan | May need additional leavening (1/4 tsp more baking powder) |
| Reduced Sugar | Reduce sugar to 1 1/2 cups in cake; use 4 cups powdered sugar in frosting | Consider adding 1/4 tsp more salt to enhance flavor |
| Keto-Friendly | Use almond flour and sugar substitute like erythritol | Will have a different texture; reduce liquid slightly |
Storage and Make-Ahead Tips
For optimal freshness:
- Unfrosted Layers: Wrap tightly in plastic wrap and keep at room temperature for up to 2 days, or freeze for up to 2 months.
- Frosted Cake: Refrigerate for up to 5 days. Bring to room temperature before serving for best flavor and texture.
- Freezing Complete Cake: Place unwrapped in freezer until firm, then wrap in plastic wrap and foil. Freeze for up to 2 months. Thaw overnight in the refrigerator.
Serving Suggestions
Elevate your chocolate cake experience with these serving ideas:
- Warm a slice for 10 seconds in the microwave and top with vanilla ice cream
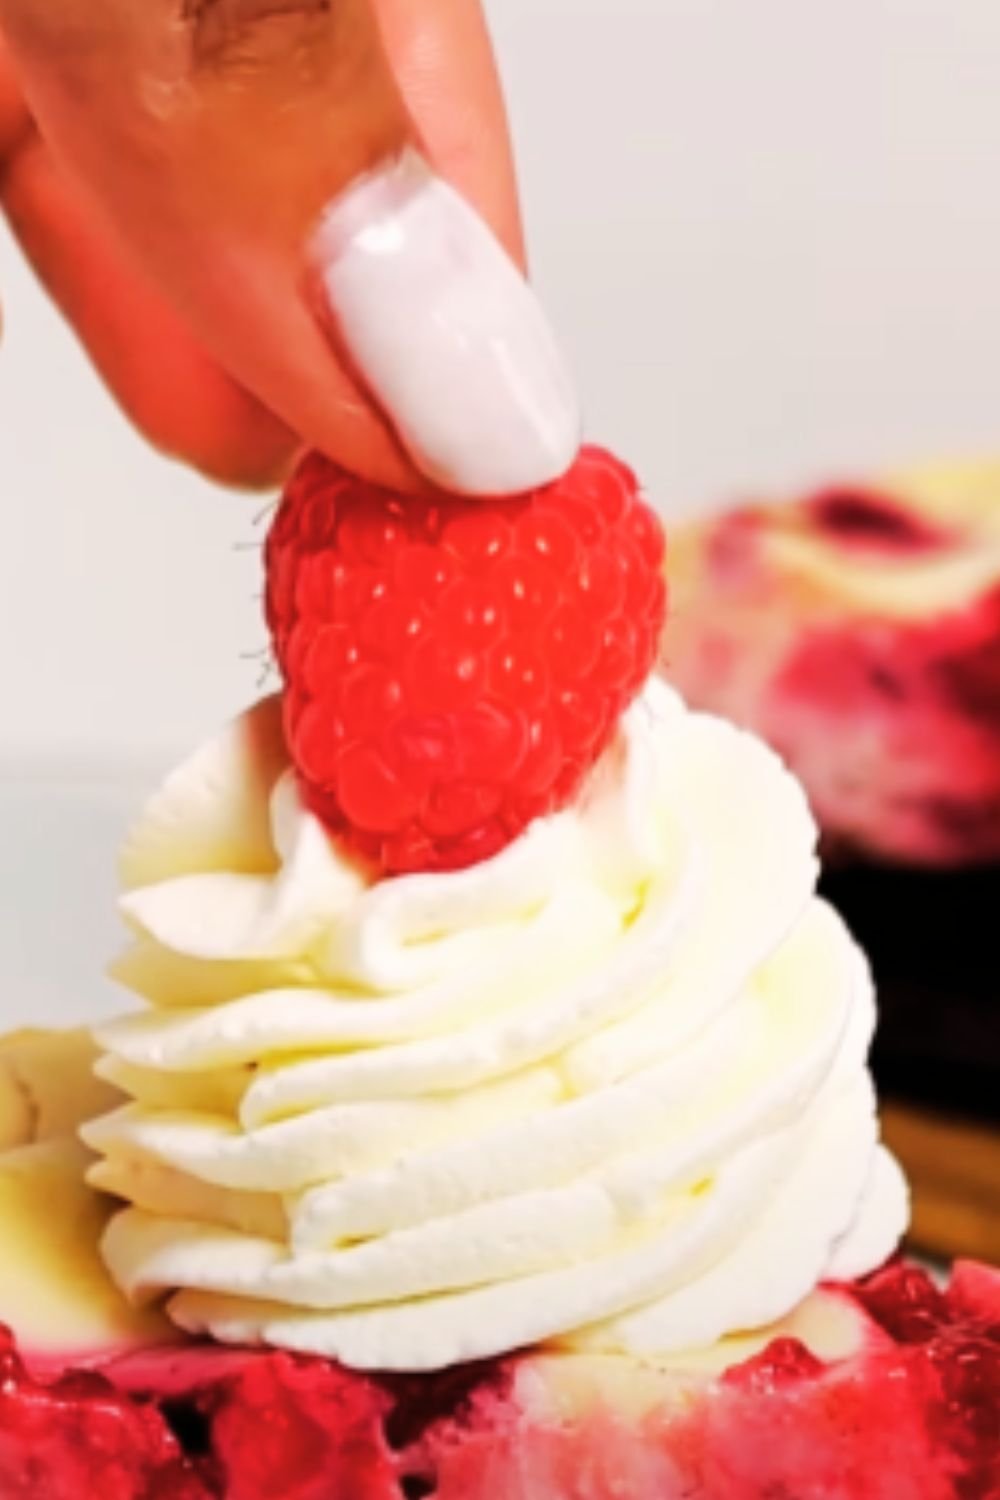
- Serve with fresh berries and a dusting of powdered sugar
- Pair with a glass of cold milk or hot coffee
- Add a dollop of freshly whipped cream and chocolate shavings
- Create a dessert trifle with leftover cake pieces, layered with whipped cream and berries
- For special occasions, add edible gold leaf or chocolate decorations
The Science Behind the Perfect Chocolate Cake
Understanding the science helps you become a better baker:
| Scientific Principle | How It Works in This Recipe | Why It Matters |
|---|---|---|
| Acid-Base Reaction | Buttermilk (acid) reacts with baking soda (base) to produce carbon dioxide | Creates bubbles that make the cake rise evenly |
| Gluten Formation | Limited mixing after adding flour prevents overdevelopment of gluten | Ensures a tender rather than tough cake texture |
| Hygroscopic Properties | Sugar attracts and holds moisture | Keeps cake moist and fresh longer |
| Fat Emulsion | Oil distributes more evenly than butter in the batter | Creates a more consistent crumb structure |
| Cocoa Blooming | Hot liquid releases more flavor compounds from cocoa powder | Intensifies chocolate flavor |
| Maillard Reaction | Proteins and sugars react during baking | Develops complex flavors and aromas |
| Starch Gelatinization | Flour starches absorb liquid and swell during baking | Provides structure and proper texture |
Cost-Effectiveness
Making this chocolate cake at home isn’t just about superior taste—it’s also economical:
A comparable cake from a high-end bakery could cost $40-60, while the homemade version costs approximately $12-15 in ingredients. Plus, you’ll have leftover staple ingredients for future baking projects!
Troubleshooting Q&A
Q: Why did my cake sink in the middle? A: This typically happens for a few reasons: opening the oven door too early during baking, underbaking, or using expired leavening agents. Make sure your baking soda and powder are fresh, and resist peeking during the first 20 minutes of baking.
Q: My frosting is too runny. How can I fix it? A: If your frosting is too soft, the butter was likely too warm. Place the bowl in the refrigerator for 10-15 minutes, then beat again. You can also add more powdered sugar, 1/4 cup at a time, until you reach the desired consistency.
Q: Can I make this without coffee? I don’t want a coffee-flavored cake. A: Absolutely! The coffee enhances the chocolate flavor without making the cake taste like coffee. However, you can substitute hot water if you prefer. The hot liquid is important for blooming the cocoa powder.
Q: How far in advance can I make this cake? A: The unfrosted cake layers can be made up to 2 days ahead and kept at room temperature (well-wrapped), or frozen for up to 2 months. The frosting can be made 3-4 days ahead and refrigerated. The fully assembled cake is best when made no more than 24 hours in advance.
Q: Why do you use oil instead of butter in the cake? A: Oil creates a moister cake that stays fresh longer than cakes made with butter. Butter provides excellent flavor but can lead to a drier texture as the cake sits. This recipe prioritizes long-lasting moisture.
Q: My cake turned out dense instead of fluffy. What went wrong? A: Dense cake usually results from overmixing the batter after adding the flour (which develops too much gluten) or not using room temperature ingredients. Make sure to mix just until combined and bring cold ingredients to room temperature before starting.
Q: Can I reduce the sugar without affecting the cake? A: You can reduce the sugar by about 25% (to 1 1/2 cups) with minimal impact on texture. Going lower than that may affect moisture retention and structure. Remember that sugar does more than just sweeten—it contributes to the cake’s texture and moisture.
Q: Is there a difference between natural and Dutch-processed cocoa powder? A: Yes! Dutch-processed cocoa has been alkalized to reduce acidity, giving it a milder, smoother flavor and darker color. This recipe works best with Dutch-processed, but if you only have natural cocoa, add 1/4 teaspoon more baking soda to balance the acidity.
The Joy of Sharing
There’s something deeply satisfying about watching someone take their first bite of this chocolate cake. I’ve seen eyes widen, heard involuntary “mmms,” and received countless requests for the recipe. That’s the true joy of baking—creating something that brings pleasure to others.
This isn’t just a recipe; it’s an experience to be shared. Whether you’re celebrating a special occasion or simply treating yourself after a long week, this ultimate chocolate cake delivers comfort, joy, and a moment of pure chocolate bliss.
I hope this recipe becomes a treasured part of your baking repertoire. As you master it and make it your own, remember that the most important ingredient is the care and love you put into creating it. Happy baking!