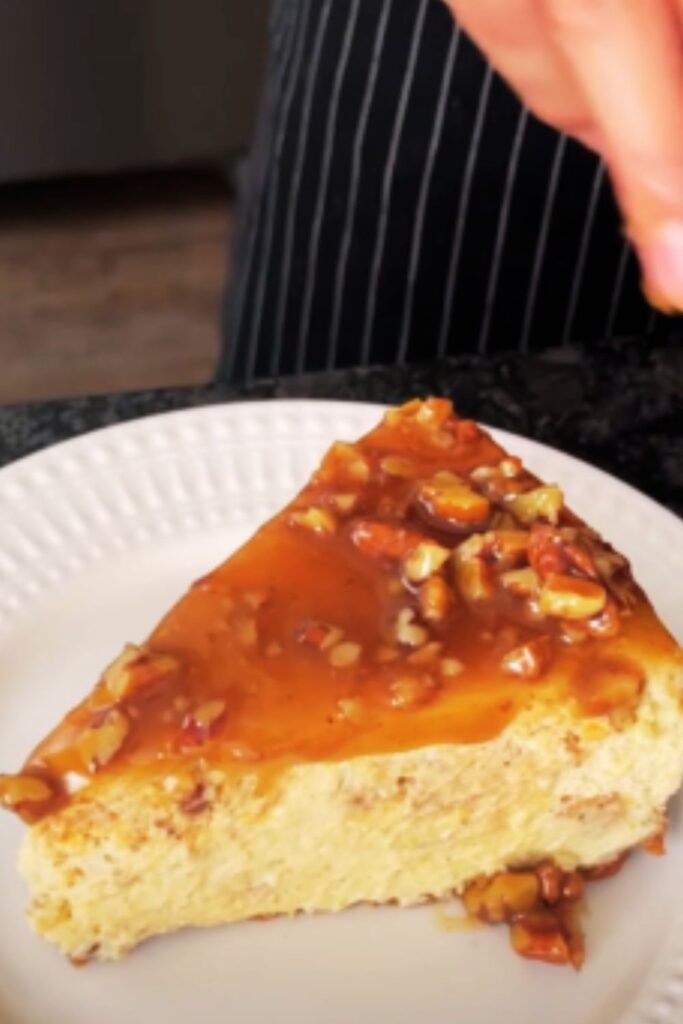
There’s something magical about the way sweet potatoes transform when baked into desserts. Their natural sweetness and earthy flavor profile make them the perfect candidate for fall baking, and I’ve spent years perfecting what I believe is the ultimate sweet potato dessert: a rich, velvety cheesecake that will have your guests begging for the recipe.
I still remember the first time I attempted to make a sweet potato cheesecake. It was for a Thanksgiving gathering at my sister’s house, and I wanted to bring something unexpected to the dessert table. The results were… well, let’s just say I’ve come a long way since that first cracked, undercooked attempt. Through countless trials and many lessons learned the hard way, I’ve developed a foolproof recipe that balances the earthy sweetness of sweet potatoes with the tangy richness of cream cheese.
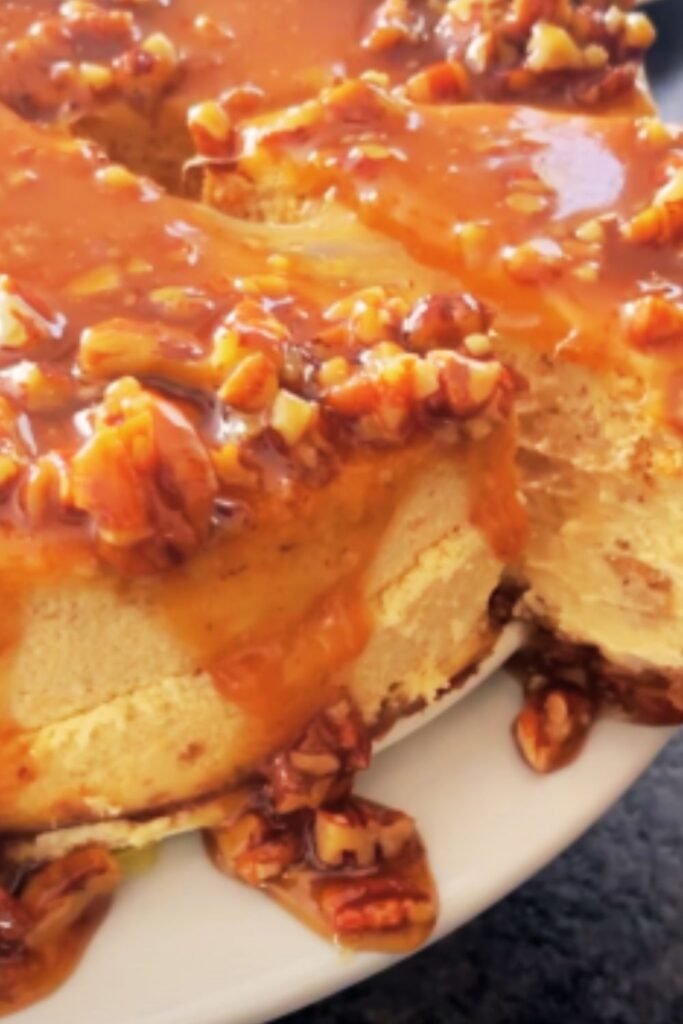
What makes this cheesecake special isn’t just the flavor combination—it’s the texture. The sweet potato brings a silky smoothness that traditional cheesecakes can sometimes lack. When paired with warm spices like cinnamon, nutmeg, and a hint of ginger, it creates a dessert that feels like autumn on a plate.
So let’s dive into what makes the perfect sweet potato cheesecake, from selecting the right potatoes to achieving that perfect creamy texture without cracks or sinking. I promise this will become your new favorite fall dessert tradition.
Why Sweet Potato Cheesecake Works So Well
Before we get to the recipe itself, I want to share why sweet potato and cheesecake make such a fantastic pairing:
- Sweet potatoes have a natural creaminess that blends beautifully with cream cheese
- Their natural sugars caramelize during baking, adding complex flavor notes
- The starch in sweet potatoes helps stabilize the cheesecake, reducing the chance of cracks
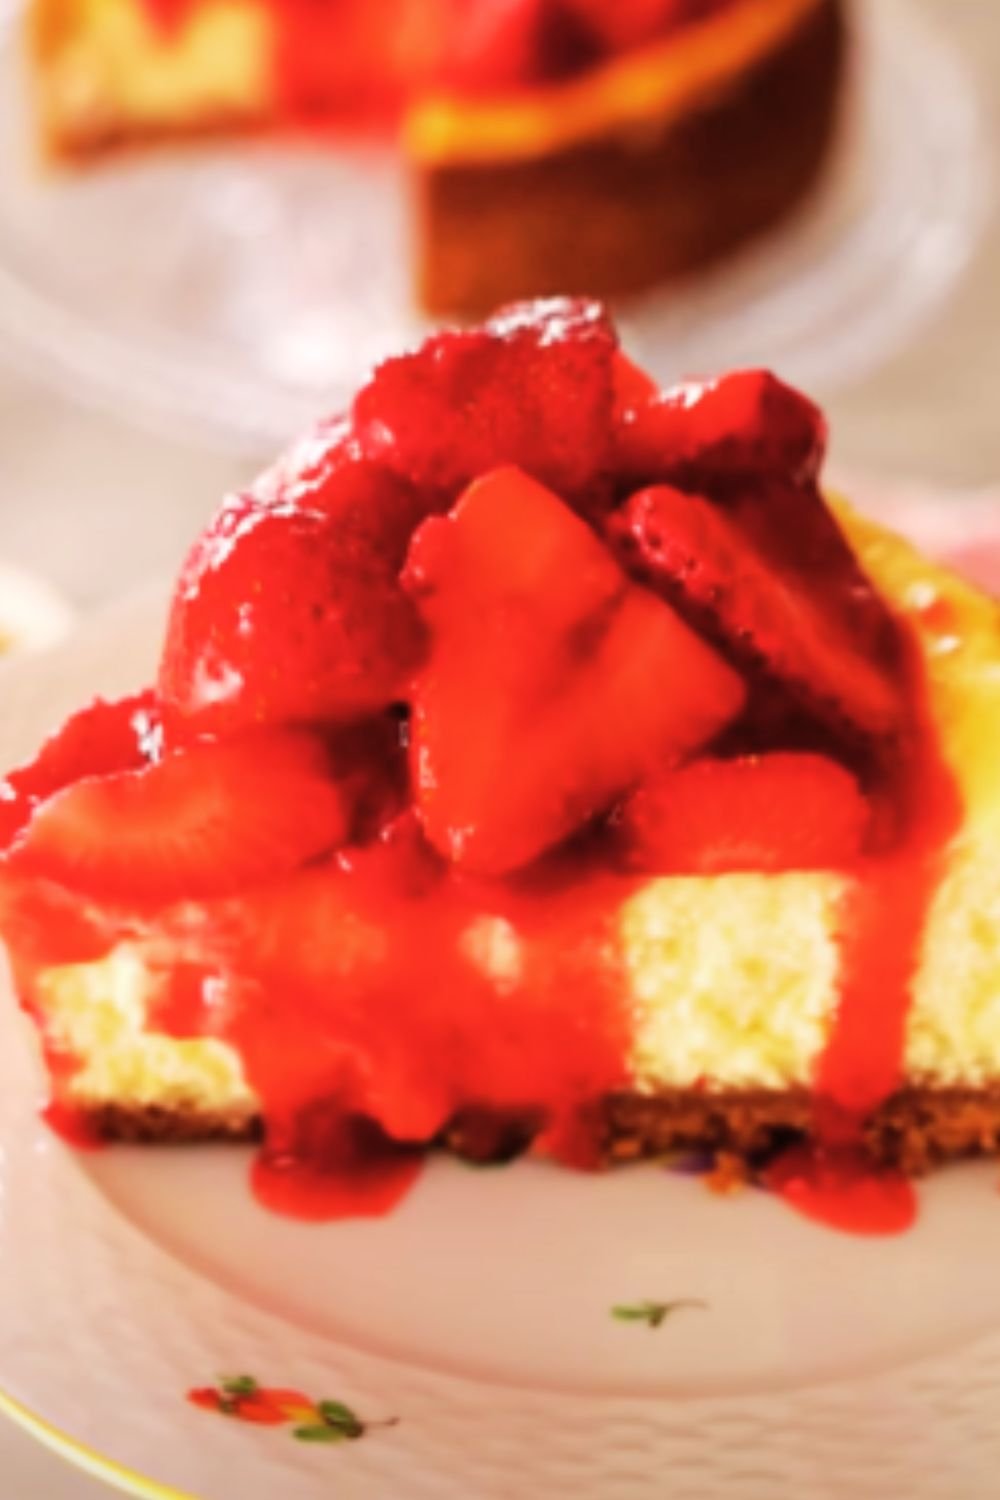
- The vibrant orange color creates a stunning presentation
- The flavor profile pairs perfectly with traditional fall spices
I’ve found that many people who claim they don’t like sweet potatoes will happily devour this cheesecake without hesitation. It’s that good.
Selecting the Perfect Sweet Potatoes
Not all sweet potatoes are created equal, and choosing the right ones can make a significant difference in your cheesecake:
Garnet or Jewel varieties : These have a deep orange flesh and concentrated sweetness that works beautifully in desserts.
Beauregard sweet potatoes : A common grocery store variety with moist, sweet flesh that’s excellent for purees.
Japanese or purple sweet potatoes : While delicious, these have a different flavor profile and drier texture that requires recipe adjustments.
For this recipe, I strongly recommend sticking with Garnet or Jewel varieties if you can find them, or Beauregard if not. Their moisture content and natural sweetness are ideal for achieving the perfect cheesecake texture.
Essential Equipment for Perfect Cheesecake
Before we start baking, let’s make sure you have the right tools on hand:
- 9-inch springform pan (crucial for easy removal)
- Food processor for silky-smooth sweet potato puree
- Stand mixer or powerful hand mixer
- Large roasting pan for water bath
- Heavy-duty aluminum foil to wrap pan
- Instant-read thermometer (optional but helpful)
- Offset spatula for smooth topping
The springform pan and water bath are non-negotiable elements for achieving that perfect texture without cracks. Trust me on this—I’ve tried shortcuts, and they never yield the same professional results.
Ingredient Breakdown
Let’s take a closer look at the key ingredients and why each one matters:
| Ingredient | Amount | Purpose | Notes |
|---|---|---|---|
| Sweet potatoes | 1½ pounds (about 2 medium) | Main flavoring | Roast rather than boil for concentrated flavor |
| Cream cheese | 24 ounces (3 blocks) | Base of cheesecake | Must be full-fat and room temperature |
| Granulated sugar | 1 cup | Primary sweetener | Can substitute part brown sugar for deeper flavor |
| Heavy cream | ¼ cup | Adds richness | Don’t substitute with milk or half-and-half |
| Sour cream | ½ cup | Adds tanginess | Helps balance the sweetness |
| Eggs | 4 large | Structure and binding | Room temperature prevents lumps |
| Vanilla extract | 2 teaspoons | Flavor enhancer | Use real vanilla, not imitation |
| Cinnamon | 1½ teaspoons | Warming spice | Freshly ground is best |
| Nutmeg | ½ teaspoon | Complementary spice | Freshly grated makes a huge difference |
| Ginger | ¼ teaspoon | Adds subtle heat | Ground ginger, not fresh |
| Salt | ½ teaspoon | Flavor enhancer | Don’t skip this; it balances sweetness |
| Graham crackers | 1½ cups crumbs | Crust base | Can substitute gingersnaps for more spice |
| Pecans | ½ cup | Texture in crust | Toast them first for better flavor |
| Butter | 6 tablespoons | Binds crust | Must be melted |
I’ve experimented with different ratios and found this combination creates the perfect balance of sweet potato flavor while maintaining the classic cheesecake texture we all love.
Sweet Potato Cheesecake Recipe
For the Crust:
- 1½ cups graham cracker crumbs (about 12 full sheets)
- ½ cup finely chopped toasted pecans
- ¼ cup granulated sugar
- ½ teaspoon cinnamon
- 6 tablespoons unsalted butter, melted
For the Filling:
- 1½ pounds sweet potatoes (about 2 medium)
- 24 ounces (3 blocks) cream cheese, at room temperature
- 1 cup granulated sugar
- ½ cup packed light brown sugar
- ¼ cup heavy cream
- ½ cup sour cream, at room temperature
- 4 large eggs, at room temperature
- 2 teaspoons vanilla extract
- 1½ teaspoons ground cinnamon
- ½ teaspoon freshly grated nutmeg
- ¼ teaspoon ground ginger
- ¼ teaspoon ground cloves
- ½ teaspoon salt
For the Topping:
- 1 cup sour cream
- 3 tablespoons granulated sugar
- 1 teaspoon vanilla extract
- ½ cup chopped toasted pecans
- 2 tablespoons maple syrup
Step-by-Step Instructions
Preparing the Sweet Potatoes:
- Preheat your oven to 400°F (200°C).
- Wash and dry sweet potatoes, then prick several times with a fork.
- Place directly on the oven rack or on a foil-lined baking sheet.
- Roast until completely tender when pierced with a knife, about 45-60 minutes depending on size.
- Remove from oven and let cool until comfortable to handle.
- Peel away skin and place flesh in food processor.
- Process until completely smooth, stopping to scrape down sides as needed.
- Measure out 1½ cups of puree for the recipe (if you have extra, save it for another use).
- Let the puree cool completely before using in the cheesecake.
I prefer roasting over boiling because it concentrates the flavor and reduces moisture, giving you a more intensely flavored cheesecake.
Making the Crust:
- Reduce oven temperature to 325°F (165°C).
- In a medium bowl, combine graham cracker crumbs, chopped pecans, sugar, and cinnamon.
- Pour in melted butter and stir until mixture resembles wet sand.
- Press mixture firmly into the bottom and about 1 inch up the sides of a 9-inch springform pan.
- Use the bottom of a measuring cup to pack it down evenly.
- Bake for 10 minutes, then remove and let cool completely.
- Once cool, wrap the outside of the pan with two layers of heavy-duty aluminum foil, making sure it comes at least halfway up the sides.
The pre-baking step is crucial for a crisp crust that won’t get soggy from the filling.
Preparing the Filling:
- Reduce oven temperature to 300°F (150°C).
- In the bowl of a stand mixer fitted with the paddle attachment, beat cream cheese on medium-low speed until completely smooth, about 2 minutes.
- Add both sugars and beat until well incorporated and no lumps remain, about 2 more minutes, scraping down the sides and bottom of the bowl as needed.
- Add sweet potato puree, heavy cream, and sour cream. Beat until smooth.
- Add spices and salt, mixing just until incorporated.
- Add eggs, one at a time, beating briefly after each addition. Don’t overmix after adding the eggs—this can cause the cheesecake to crack.
- Pour the filling into the prepared crust.
The key here is patience and scraping down the bowl frequently. Any lumps in your batter now will still be there after baking.
Baking the Cheesecake:
- Place the foil-wrapped springform pan in a large roasting pan.
- Pour hot water into the roasting pan until it reaches about halfway up the sides of the springform pan.
- Carefully transfer to the oven and bake for 1 hour and 15 minutes to 1 hour and 30 minutes.
- The cheesecake is done when the edges are set but the center still has a slight jiggle (about a 3-inch circle in the center).
- Turn off the oven, crack the door open about an inch, and let the cheesecake cool in the oven for 1 hour.
- Remove from the oven and water bath, carefully peel away the foil, and let cool completely on a wire rack.
The water bath is non-negotiable for a crack-free cheesecake. It moderates the temperature and creates a gentle, moist heat that bakes the cheesecake evenly.
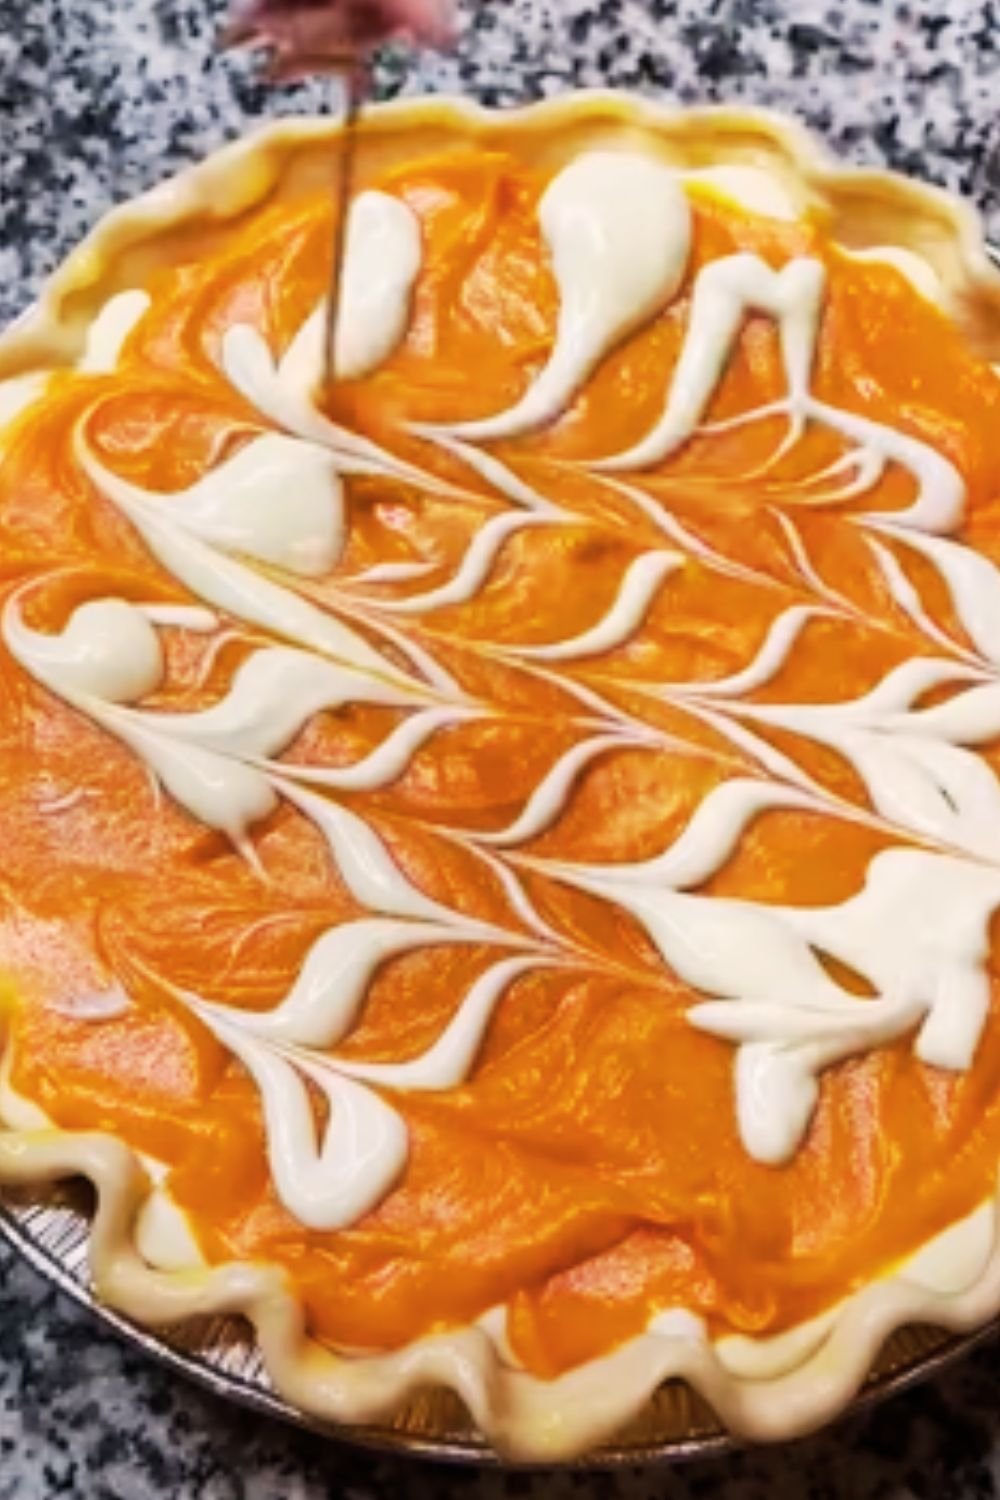
Preparing the Topping:
- Once the cheesecake has cooled completely, whisk together sour cream, sugar, and vanilla in a small bowl.
- Spread over the top of the cheesecake using an offset spatula.
- Refrigerate the cheesecake for at least 8 hours, preferably overnight.
- Before serving, sprinkle the top with toasted chopped pecans and drizzle with maple syrup.
The sour cream topping adds a beautiful tangy contrast to the sweet filling and helps cover any minor imperfections that might have occurred during baking.
Troubleshooting Common Issues
Even experienced bakers encounter problems with cheesecakes. Here’s how to solve the most common issues:
Cracked Top
Problem: The cheesecake surface has splits or cracks. Solution: Always use a water bath, don’t overmix after adding eggs, and cool gradually. If it still cracks, that’s what the sour cream topping is for!
Soggy Bottom
Problem: The crust is wet and lacks crispness. Solution: Pre-bake the crust, make sure the foil seal is tight, and consider a double layer of regular foil or using an oven bag around the pan.
Lumpy Filling
Problem: The batter has small lumps of cream cheese. Solution: Ensure all ingredients are truly at room temperature (at least 2 hours on the counter) and beat the cream cheese thoroughly before adding other ingredients.
Sunken Center
Problem: The middle collapses after cooling. Solution: Don’t open the oven during baking, bake until the proper doneness (slight jiggle in center), and cool gradually in the turned-off oven.
Make-Ahead and Storage Tips
One of the best things about cheesecake is that it needs to be made ahead, making it perfect for entertaining:
- The cheesecake can be made up to 3 days ahead and stored in the refrigerator.
- For the freshest taste, add the pecan and maple topping just before serving.
- Cover loosely with plastic wrap once completely cool, being careful not to press the wrap onto the surface.
- The cheesecake can be frozen for up to 1 month: freeze uncovered until solid, then wrap tightly in plastic wrap and foil.
- Thaw overnight in the refrigerator before serving.
I’ve found that the flavor actually improves after a day in the refrigerator, as the spices have time to meld and develop.
Serving Suggestions
This cheesecake is a showstopper on its own, but here are some accompaniments that pair beautifully with it:
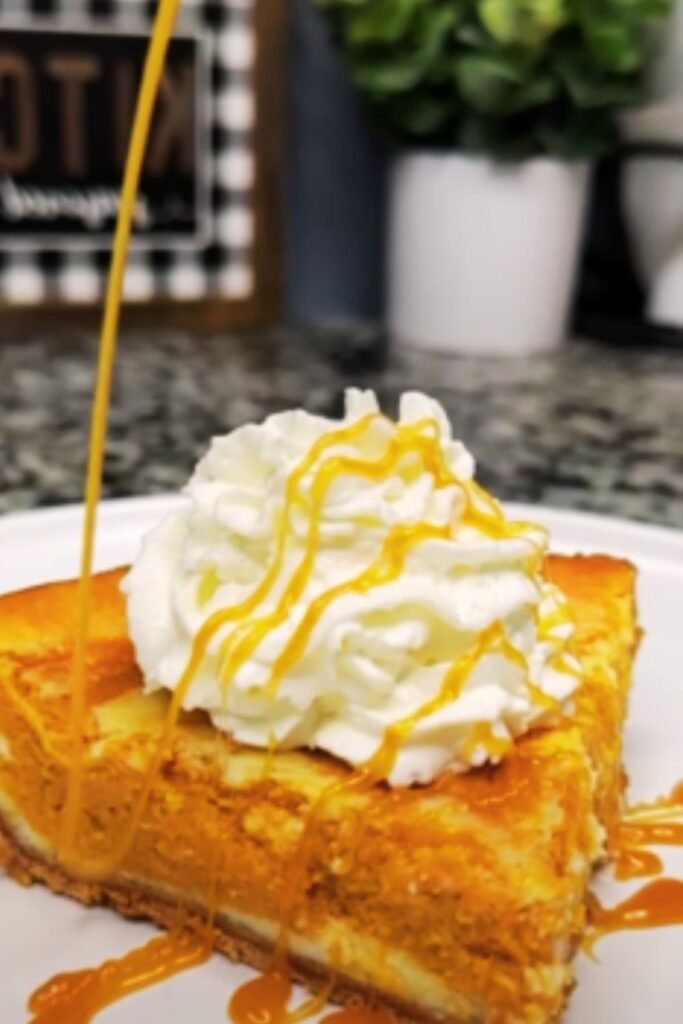
- Bourbon-spiked whipped cream
- Caramel sauce drizzle
- Spiced apple compote
- Fresh sliced pears
- Toasted marshmallow topping (for a sweet potato casserole vibe)
- Vanilla bean ice cream
- Hot coffee or espresso
- Spiced chai tea
For a beautiful presentation, I like to warm my knife in hot water and wipe it clean between each slice.
Variations to Try
Once you’ve mastered the basic recipe, try these delicious variations:
Maple Sweet Potato Cheesecake
Replace 1/2 cup of the granulated sugar with pure maple syrup and add 1 teaspoon of maple extract to the filling.
Bourbon Pecan Sweet Potato Cheesecake
Add 2 tablespoons of bourbon to the filling and increase the pecans in the crust to 3/4 cup.
Chocolate Swirl Sweet Potato Cheesecake
Melt 6 ounces of semisweet chocolate and swirl it into the batter before baking.
Mini Sweet Potato Cheesecakes
Use the same recipe but bake in a muffin tin with liners for about 20-25 minutes for perfect individual servings.
The versatility of this recipe is part of what makes it so special—you can adapt it to your taste preferences while keeping the core sweet potato flavor profile.
Nutritional Information
For those watching their intake, here’s the approximate nutritional breakdown per slice (assuming 12 slices per cheesecake):
| Nutrient | Amount per Serving |
|---|---|
| Calories | 470 |
| Total Fat | 32g |
| Saturated Fat | 17g |
| Cholesterol | 145mg |
| Sodium | 350mg |
| Total Carbohydrates | 42g |
| Dietary Fiber | 2g |
| Sugars | 32g |
| Protein | 7g |
| Vitamin A | 120% DV |
| Calcium | 15% DV |
| Iron | 6% DV |
While definitely a decadent treat, the sweet potato adds nutritional value you wouldn’t get in a traditional cheesecake, including beta-carotene, potassium, and fiber.
Why This Recipe Works: The Science Behind It
As a baking enthusiast, I find the science behind a successful cheesecake fascinating:
- The starch in sweet potatoes helps stabilize the egg proteins, reducing the chance of curdling or cracking
- The acids in cream cheese and sour cream tenderize the cake by breaking down proteins
- The water bath creates gentle, even heat distribution and adds humidity to prevent the top from drying out
- The gradual cooling prevents the dramatic temperature change that can cause cracking
Understanding these principles has helped me perfect this recipe through countless iterations.
Q&A Section
Q: Can I use canned sweet potato puree instead of fresh? Yes, you can substitute canned sweet potato puree. Make sure it’s pure sweet potato without added ingredients. You’ll need about 1½ cups. I find the flavor of freshly roasted sweet potatoes superior, but canned works in a pinch.
Q: Is there a way to make this recipe lighter? You can use light cream cheese (neufchâtel), but I don’t recommend using fat-free. You can also reduce the sugar by up to ¼ cup without significantly affecting the texture. Using Greek yogurt instead of sour cream works well too.
Q: My springform pan leaks in water baths. Any solutions? Try using a slow cooker liner or oven bag around your springform before wrapping with foil. This creates a waterproof barrier. Alternatively, place the springform inside a slightly larger regular cake pan, then place that in the water bath.
Q: Can this cheesecake be made gluten-free? Absolutely! Simply substitute the graham crackers with gluten-free graham crackers or cookies. The filling itself contains no gluten.
Q: How do I know when the cheesecake is done without overbaking it? The perfect cheesecake should have a slight jiggle in the center (about a 3-inch circle) but be set around the edges. If you have an instant-read thermometer, the center should register about 150°F (65°C).
Q: Do I really need to let it chill overnight? For the best texture and flavor, yes. The chilling time allows the cheesecake to set properly and the flavors to develop. If you’re in a hurry, a minimum of 6 hours will do, but overnight is best.
Final Thoughts
Sweet potato cheesecake represents the perfect marriage of traditional comfort food and elegant dessert. The humble sweet potato, transformed through roasting and blending, elevates a classic cheesecake into something truly special that celebrates the flavors of fall.
I’ve served this at countless gatherings, from formal Thanksgiving dinners to casual autumn brunches, and it never fails to impress. There’s something about the combination of creamy texture, warm spices, and subtle sweetness that makes it irresistible.
What I love most about this recipe is that while it looks and tastes impressive, it’s actually quite forgiving for those willing to follow the key steps carefully. The sweet potato itself helps stabilize the cheesecake, making it less prone to some of the common pitfalls that plague traditional cheesecakes.
So as the leaves begin to change and there’s a chill in the air, I encourage you to try this sweet potato cheesecake. It might just become your new fall baking tradition. I know it’s certainly become mine.