There’s something magical about the way sweet potatoes transform when baked into desserts. Their natural sweetness and vibrant color create treats that are both visually stunning and incredibly delicious. As someone who’s been baking cheesecakes for over a decade, I can tell you that this Sweet Potato Cheesecake might just be the crown jewel of my recipe collection.
I stumbled upon this recipe during a particularly abundant sweet potato harvest at my local farmers’ market. With bags of orange tubers covering my kitchen counter, I needed to get creative. Little did I know that mixing them into a cheesecake batter would create what has now become my most requested dessert for family gatherings.
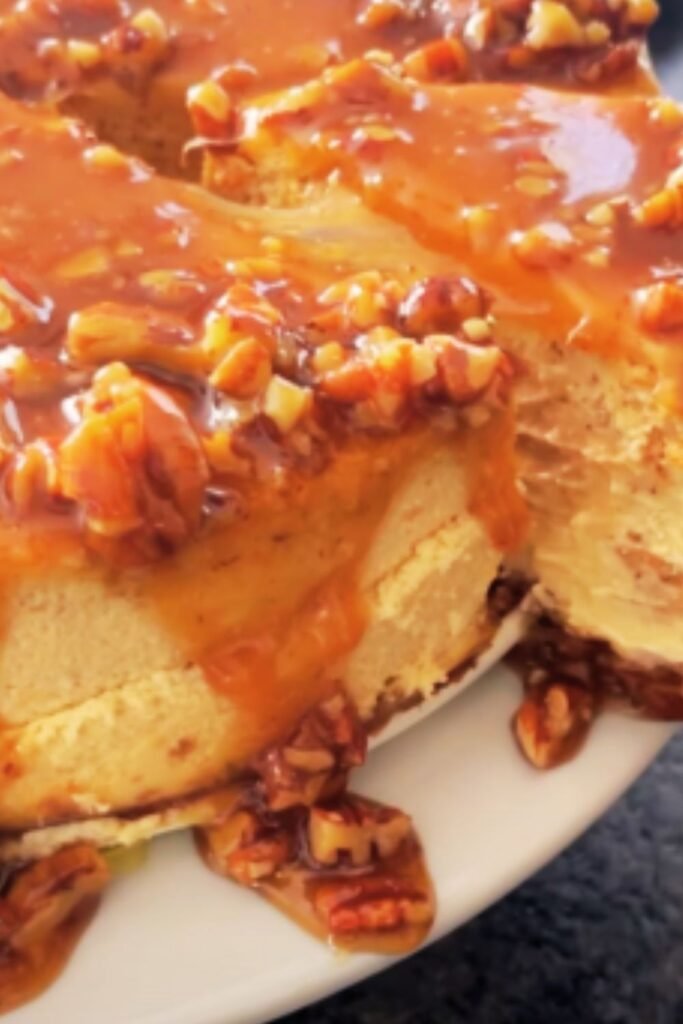
What makes this cheesecake special isn’t just its seasonal flair—it’s the perfect balance of creamy, spiced filling against a buttery graham cracker crust, all topped with a luscious maple cream topping that melts in your mouth. It’s like having the best parts of sweet potato pie and classic cheesecake in every bite.
Why You’ll Love This Recipe
Before we dive into the details, let me share why this sweet potato cheesecake deserves a spot in your recipe collection:
- It’s the perfect make-ahead dessert for holidays and special occasions
- The flavor profile bridges summer and fall beautifully
- It’s creamier than traditional pumpkin desserts with a more nuanced flavor
- The vibrant orange color makes for a stunning presentation
- It satisfies both cheesecake lovers and sweet potato pie enthusiasts
Ingredients You’ll Need
For the Crust:
- 2 cups graham cracker crumbs (about 16 full sheets)
- 1/4 cup granulated sugar
- 1/2 teaspoon cinnamon
- 1/2 cup unsalted butter, melted
- Pinch of salt
For the Sweet Potato Filling:
- 1 1/2 pounds sweet potatoes (about 2 medium)
- 24 ounces (3 packages) cream cheese, softened
- 1 cup granulated sugar
- 1/4 cup light brown sugar, packed
- 2 tablespoons all-purpose flour
- 1 teaspoon ground cinnamon
- 1/2 teaspoon ground nutmeg
- 1/4 teaspoon ground ginger
- 1/8 teaspoon ground cloves
- 4 large eggs, at room temperature
- 1 tablespoon vanilla extract
- 1/4 cup heavy cream
For the Maple Cream Topping:
- 1 1/2 cups sour cream
- 1/3 cup pure maple syrup
- 1 teaspoon vanilla extract
For the Pecan Garnish (Optional):
- 1 cup pecan halves
- 2 tablespoons butter
- 1 tablespoon brown sugar
- Pinch of salt
Essential Equipment
Before we begin, make sure you have these tools ready:
- 9-inch springform pan
- Food processor or mixer
- Aluminum foil (for water bath)
- Large roasting pan (for water bath)
- Mixing bowls
- Measuring cups and spoons
- Potato masher or fork
- Rubber spatula
- Cooling rack
The Sweet Potato Preparation: A Critical First Step

The foundation of this cheesecake is perfectly prepared sweet potatoes. While you might be tempted to use canned sweet potato puree, I strongly advise against it. The depth of flavor you get from fresh roasted sweet potatoes is incomparable.
Here’s my foolproof method for preparing sweet potatoes for this cheesecake:
- Preheat your oven to 400°F (200°C)
- Wash and dry the sweet potatoes thoroughly
- Prick them several times with a fork
- Place them on a foil-lined baking sheet
- Roast until completely tender (about 45-60 minutes depending on size)
- Let them cool until you can handle them comfortably
- Remove the skins (they should slip off easily when properly roasted)
- Mash the flesh until completely smooth
This roasting process caramelizes the natural sugars in the sweet potatoes, creating a deeper, more complex flavor than boiling or steaming could achieve. Allow the mashed sweet potatoes to cool completely before incorporating them into your cheesecake batter.
Creating the Perfect Crust
A great cheesecake starts with a great foundation. The crust for this sweet potato cheesecake balances sweetness with a hint of warm cinnamon that complements the filling beautifully.
To prepare the crust:
- Preheat your oven to 325°F (165°C)
- Combine the graham cracker crumbs, sugar, cinnamon, and salt in a bowl
- Pour in the melted butter and mix until the texture resembles wet sand
- Press the mixture firmly into the bottom and about 1 inch up the sides of your springform pan
- Bake for 10 minutes until just set
- Remove and allow to cool while preparing the filling
Pro tip: Use the bottom of a measuring cup to press the crust evenly into the pan. This creates a more compact, even layer than using your fingers alone.
The Art of Blending the Perfect Filling
The key to a silky-smooth cheesecake is proper technique when mixing your ingredients. Temperature and order matter significantly!
Follow these steps for perfect results:
- Make sure your cream cheese is properly softened to room temperature (leave it out for at least 2 hours)
- In a large mixing bowl, beat the cream cheese until completely smooth with no lumps
- Add both sugars and beat until fully incorporated and fluffy (about 2-3 minutes)
- Add the cooled mashed sweet potatoes and blend until uniform
- Mix in the flour and spices
- Add eggs one at a time, mixing just until incorporated after each addition
- Add vanilla extract and heavy cream, mixing until just combined
Important: Do not overmix once the eggs are added! This introduces air into the batter which can cause cracks during baking.
Water Bath: The Secret to Crack-Free Cheesecake
If you’ve ever experienced the heartbreak of a cracked cheesecake, you know how frustrating it can be. The solution? A water bath, or “bain-marie,” which provides gentle, even heat.
Here’s how to set up the perfect water bath:
- Wrap the outside of your springform pan in a double layer of heavy-duty aluminum foil, ensuring no seams or edges are exposed
- Place the wrapped cheesecake pan in a larger roasting pan
- Pour the filling into the crust
- Place in the oven and pour hot water into the roasting pan until it reaches about halfway up the sides of the springform pan
- Carefully slide the whole setup into the oven
This method creates a humid environment that prevents the cheesecake from drying out or cooking too quickly around the edges.
Baking Schedule and Temperature Guide
For perfect texture, follow this precise baking schedule:
| Stage | Temperature | Duration | Visual Cue |
|---|---|---|---|
| Initial Bake | 325°F (165°C) | 60-70 minutes | Edges set, center still jiggly |
| Cooling (oven off, door ajar) | Residual heat | 60 minutes | Further setting without overcooking |
| Room temperature rest | Room temp | 1 hour | Gradual cooling |
| Chilling | Refrigerator (38°F) | Minimum 6 hours, ideally overnight | Complete setting |
This slow cooling process prevents the dreaded “crack in the middle” that many cheesecakes suffer from.
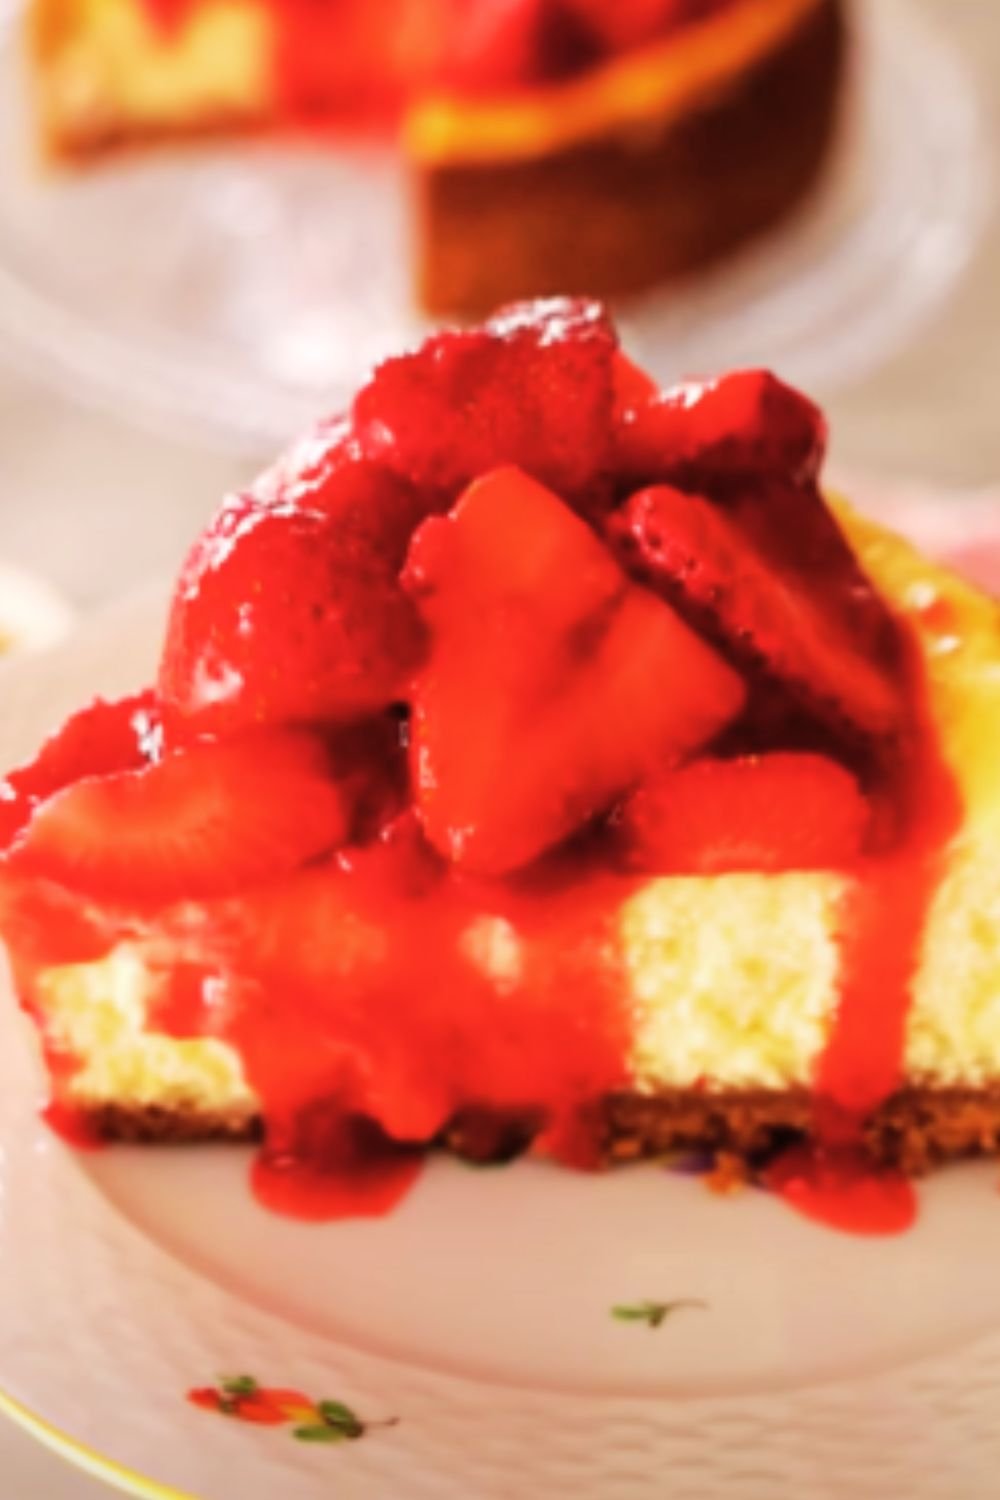
Creating the Maple Cream Topping
While the cheesecake is cooling, prepare the maple cream topping. This adds both flavor and visual appeal while also covering any slight imperfections on the surface.
To make the topping:
- In a medium bowl, whisk together sour cream, maple syrup, and vanilla extract until smooth
- After the cheesecake has cooled for about an hour at room temperature, spread the topping evenly over the surface
- Return to the refrigerator to chill completely
The slight tanginess of the sour cream beautifully balances the sweetness of the maple syrup, creating a topping that complements rather than competes with the sweet potato flavor.
Optional Pecan Garnish for Extra Wow-Factor
For an extra special presentation, candied pecans add a delightful texture contrast and visual appeal. Here’s how to prepare them:
- Melt butter in a small skillet over medium heat
- Add pecans, brown sugar, and salt
- Cook, stirring constantly, until pecans are coated and sugar begins to caramelize (about 3-4 minutes)
- Transfer to parchment paper to cool completely
- Arrange around the edge of the cheesecake just before serving
These candied pecans add a delightful crunch and nutty flavor that pairs perfectly with the sweet potato and spices.
The Waiting Game: Chilling for Perfect Texture
Patience is perhaps the most important ingredient in this recipe. A properly chilled cheesecake has significantly better texture and flavor than one that’s served too soon.
For best results:
- Chill the cheesecake for a minimum of 6 hours
- Preferably, leave it overnight (or up to 3 days) in the refrigerator
- Remove from refrigerator 30 minutes before serving to take the chill off
Slicing Like a Pro
For picture-perfect slices every time:
- Run a thin-bladed knife under hot water
- Wipe the blade clean
- Make a clean cut
- Repeat the hot water and wiping process between each slice
This prevents the filling from sticking to the knife and makes each slice restaurant-quality beautiful.
Nutritional Information
For those watching their intake, here’s the approximate nutritional breakdown per slice (assuming 12 slices per cheesecake):
| Nutrient | Amount Per Slice |
|---|---|
| Calories | 485 |
| Total Fat | 34g |
| Saturated Fat | 19g |
| Cholesterol | 145mg |
| Sodium | 290mg |
| Total Carbohydrates | 42g |
| Dietary Fiber | 2g |
| Sugars | 32g |
| Protein | 7g |
| Vitamin A | 120% DV |
| Calcium | 15% DV |
| Iron | 6% DV |
Make-Ahead and Storage Tips
One of the best things about cheesecake is how well it keeps. Here’s how to store it properly:
- Refrigerator: Cover tightly and store for up to 5 days
- Freezer: Wrap individual slices (or the whole cake) in plastic wrap, then aluminum foil, and freeze for up to 2 months
- Thawing: Transfer frozen cheesecake to the refrigerator 24 hours before serving
Serving Suggestions
This sweet potato cheesecake is delicious on its own, but here are some serving ideas to elevate it even further:
- Add a dollop of freshly whipped cream with a sprinkle of cinnamon
- Drizzle with additional warm maple syrup
- Serve with a side of fresh berries for a bright contrast
- Pair with a cup of spiced chai tea or a rich coffee
- For special occasions, add a scoop of vanilla ice cream on the side
Troubleshooting Common Issues
Even experienced bakers encounter problems sometimes. Here are solutions to common cheesecake challenges:
Cheesecake Cracked
- Likely causes: Overmixing, overbaking, or skipping the water bath
- Solution: Apply the maple cream topping to hide the cracks, and next time follow the water bath instructions
Filling Too Soft
- Likely causes: Underbaking or insufficient chilling time
- Solution: Return to refrigerator for several more hours or overnight
Crust Too Hard
- Likely cause: Overbaking the crust or pressing too firmly
- Solution: Next time, reduce pre-baking time by 2-3 minutes
Water Leaking Into Crust
- Likely cause: Tears in the foil wrapping
- Solution: Use heavy-duty foil and double or triple wrap with no seams or edges exposed
Seasonal Variations
While this cheesecake is fantastic year-round, you can adapt it to highlight seasonal flavors:
- Spring: Add a tablespoon of orange zest to the filling and garnish with fresh berries
- Summer: Reduce the spices slightly and top with a fresh peach compote
- Fall: Add 2 tablespoons of bourbon to the filling for a deeper flavor
- Winter: Increase the spices by 25% and add a pinch of cardamom for a holiday twist
Frequently Asked Questions
Can I use canned sweet potatoes instead of fresh? While fresh is best for optimal flavor, you can substitute 2 cups of canned sweet potato puree (not pie filling) in a pinch. Drain well and pat dry with paper towels to remove excess moisture.
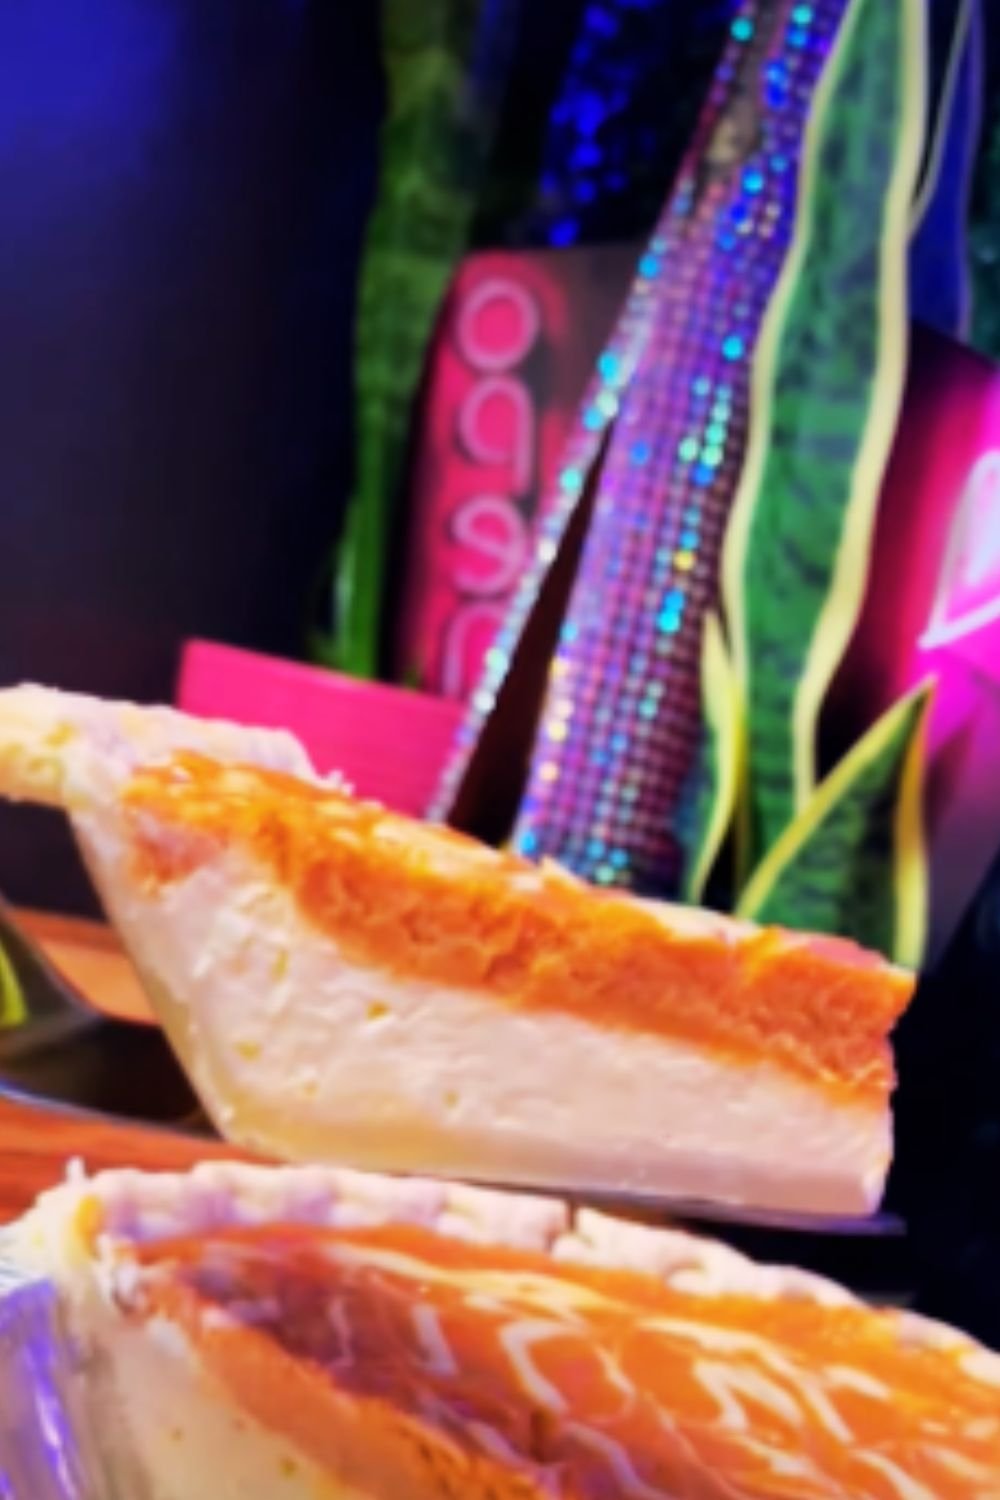
How do I know when my cheesecake is done baking? The edges should be set, but the center should still have a slight jiggle (about a 3-inch circle in the middle). It will continue to set as it cools.
Can I make this cheesecake without a springform pan? A springform pan is strongly recommended, but you could use a deep-dish pie plate. However, you’ll lose the impressive height and may have difficulty removing clean slices.
Is there a dairy-free version? While I haven’t personally tested it, you could experiment with dairy-free cream cheese alternatives and coconut cream. The texture will be different, but the flavor should still be enjoyable.
Can I reduce the sugar? You can reduce the granulated sugar to 3/4 cup without significantly affecting the texture. Going lower than that may impact the structure of the cheesecake.
How do I prevent my springform pan from leaking in the water bath? Beyond multiple layers of foil, you can place your wrapped springform pan inside a slightly larger cake pan, then place both in the water bath for extra protection.
Can I freeze leftover slices? Absolutely! Wrap individual slices tightly in plastic wrap, then foil. Freeze for up to 2 months and thaw overnight in the refrigerator before serving.
What makes sweet potato different from pumpkin in cheesecake? Sweet potatoes have a higher sugar content and lower water content than pumpkin, resulting in a naturally sweeter, denser, and creamier cheesecake with a more vibrant color.
My topping cracked after chilling, what happened? This typically happens if the cheesecake wasn’t sufficiently cooled before adding the topping. Make sure to let the cheesecake cool for a full hour before adding the maple cream layer.
Final Thoughts
I’ve made countless cheesecakes over the years, but this sweet potato version holds a special place in my heart. There’s something about the warm spices, creamy texture, and vibrant color that makes it the perfect dessert for bringing people together.
Whether you’re a seasoned baker or trying cheesecake for the first time, this recipe strikes the perfect balance between impressive and achievable. The multistep process might seem daunting at first glance, but I promise the result is well worth the effort.
What I love most about this recipe is how it transforms the humble sweet potato—often relegated to savory side dishes—into the star of a sophisticated dessert. It’s unexpected yet familiar, modern yet nostalgic.
So the next time you’re looking for a dessert that will have everyone asking for your secret, give this sweet potato cheesecake a try. I guarantee it will earn a permanent spot in your recipe collection, just as it has in mine.