Have you ever had one of those days when you crave something sweet, creamy, and utterly comforting? That’s exactly how I feel whenever I think about vanilla custard cream squares. This delightful dessert holds a special place in my heart, reminding me of lazy Sunday afternoons at my grandmother’s house, where the aroma of vanilla would fill every corner.
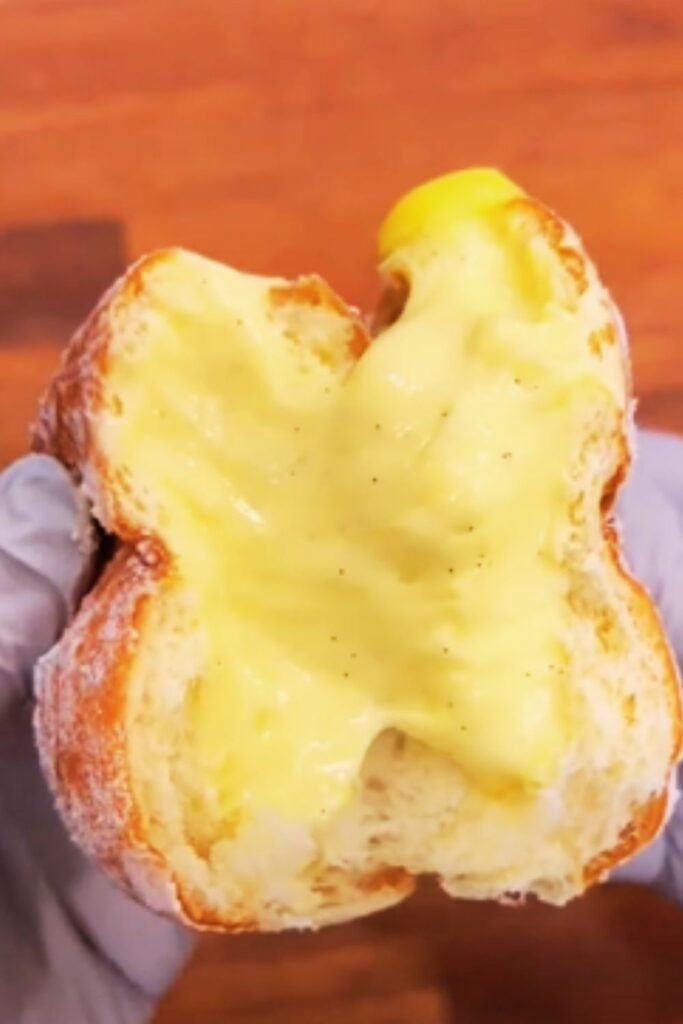
I’m excited to share my perfected recipe for vanilla custard cream squares with you today. These delectable treats feature a buttery shortbread crust, a velvety smooth vanilla custard filling, and a light dusting of powdered sugar on top. They’re elegant enough for special occasions yet simple enough for everyday indulgence.
The Magic of Custard: A Brief History
Before diving into the recipe, let me share a bit about custard’s fascinating history. Custards have been gracing dining tables since the Middle Ages, with early versions appearing in European cookbooks as far back as the 14th century. The word “custard” derives from the French word “croustade,” which originally referred to a kind of pie crust.
Traditional custard is made from a mixture of milk or cream, eggs, sugar, and flavorings, gently cooked until thickened. What makes custard special is its silky texture and rich mouthfeel, which comes from the coagulation of egg proteins during the cooking process.
Vanilla custard, in particular, became popular in the 18th century when vanilla was more readily available as a flavoring. Today, it remains one of the most beloved flavor profiles in desserts worldwide.
Why You’ll Love This Recipe
I’ve spent years perfecting this vanilla custard cream squares recipe, and here’s why I think you’ll fall in love with it:
- The contrast between the crisp, buttery shortbread base and the smooth, creamy custard creates a perfect textural balance
- The recipe uses simple, everyday ingredients that you likely already have in your pantry
- These squares can be made ahead of time, making them perfect for entertaining
- The dessert isn’t overly sweet, allowing the natural vanilla flavor to shine through
- They’re incredibly versatile and can be adapted with different flavor variations
Essential Ingredients for Perfect Vanilla Custard Cream Squares
Let’s talk about what goes into making these delightful treats. Quality ingredients make all the difference in this recipe, especially when it comes to the vanilla.
For the Shortbread Base:
- All-purpose flour: The foundation of our shortbread crust, providing structure.
- Unsalted butter: Use high-quality butter at room temperature for the best flavor and texture.
- Granulated sugar: Just enough to sweeten the base without overpowering the custard.
- Salt: A small amount enhances all the flavors.
- Vanilla extract: For a cohesive flavor profile throughout the dessert.
For the Custard Filling:
- Whole milk: Provides richness without being too heavy.
- Heavy cream: Creates that luxurious, velvety texture we’re looking for.
- Egg yolks: The star ingredient that thickens our custard naturally.
- Granulated sugar: Sweetens the custard perfectly.
- Cornstarch: A little insurance to help stabilize our custard.
- Vanilla bean: The heart and soul of this dessert (or high-quality vanilla extract if beans aren’t available).
- Unsalted butter: Added at the end for extra silkiness and flavor.
For the Finishing Touch:
- Powdered sugar: For a delicate, elegant dusting on top.
Equipment You’ll Need
Before starting, make sure you have these tools on hand:
- 9×9-inch square baking pan
- Parchment paper
- Medium-sized saucepan
- Whisk
- Mixing bowls
- Rubber spatula
- Fine-mesh sieve
- Small offset spatula (for spreading the custard evenly)
- Food processor (optional, but helpful for the shortbread base)
Detailed Recipe: Vanilla Custard Cream Squares
Now, let’s dive into the full recipe. I’ve broken it down into manageable steps to ensure your success.
Shortbread Base
Ingredients:
- 1 1/2 cups (190g) all-purpose flour
- 1/2 cup (113g) unsalted butter, at room temperature
- 1/3 cup (67g) granulated sugar
- 1/4 teaspoon salt
- 1 teaspoon vanilla extract
Instructions:
- Preheat your oven to 350°F (175°C) and line a 9×9-inch baking pan with parchment paper, leaving an overhang on the sides for easy removal.
- In a food processor or large bowl, combine the flour, butter, sugar, salt, and vanilla extract. Process or mix with your fingertips until the mixture resembles coarse crumbs.
- Press the mixture firmly and evenly into the bottom of the prepared pan.
- Bake for 20-25 minutes, or until the edges are lightly golden. The center might still look slightly underdone, but it will firm up as it cools.
- Remove from the oven and let cool completely while you prepare the custard filling.
Vanilla Custard Filling
Ingredients:
- 2 cups (480ml) whole milk
- 1 cup (240ml) heavy cream
- 6 large egg yolks
- 3/4 cup (150g) granulated sugar
- 1/4 cup (30g) cornstarch
- 1 vanilla bean, split and seeds scraped (or 2 tablespoons high-quality vanilla extract)
- 3 tablespoons (42g) unsalted butter, cut into small pieces
Instructions:
- In a medium saucepan, combine the milk, heavy cream, and vanilla bean (if using). Heat over medium heat until steaming but not boiling.
- Meanwhile, in a heatproof bowl, whisk together the egg yolks, sugar, and cornstarch until well combined and slightly lightened in color.
- When the milk mixture is hot, remove the vanilla bean pod (if using). Slowly pour about 1 cup of the hot milk mixture into the egg mixture, whisking constantly to temper the eggs.
- Pour the tempered egg mixture back into the saucepan with the remaining milk mixture, whisking constantly.
- Return the saucepan to medium heat and cook, whisking continuously, until the mixture thickens and comes to a gentle boil. This should take about 5-7 minutes.
- Once the custard has thickened to a pudding-like consistency, remove it from the heat. If using vanilla extract instead of a vanilla bean, stir it in now.
- Add the butter pieces and whisk until completely melted and incorporated.
- Strain the custard through a fine-mesh sieve into a clean bowl to remove any potential lumps.
- Cover the surface directly with plastic wrap to prevent a skin from forming, and let cool for about 15 minutes.
Assembly
- Pour the slightly cooled custard over the completely cooled shortbread base, spreading it evenly with an offset spatula.
- Gently tap the pan on the counter a few times to release any air bubbles.
- Refrigerate for at least 4 hours, or preferably overnight, until the custard is firmly set.
- When ready to serve, use the parchment paper overhang to lift the entire dessert out of the pan.
- Dust lightly with powdered sugar, cut into squares with a sharp knife (wiping the knife clean between cuts), and serve.
Storage and Make-Ahead Tips
These vanilla custard squares can be stored in an airtight container in the refrigerator for up to 3 days. In fact, I think they taste even better on the second day, as the flavors have had more time to meld together!
If you’re planning to serve these at a gathering, you can prepare them a day in advance. Just wait to dust with powdered sugar until right before serving for the most attractive presentation.
Troubleshooting Common Custard Issues
Even experienced bakers can sometimes encounter challenges when making custard. Here are solutions to some common problems:
| Issue | Possible Cause | Solution |
|---|---|---|
| Lumpy custard | Eggs cooked too quickly | Strain through a fine-mesh sieve and be sure to temper eggs properly next time |
| Custard won’t thicken | Insufficient heat or cooking time | Continue cooking while whisking constantly; add a bit more cornstarch mixed with cold water if needed |
| Custard “breaks” or separates | Overheating or boiling too vigorously | Lower heat and whisk vigorously to recombine; in extreme cases, blend with an immersion blender |
| Skin forms on top of custard | Exposure to air while cooling | Place plastic wrap directly on surface of custard while cooling |
| Custard too firm | Too much cornstarch or overcooking | Reduce cornstarch in future batches; cook just until thickened |
| Custard too runny | Undercooking or insufficient cornstarch | Return to heat and cook longer; for already set custard, unfortunately little can be done |
Flavor Variations to Try
While the classic vanilla version is heavenly on its own, I love experimenting with different flavor profiles. Here are some of my favorite variations:
Citrus Infusion
Add the zest of one lemon or orange to the milk mixture when heating. The citrus oils will infuse into the custard, creating a bright, aromatic flavor that pairs beautifully with the vanilla.
Espresso Elegance
Dissolve 1-2 tablespoons of instant espresso powder in the milk mixture before heating. This creates a sophisticated coffee-flavored custard that’s perfect for afternoon tea.
Coconut Dream
Replace half of the whole milk with coconut milk and add 1/2 teaspoon of coconut extract. Sprinkle toasted coconut flakes on top before serving for added texture and flavor.
Chocolate Lover’s Delight
Add 4 ounces of chopped high-quality dark chocolate to the hot custard and stir until melted for a chocolate version that’s utterly irresistible.

Serving Suggestions
These vanilla custard cream squares are delightful on their own, but here are some ways to elevate them for special occasions:
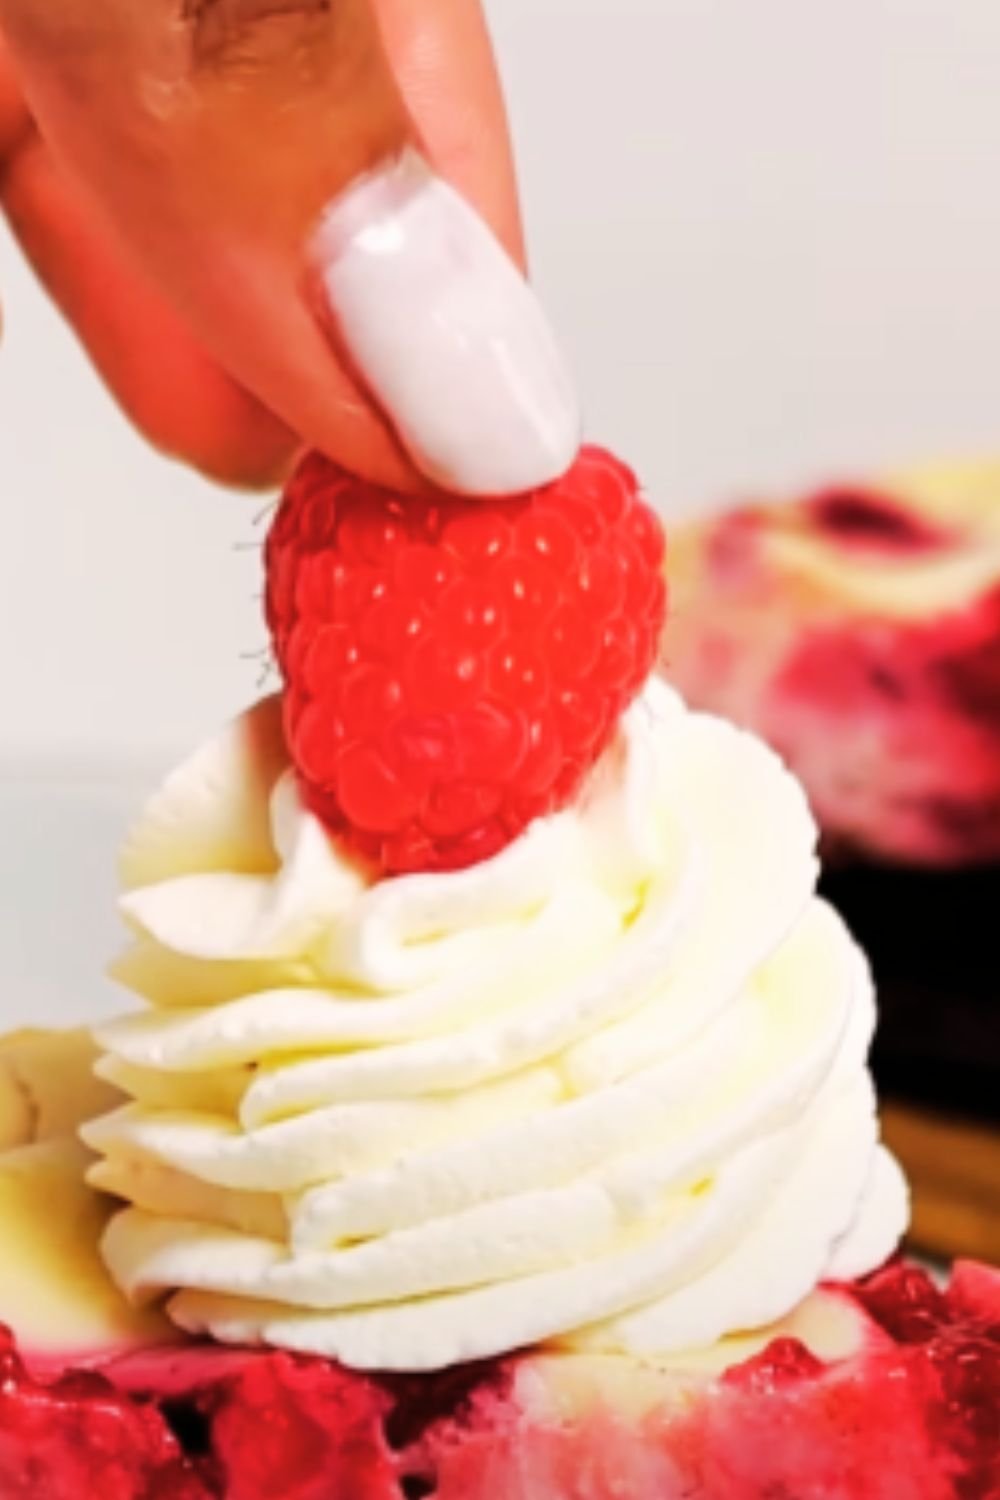
- Serve with fresh berries for a pop of color and freshness
- Add a dollop of lightly whipped cream on the side
- Drizzle with a bit of warm caramel sauce for extra decadence
- Pair with a scoop of high-quality vanilla ice cream for the ultimate vanilla experience
- Serve alongside a hot cup of tea or coffee for the perfect afternoon treat
- Garnish with edible flowers for an elegant presentation at dinner parties
- Create a dessert board with these squares as the centerpiece, surrounded by fresh fruits, nuts, and other complementary sweets
Nutritional Information
For those who are mindful about what they eat, here’s an approximate nutritional breakdown per square (assuming the recipe makes 16 squares):
| Nutrient | Amount per Square |
|---|---|
| Calories | 275 |
| Total Fat | 18g |
| Saturated Fat | 11g |
| Cholesterol | 130mg |
| Sodium | 75mg |
| Total Carbohydrates | 25g |
| Dietary Fiber | 0g |
| Sugars | 15g |
| Protein | 4g |
Please note that these values are approximate and may vary based on specific ingredients used.
Why Homemade Custard Beats Store-Bought Every Time
In today’s world of convenience foods, you might wonder why you should go through the effort of making custard from scratch. Here’s why I believe homemade is worth every minute:
- You control the quality of ingredients, avoiding preservatives and artificial flavors
- The flavor is incomparably richer and more nuanced
- You can adjust the sweetness level to your preference
- The texture is silkier and more luxurious
- There’s a deep satisfaction that comes from creating something delicious from simple ingredients
- The aroma that fills your kitchen is part of the experience!

The Science Behind Perfect Custard
Understanding a bit of food science can help you master the art of custard-making:
Custards rely on the coagulation of egg proteins for thickening. When eggs are heated, the proteins denature (unfold) and then link together, forming a network that traps water molecules and creates a gel-like structure.
The addition of cornstarch provides extra insurance against curdling. Starch molecules absorb water and swell when heated, helping to stabilize the custard and prevent the egg proteins from clumping together too tightly.
The key to smooth custard is gentle, controlled heating. If eggs are heated too quickly or to too high a temperature, the proteins contract sharply, squeezing out water and resulting in a curdled, lumpy texture.
This is why tempering the eggs (gradually introducing hot liquid) is so important—it allows the egg proteins to warm up gradually, resulting in that perfectly smooth texture we’re looking for.
Frequently Asked Questions
I’ve received many questions about this recipe over the years. Here are answers to the most common ones:
Q: Can I use low-fat milk instead of whole milk? While you can substitute low-fat milk, the custard won’t be as rich and creamy. I recommend sticking with whole milk for the best texture and flavor.
Q: My custard has lumps even though I whisked constantly. What went wrong? Lumps usually form when eggs cook too quickly. Next time, make sure to temper the eggs properly by adding the hot milk very slowly while whisking vigorously. Don’t worry though—straining the custard through a fine-mesh sieve will remove any lumps.
Q: Can I make this recipe dairy-free? Yes! You can substitute plant-based milk (almond, oat, or coconut work well) and vegan butter. The texture might be slightly different, but still delicious.
Q: How do I know when the custard is thick enough? The custard is ready when it coats the back of a spoon and when you run your finger through it, it leaves a clear path that doesn’t immediately fill in.
Q: Can I freeze these custard squares? Unfortunately, custard-based desserts don’t freeze well as they tend to separate and become watery when thawed. These are best enjoyed fresh within a few days.
Q: What can I do with the leftover egg whites? Don’t throw them away! Egg whites can be used to make meringues, angel food cake, or even a healthy omelet. You can also freeze them for future use.
Q: My shortbread base came out too hard. What did I do wrong? This usually happens when the dough is overworked or baked too long. Next time, handle the dough minimally and watch the baking time carefully.
Q: Can I use vanilla extract instead of a vanilla bean? Absolutely! While vanilla beans provide the most intense flavor and those lovely specks throughout the custard, a high-quality vanilla extract works wonderfully too. Use 2 tablespoons of extract to replace one vanilla bean.
A Personal Note
I’ve been making these vanilla custard cream squares for over a decade now, tweaking and perfecting the recipe along the way. What started as a simple dessert to use up extra egg yolks has become a signature dish that friends and family request for gatherings and celebrations.
There’s something magical about the process of making custard—the careful watching, the constant stirring, the moment when it transforms from liquid to a thick, velvety cream. It’s almost meditative, and the reward at the end is so worth the attention it requires.
I hope this recipe brings as much joy to your kitchen as it has to mine. Remember, baking is both a science and an art—follow the instructions carefully, but also trust your instincts and enjoy the process.
Happy baking!